For a general introduction on Gameboy Camera, see this post, and my gallery.
I previously made this lens mod (not of my conception) that allowed interchangeable lenses, with zoom and manual focus. It is really great shooting with , and you can get some nice bokeh, thing that was not possible with the stock camera. But I was not 100% comfortable in some shooting situations. Sometimes you need to get the camera on a tripod, for trichromy (getting a color image from 3 picture taken behind red, green, and blue filters) or for “HDR” photography (shooting different exposures of the same scene to get a greater precision on the pixel values). One common method is to get the whole Gameboy on a smartphone clamp mounted on a tripod. But the one that I had was not strong enough, and triggering the shutter button was making the whole moving a bit.
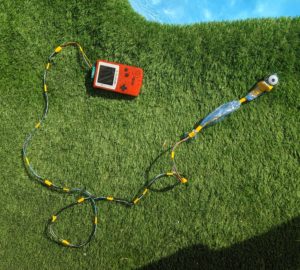
In a common DIY fashion, I decided to solve a tiny problem with big means. I was following a lot of the Gameboy Camera community activities, and there was a lot of different ideas around the camera. User Mraulio/@gbcameroid was experimenting with cable extension, to shoot underwater pictures for instance.
With the knowledge that cable extension was possible, I thought about separating the “eye” (the objective) from the Gameboy body and the rest of the cartridge. The two parts would just be joined by the extended wire, so the objective won’t move when the shutter button is pressed. I also wanted a practical design, that would allow to shoot both handheld and with the separated parts. So the objective must be detachable, preferably without turning off the Gameboy and rewiring stuff.
I first thought about a 1/4-20 screw (the standard tripod screws) but screwing does not fit well with an attached wire. After exposing the idea on the community server, someone gave me the idea of the GoPro mount.
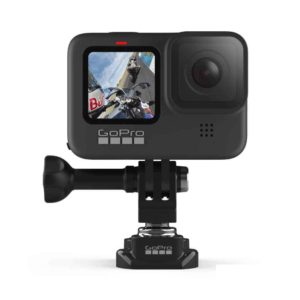
GoPro mount is a modular system with a male and female part that slide together and are hold by a separated screw. It allows for easy detachment and replacement on any accessory of the abundant GoPro ecosystem, such as tripods, chest mounts, selfie stick, etc. I came up with a design.
Version 1
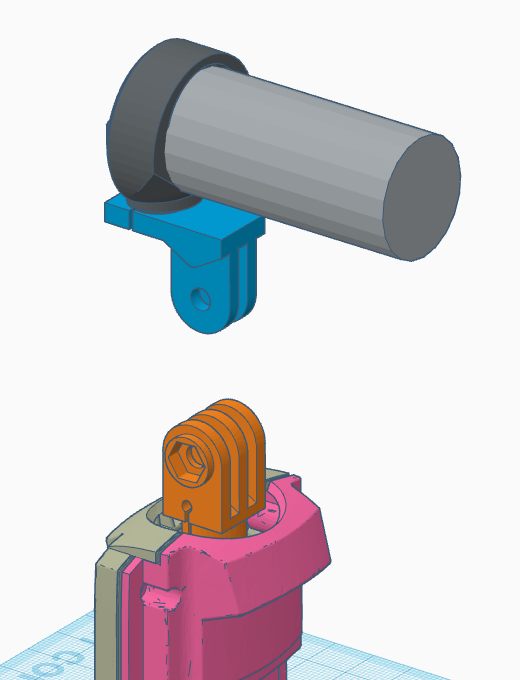
The original eye of the camera is screwed into the cartridge body. This design separates this junction, so blue part is screwed into the eye of the camera, and the orange into the body. The blue and orange part can be joined and separated by the GoPro mount. Some holes are pierced into the pieces to let the wire (not represented) passes.
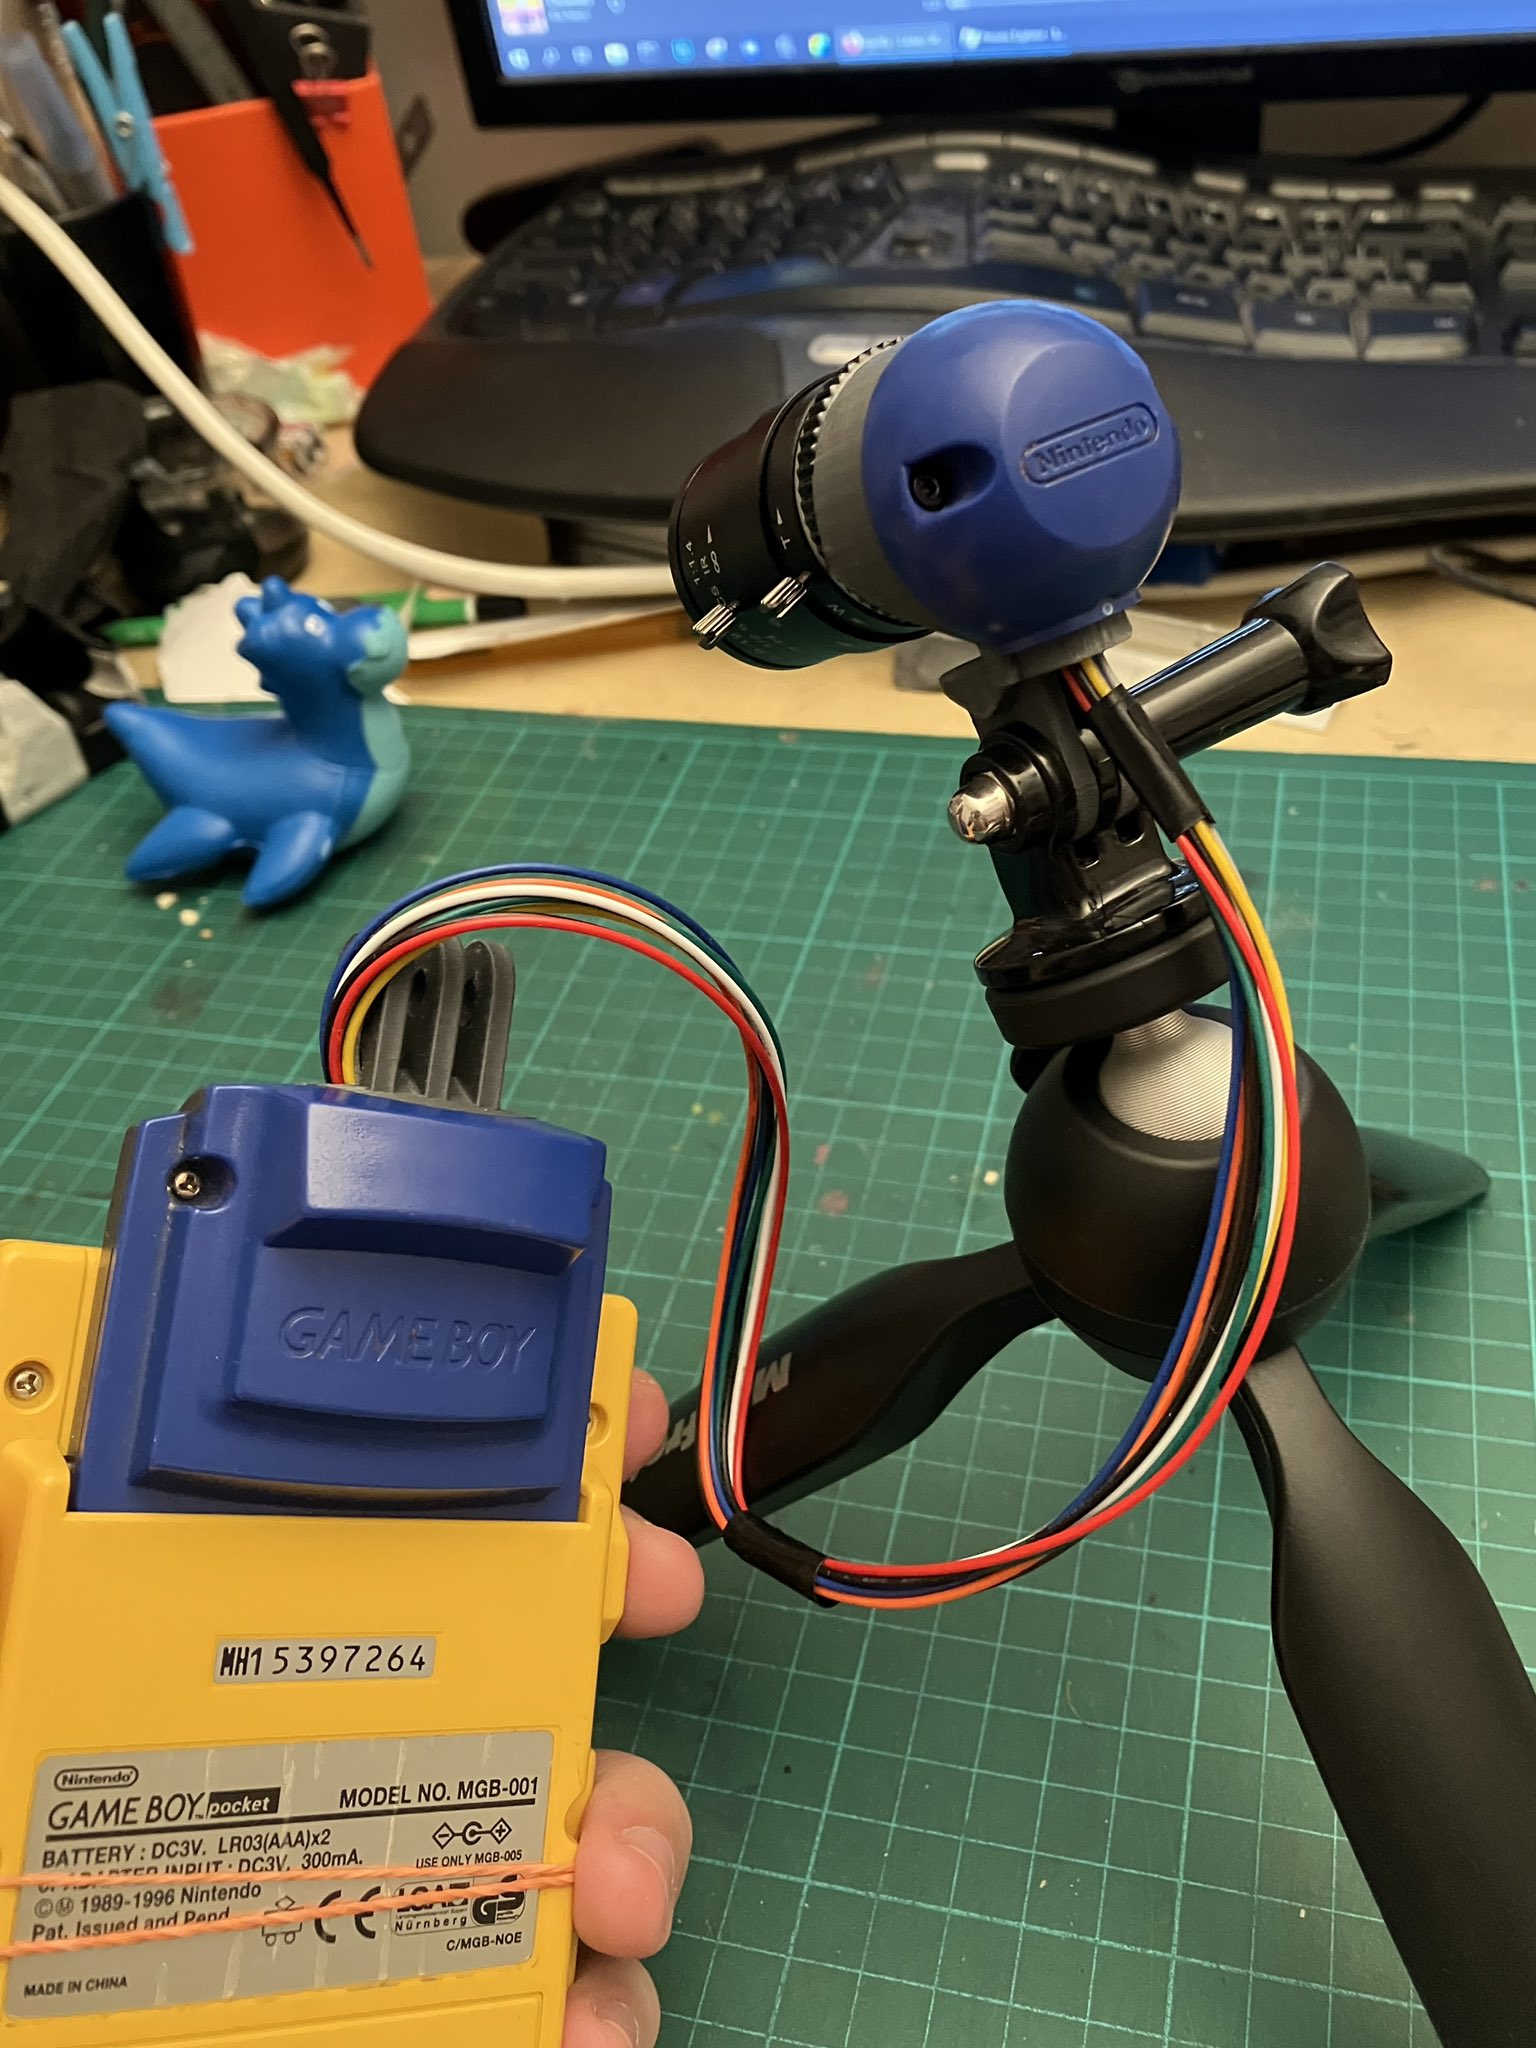
I modelled this using Tinkercad, and some GoPro mount models. Tinkercad in an easy to use software, but perhaps too simple, and limited for precise control, but it was enough for this prototype. I ordered a 40cm cable and 3D printed the parts and assembled them :
(the light blue piece of cloth simulates the wire length as I was waiting for the cable delivery)
This design was working, but it was not perfect. The fact that it was screwed into existing pieces add a fair bit of complexity and a possible weak point on the eye junction. But more important, it left an ugly hole in the cartridge body. So, back to the drawing board.
Version 2
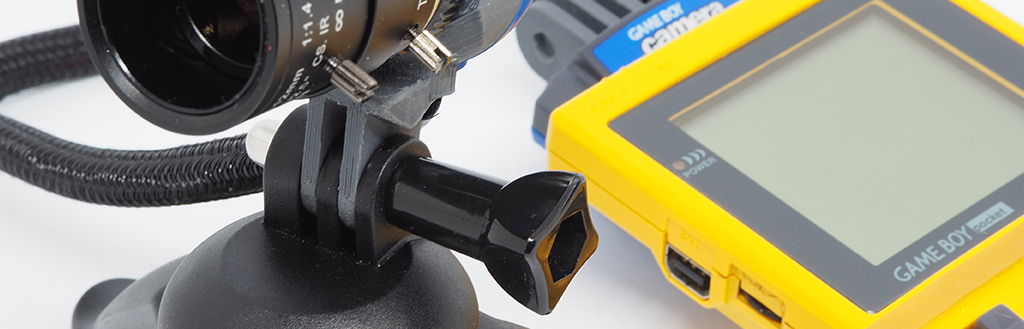
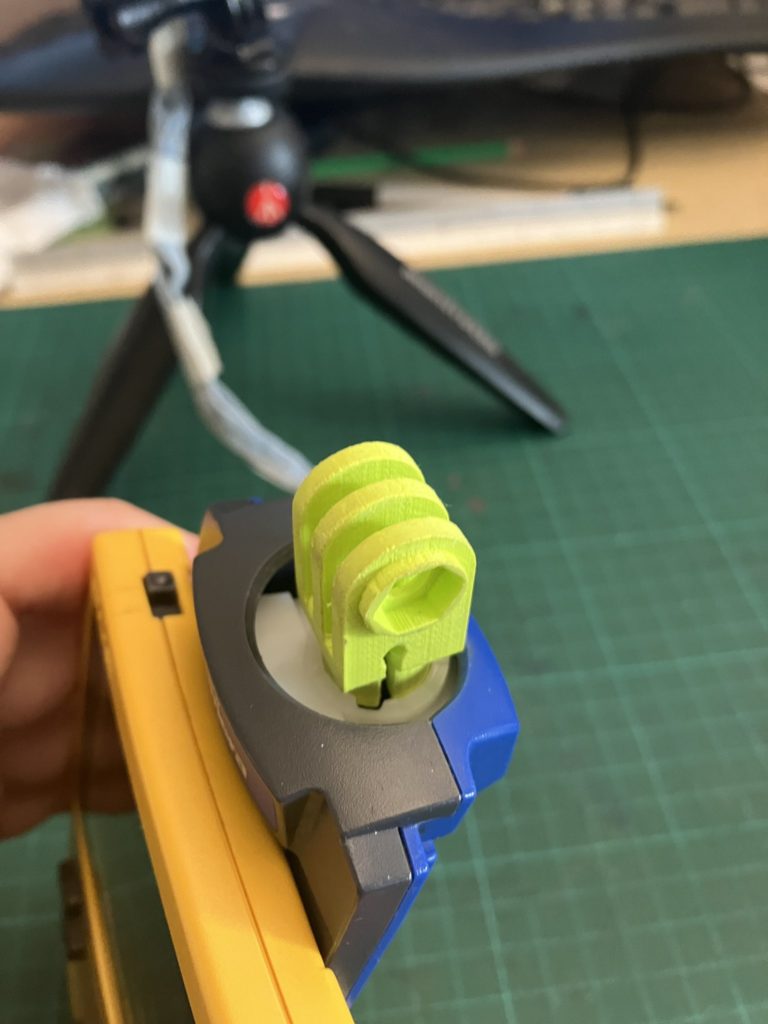
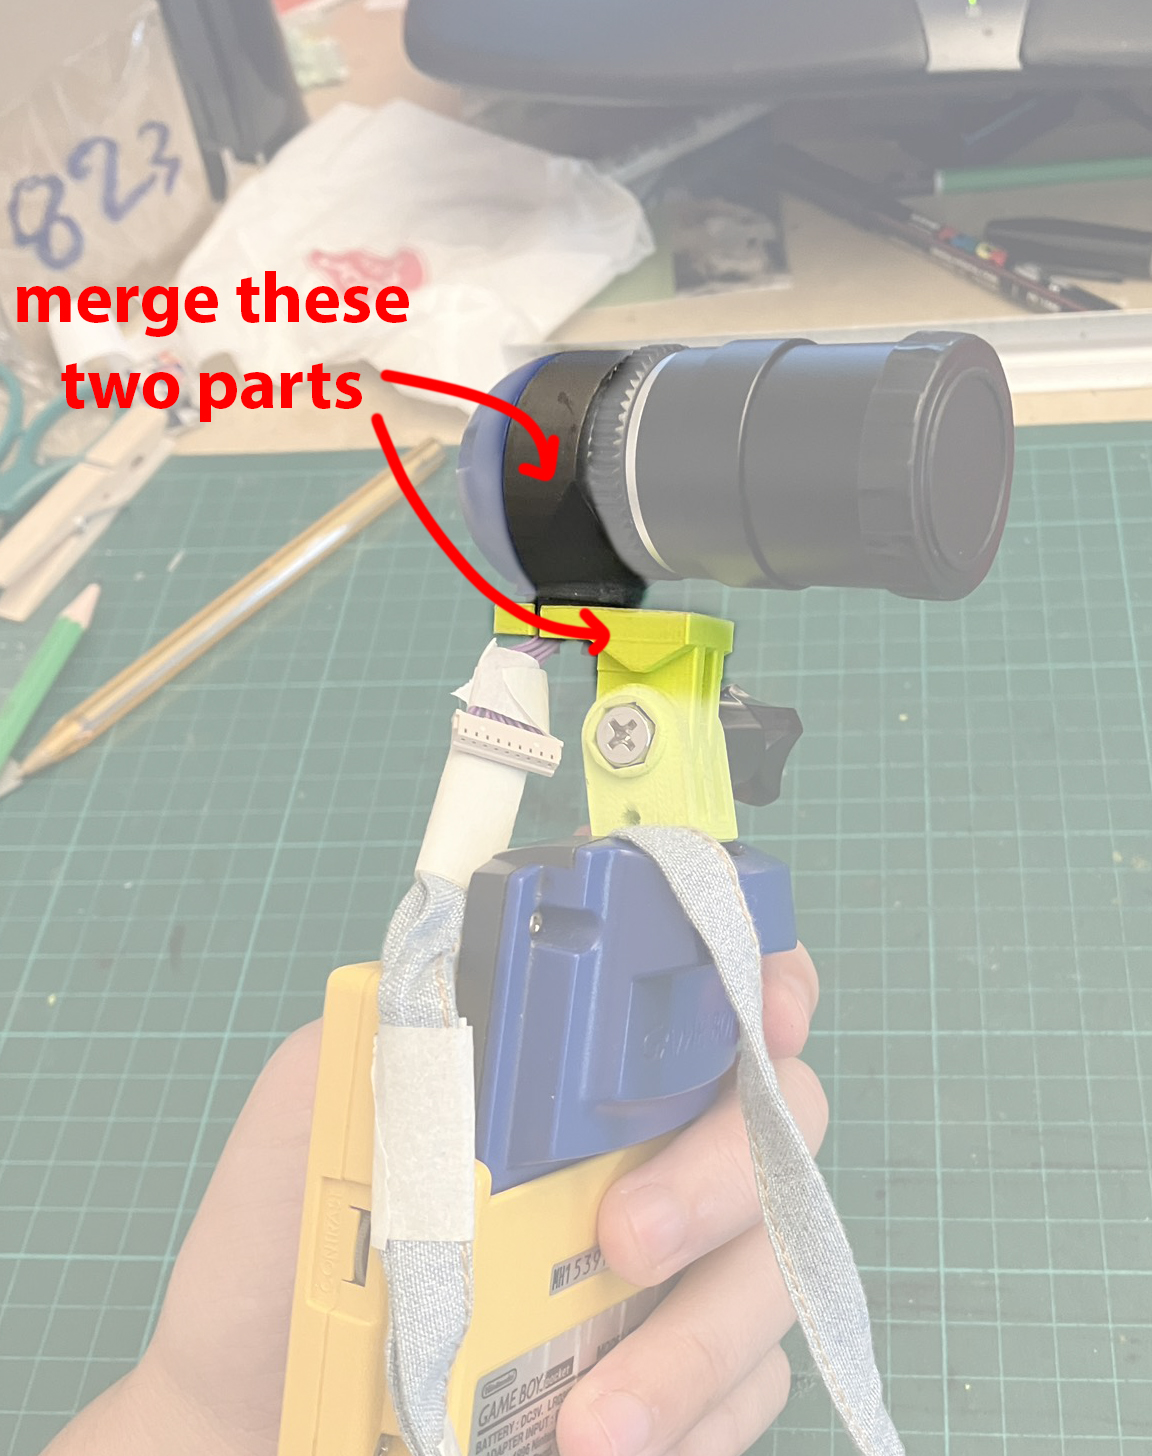
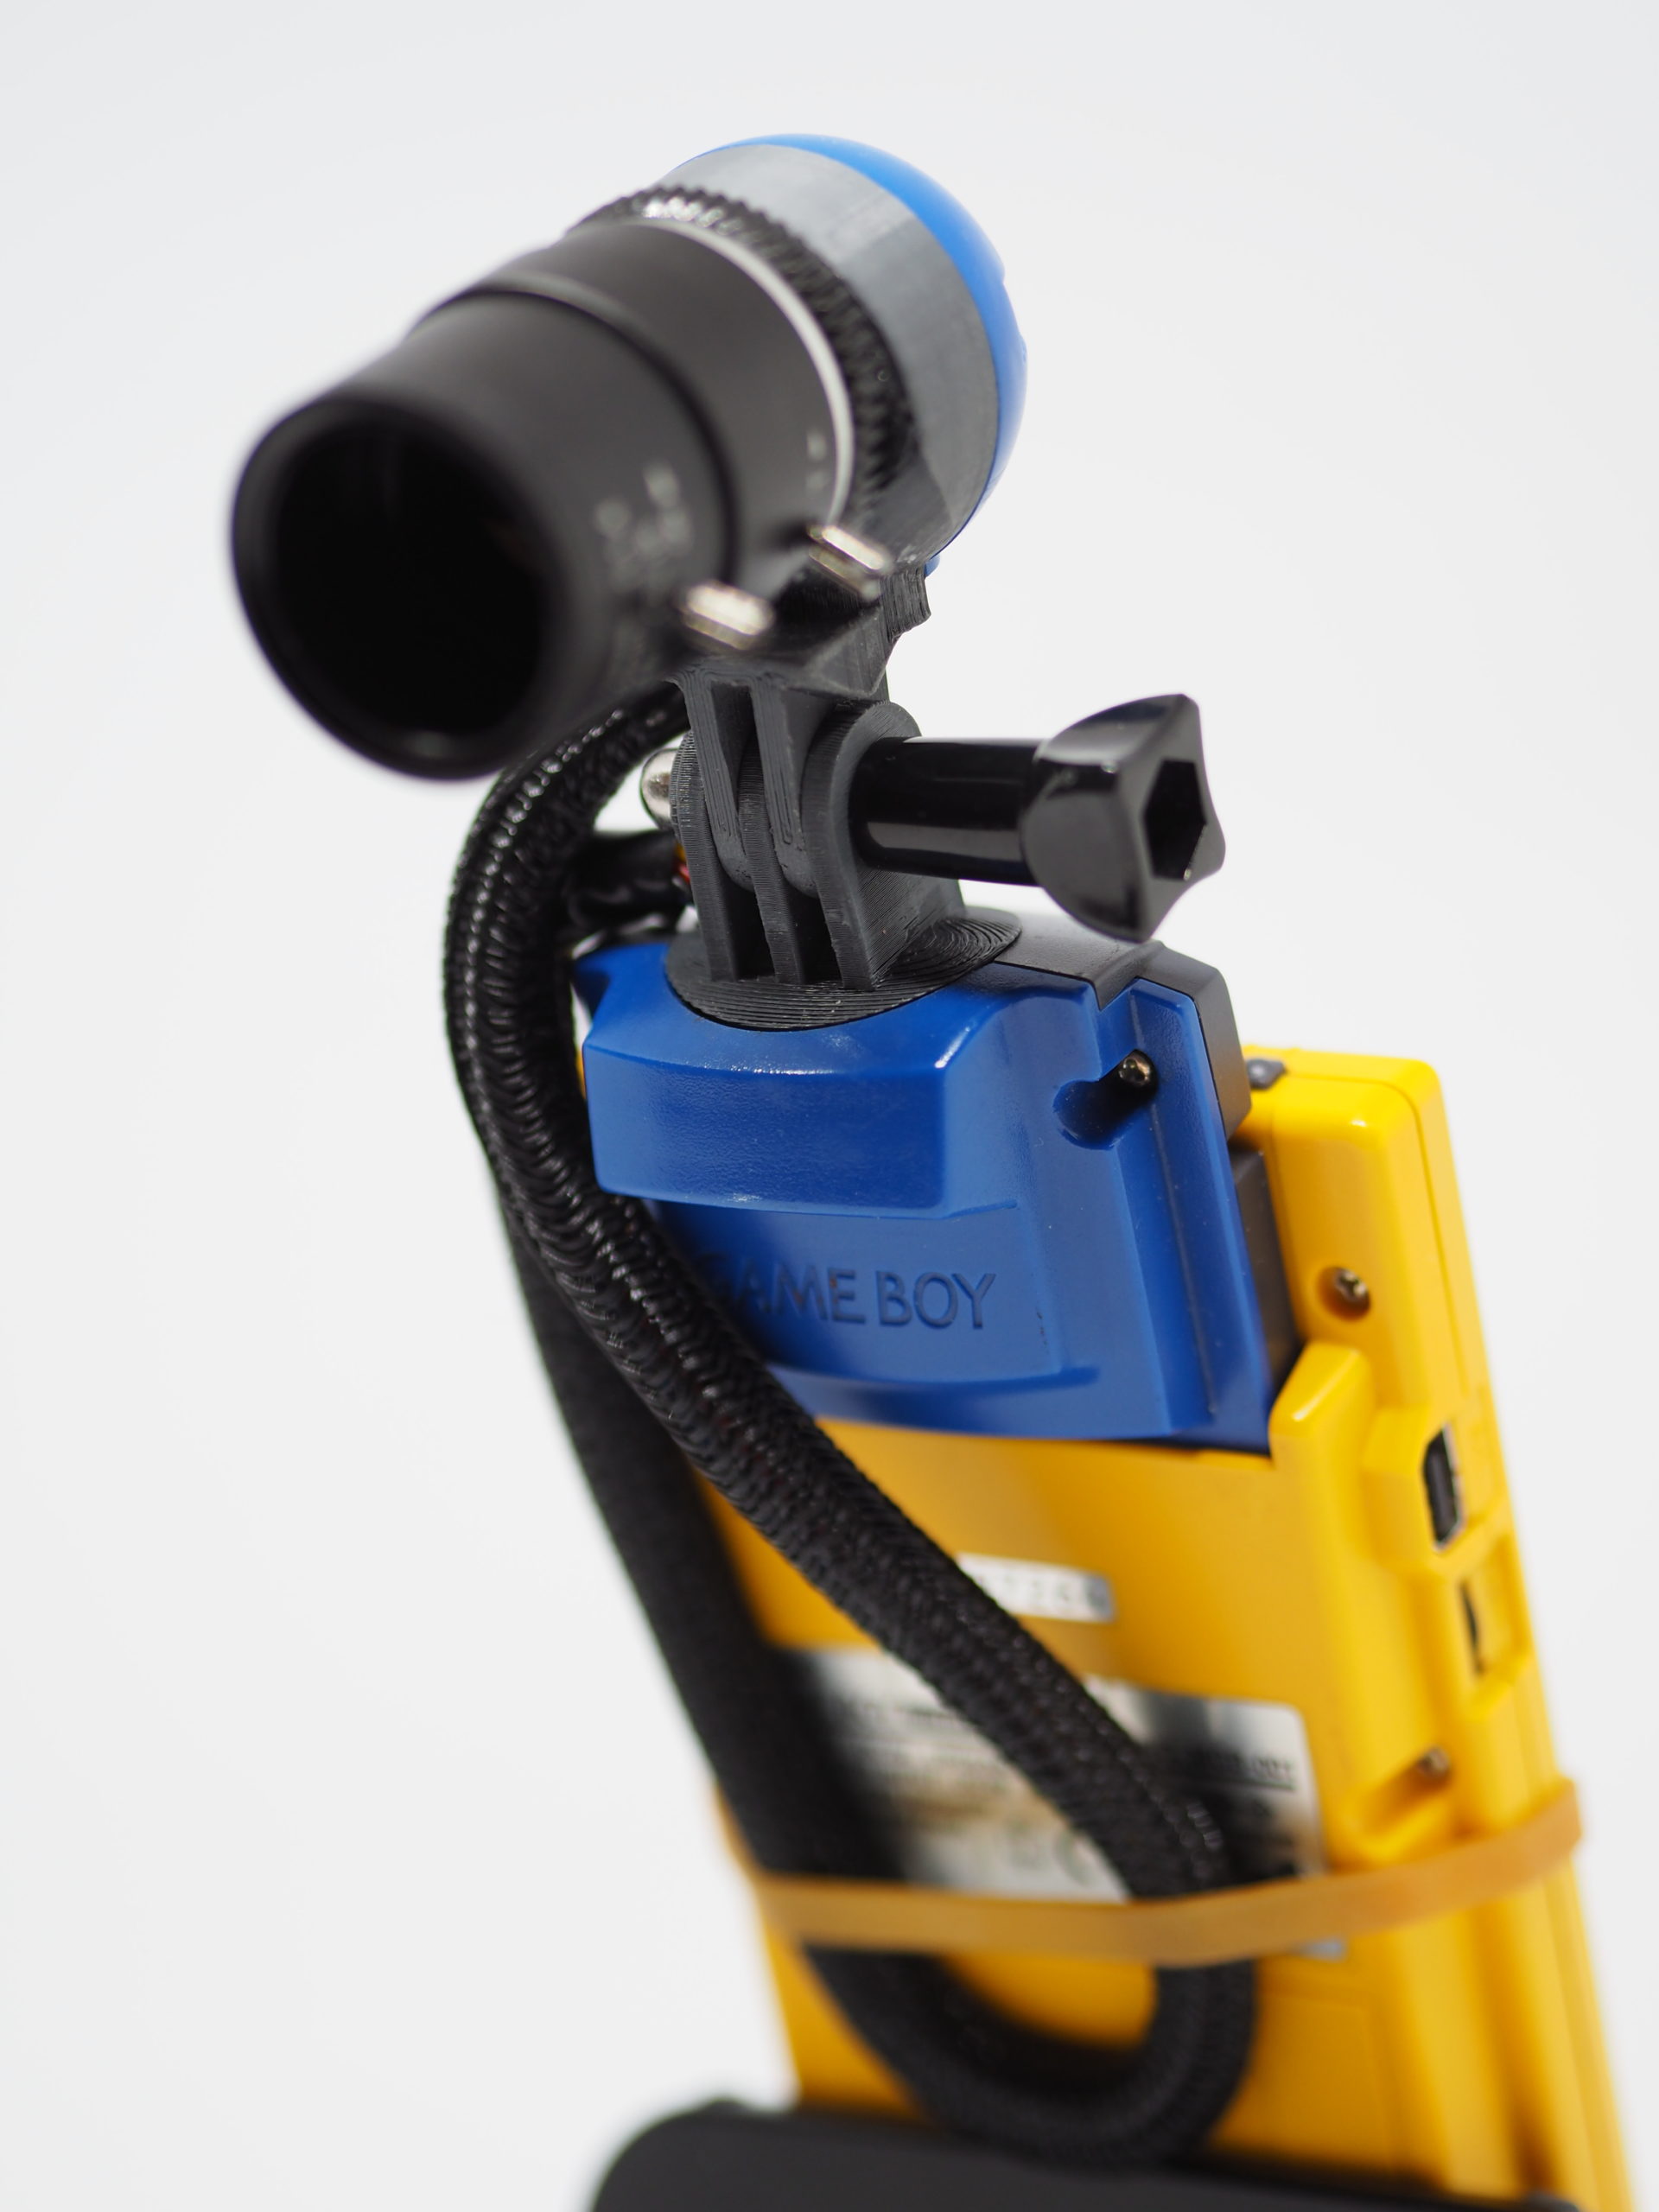
The first version was modular enough to adapt to stock and modded camera. But as I was then only shooting with the lens-modded camera, I could gave up a bit of modularity for a cleaner design. I started to adapt the lens mod part so it contains the half of the GoPro mount, in only one piece. That was solving the junction and weak point problem. For the ugly hole, I needed some kind of cover that fit inside the cover, while having the second part of the GoPro mount.
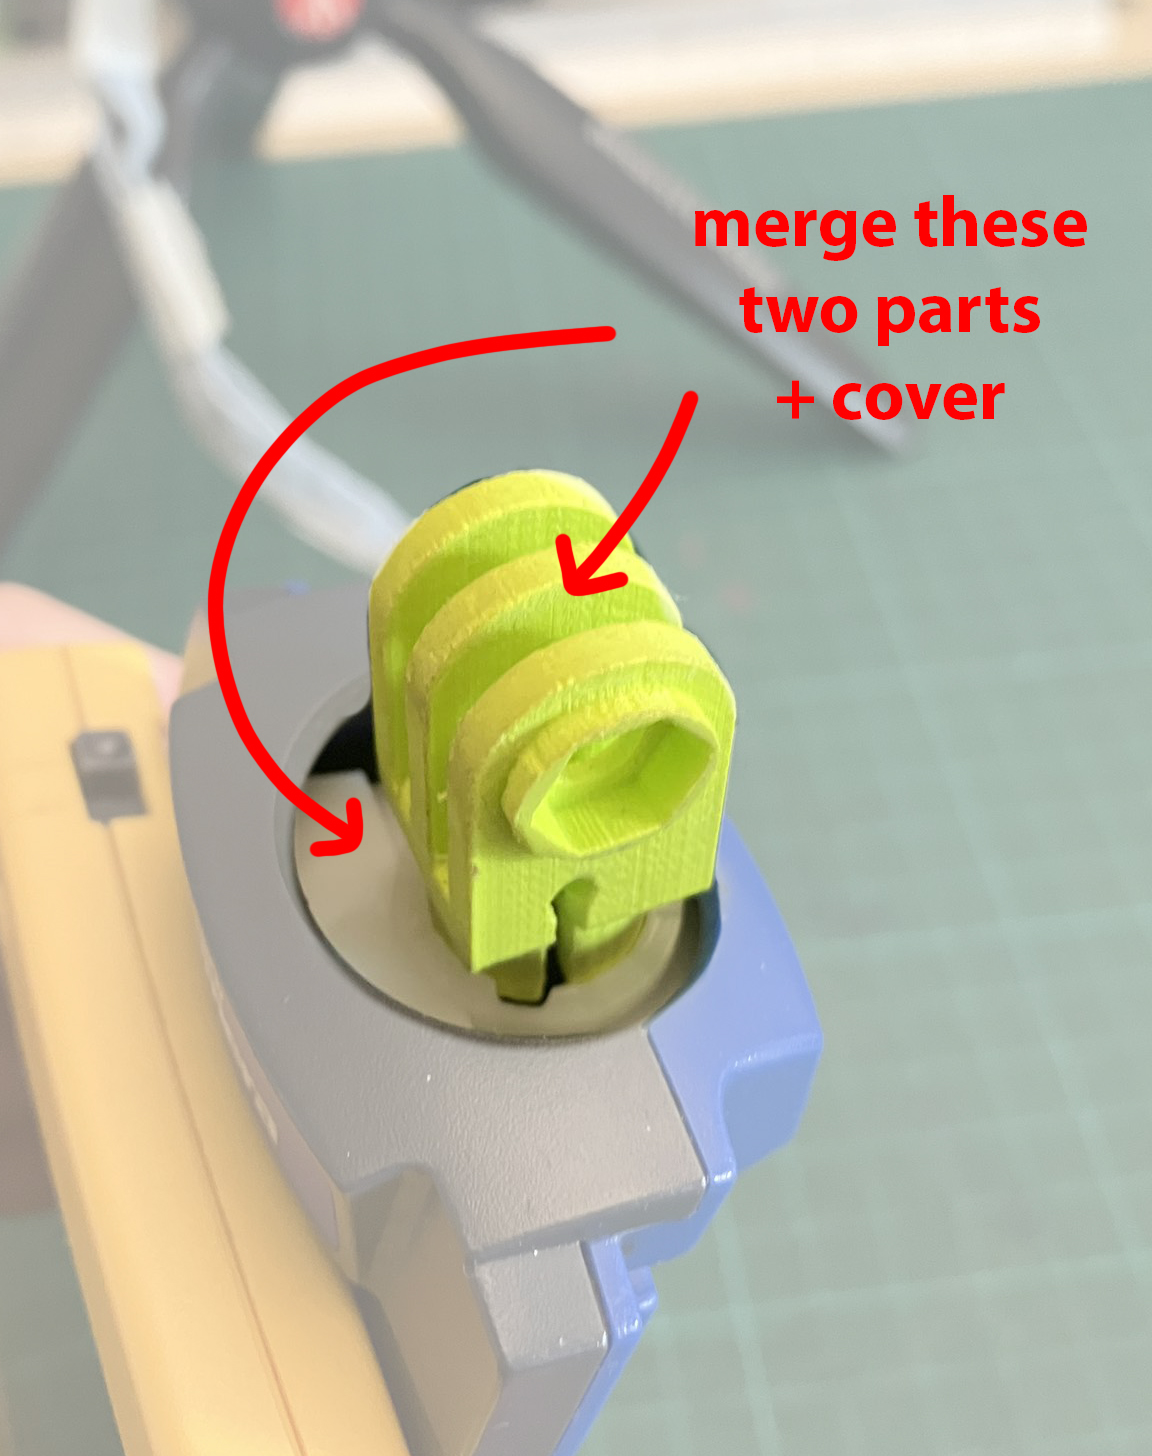
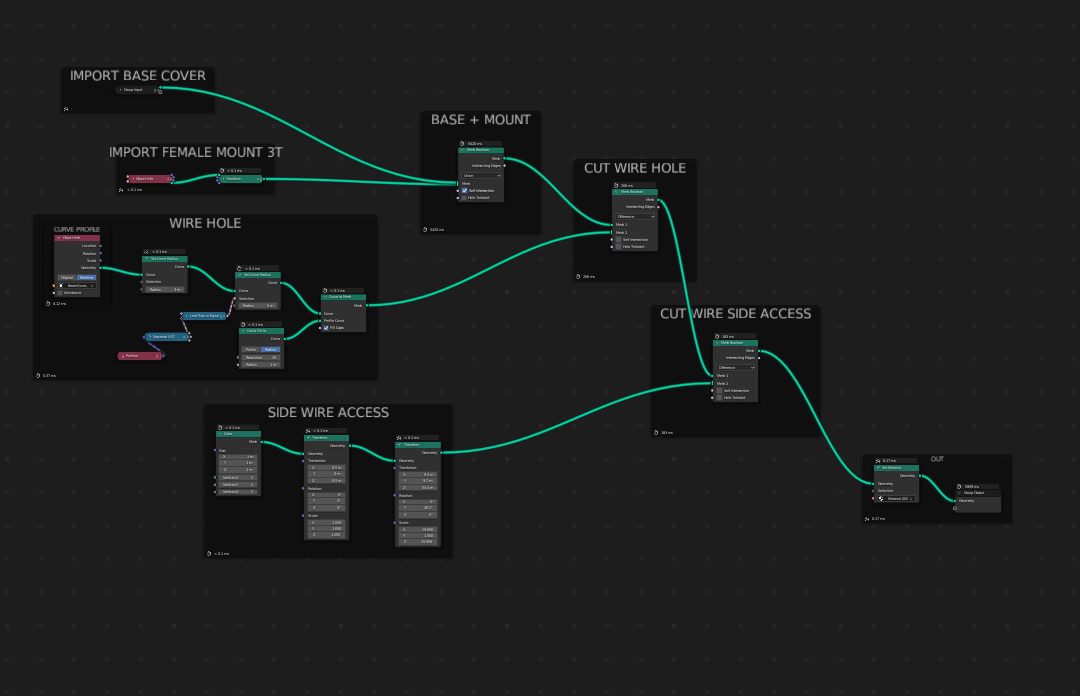
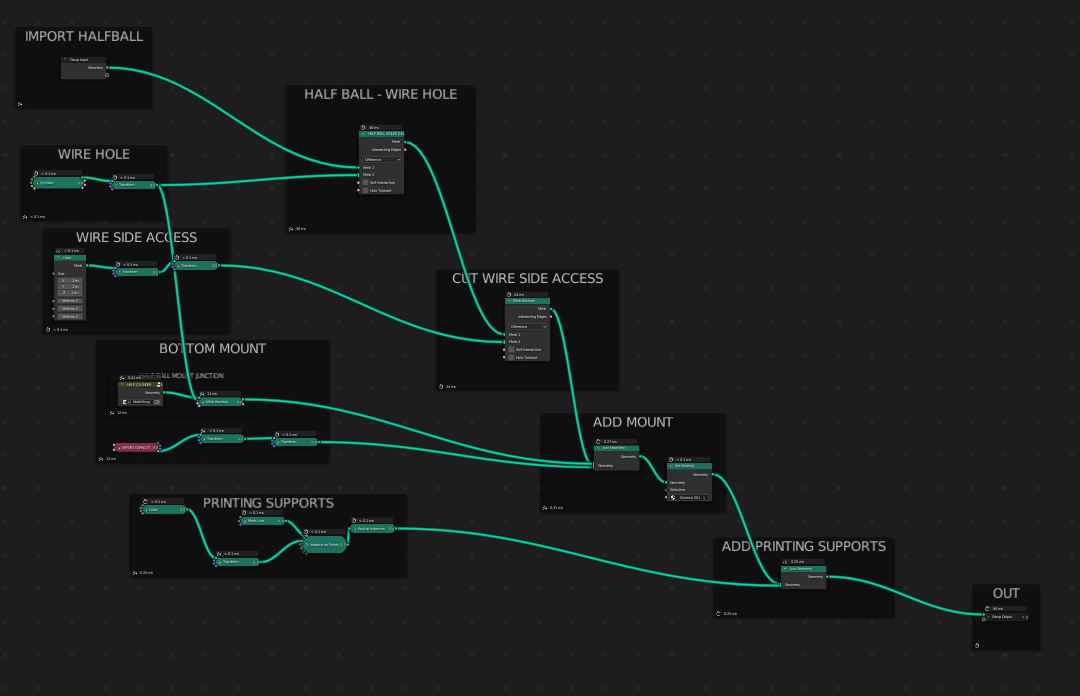
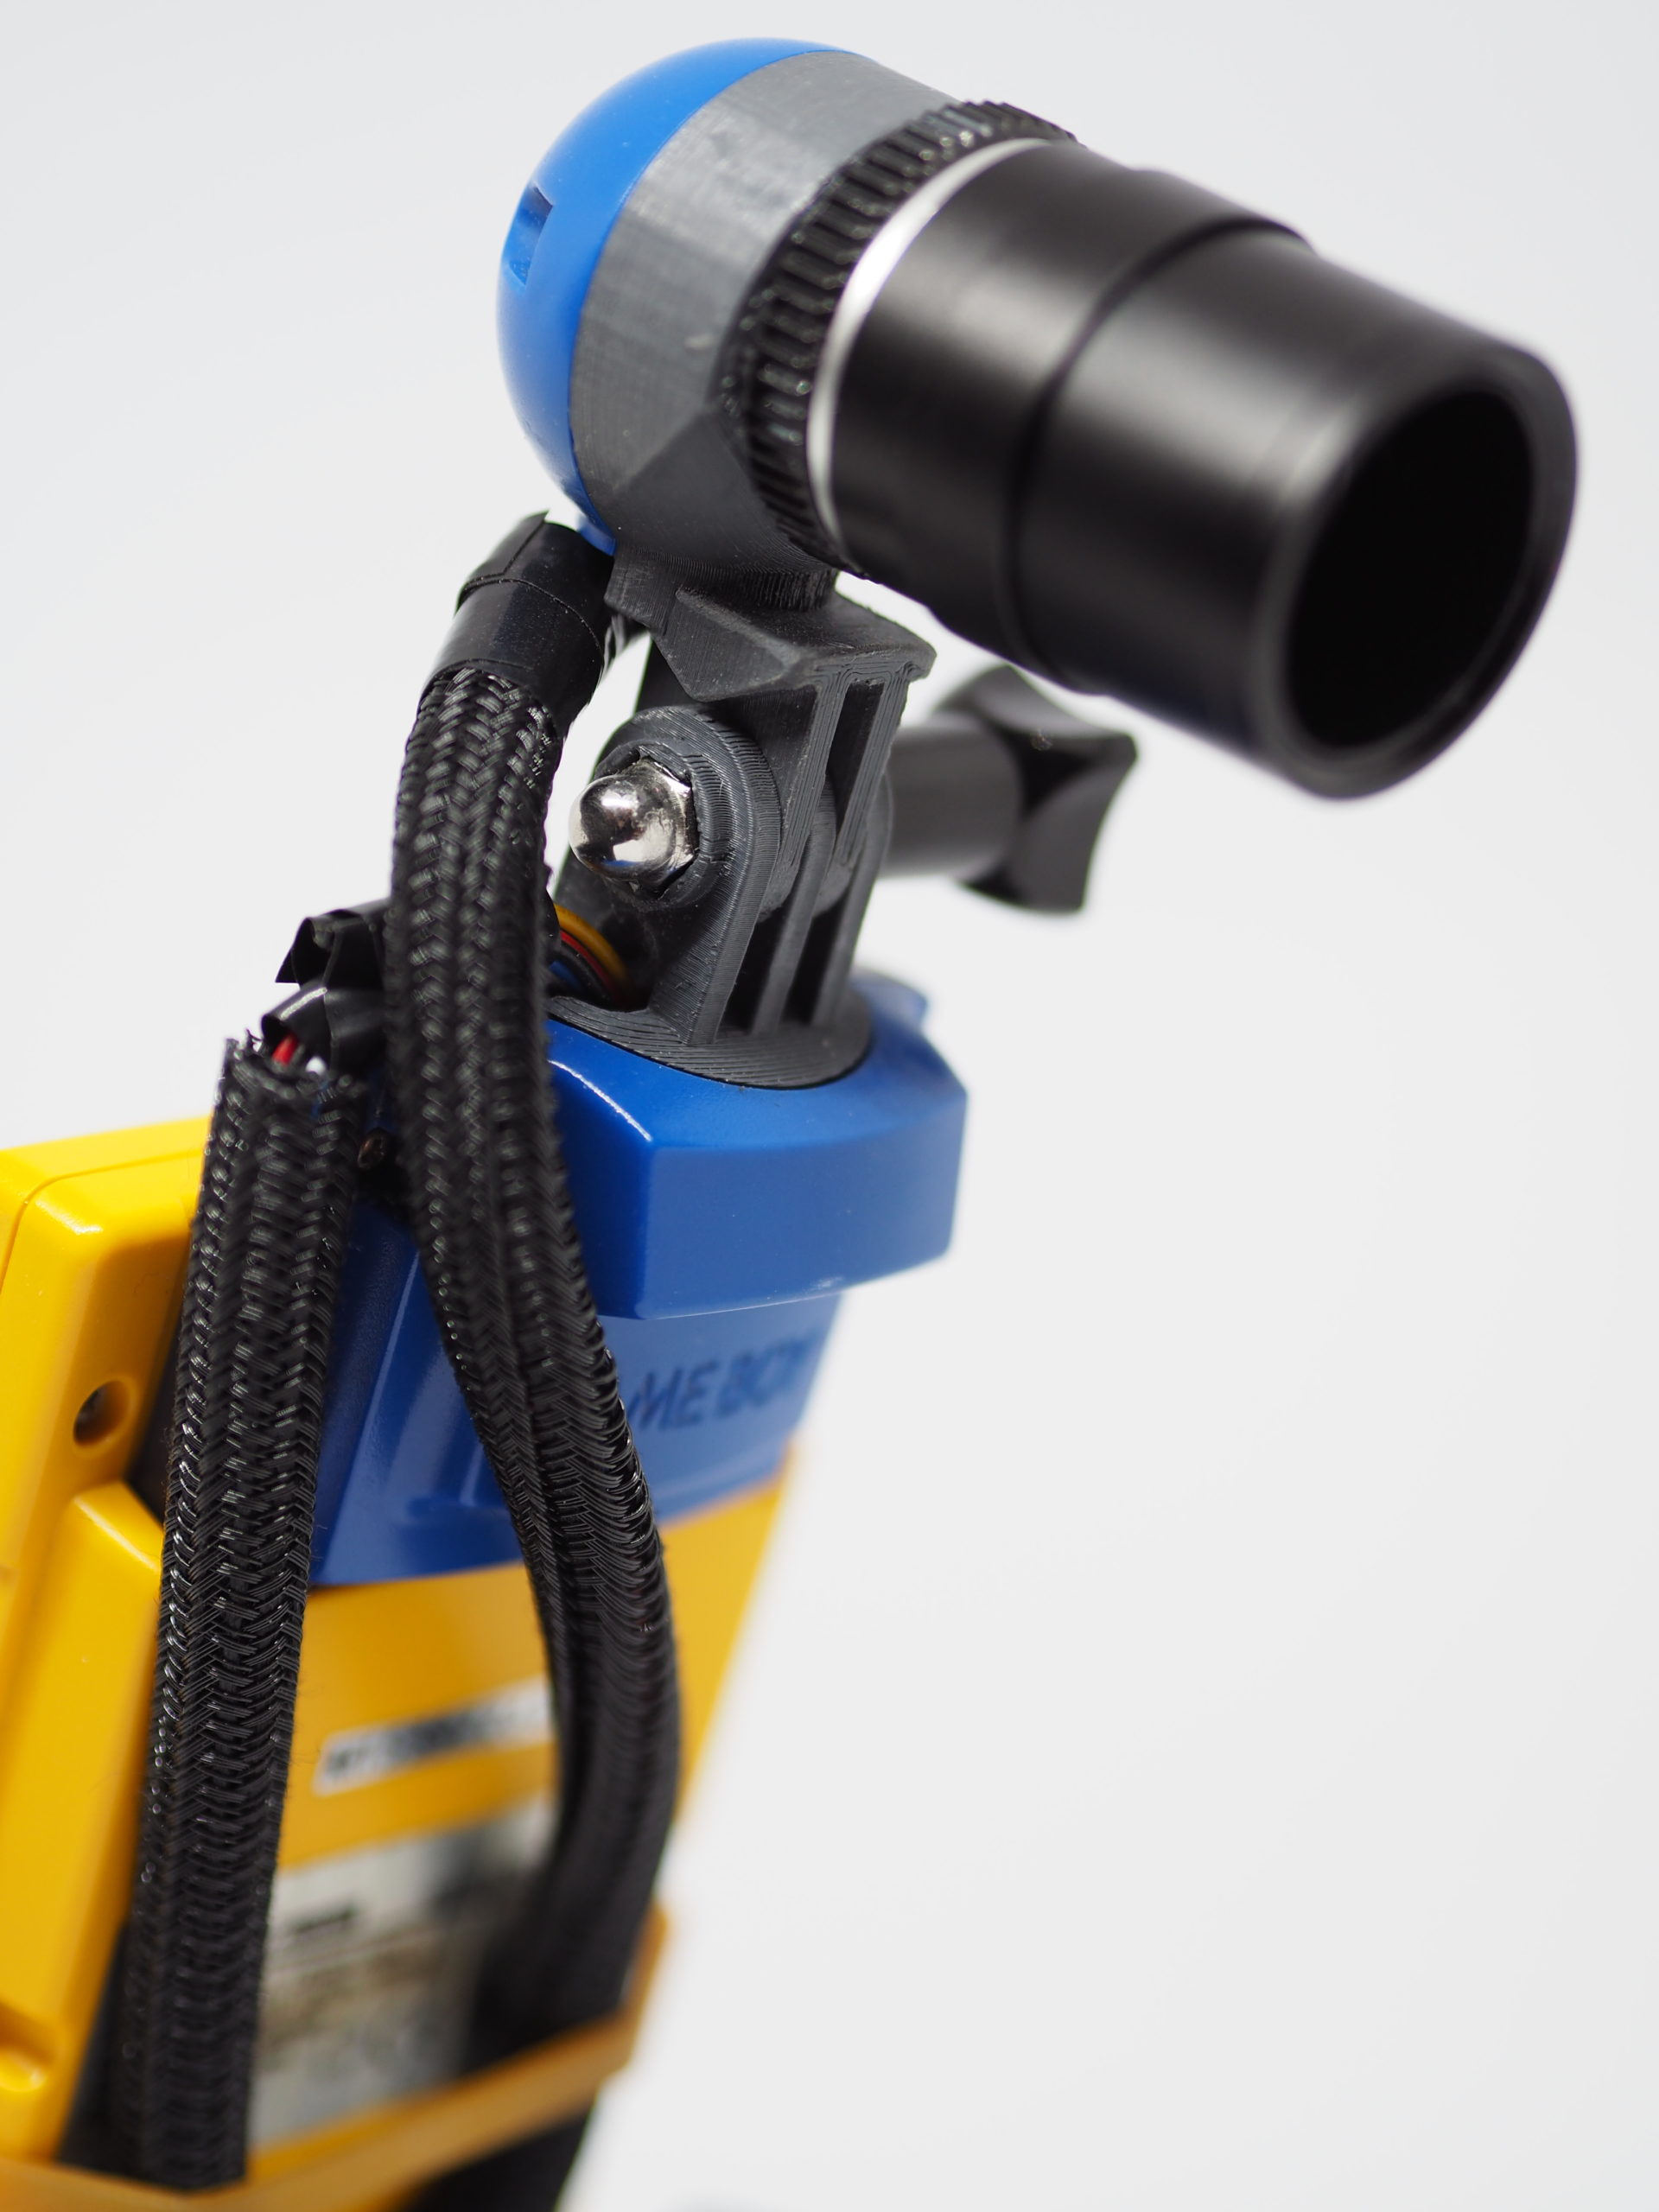
For the cover piece, I received the amazing help of Hatch, a member of the community that modelled a smooth cover integrated with the inside part of the cartridge. From this base, I integrated the GoPro mount modules, and pierces holes for the wires. I used Blender this time, and I am comfortable with the procedural workflow of digital content creation software, being a developer of some. I was also eager to try out the recent Geometry Nodes addition of Blender.
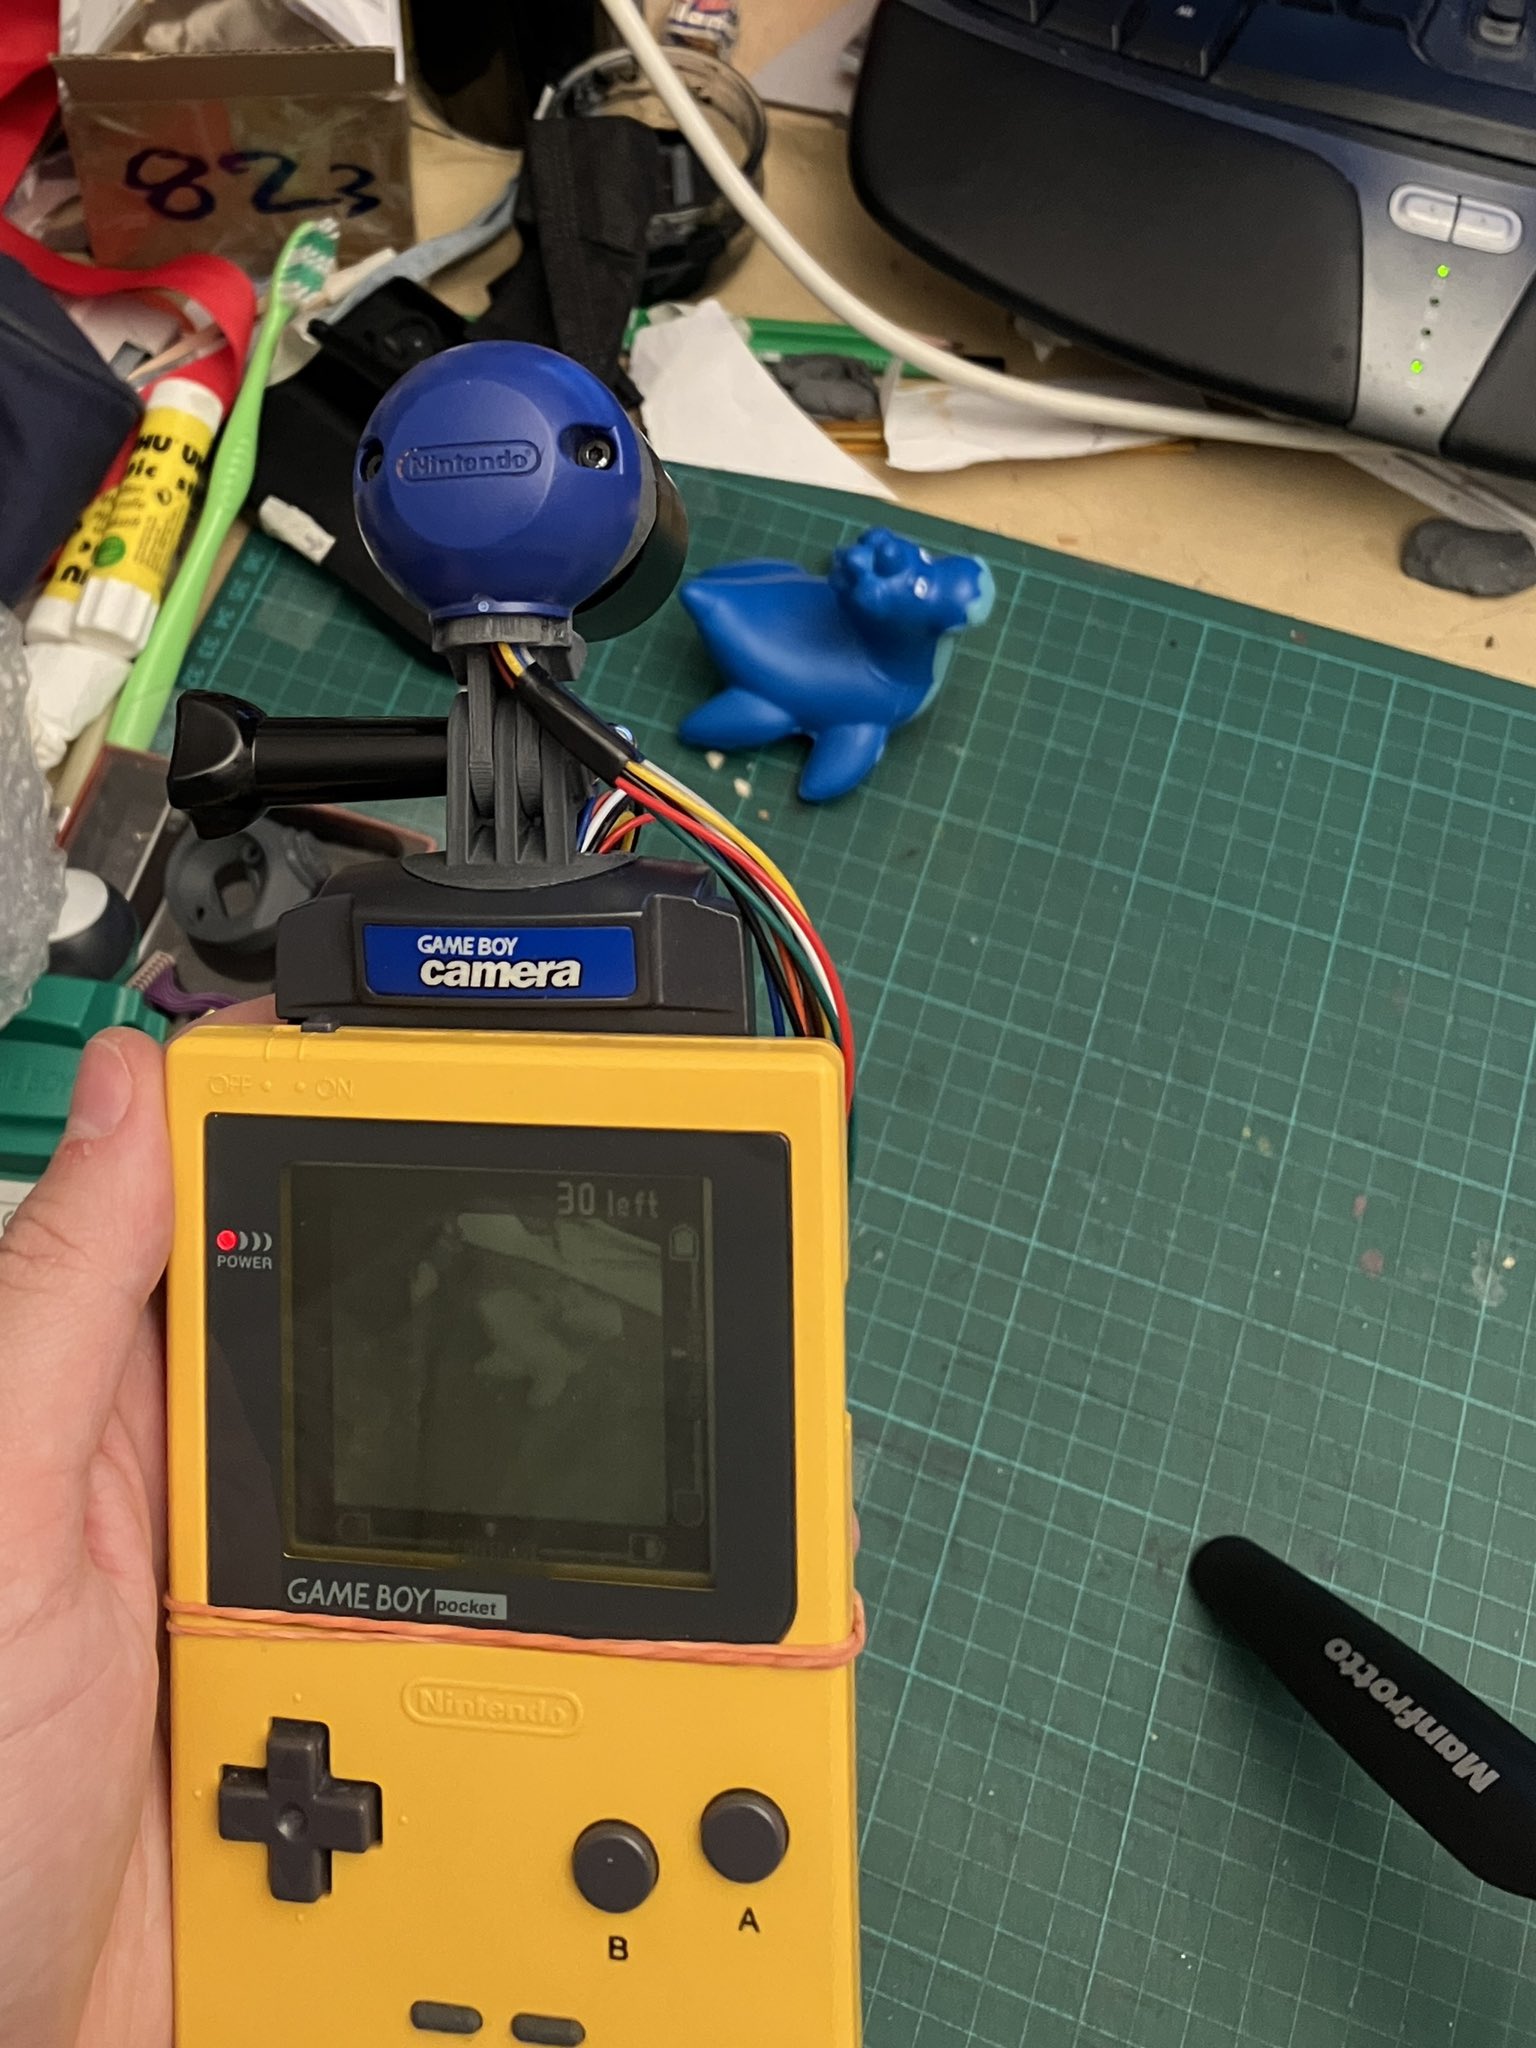
Mounting/un-mounting demo :
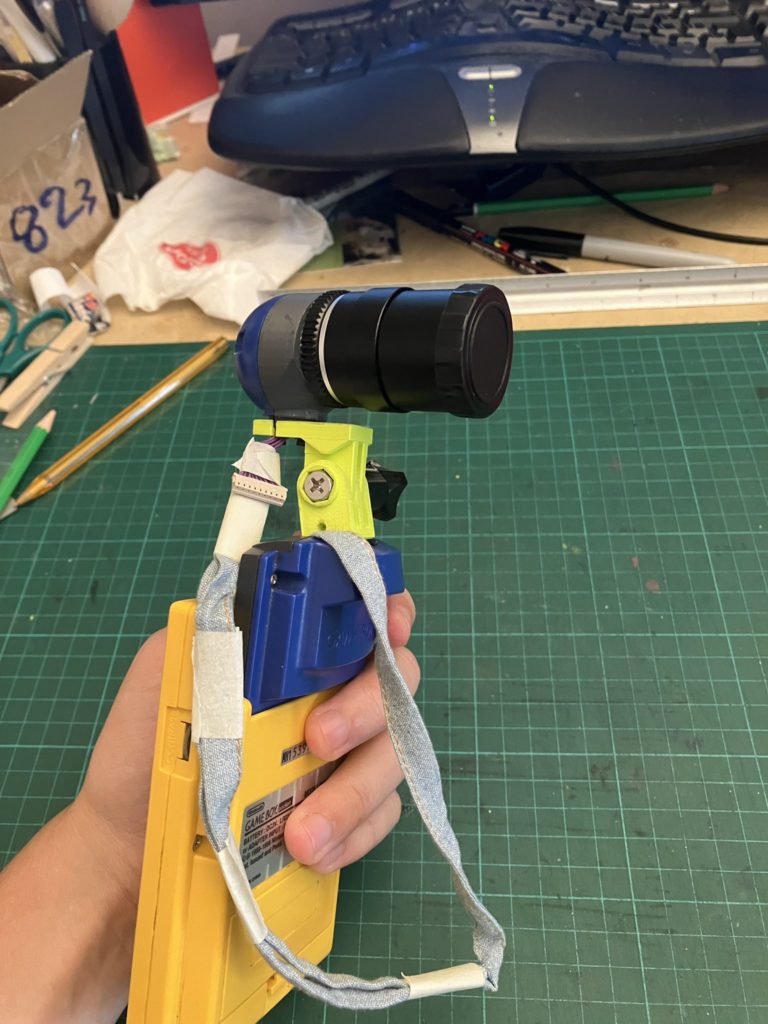
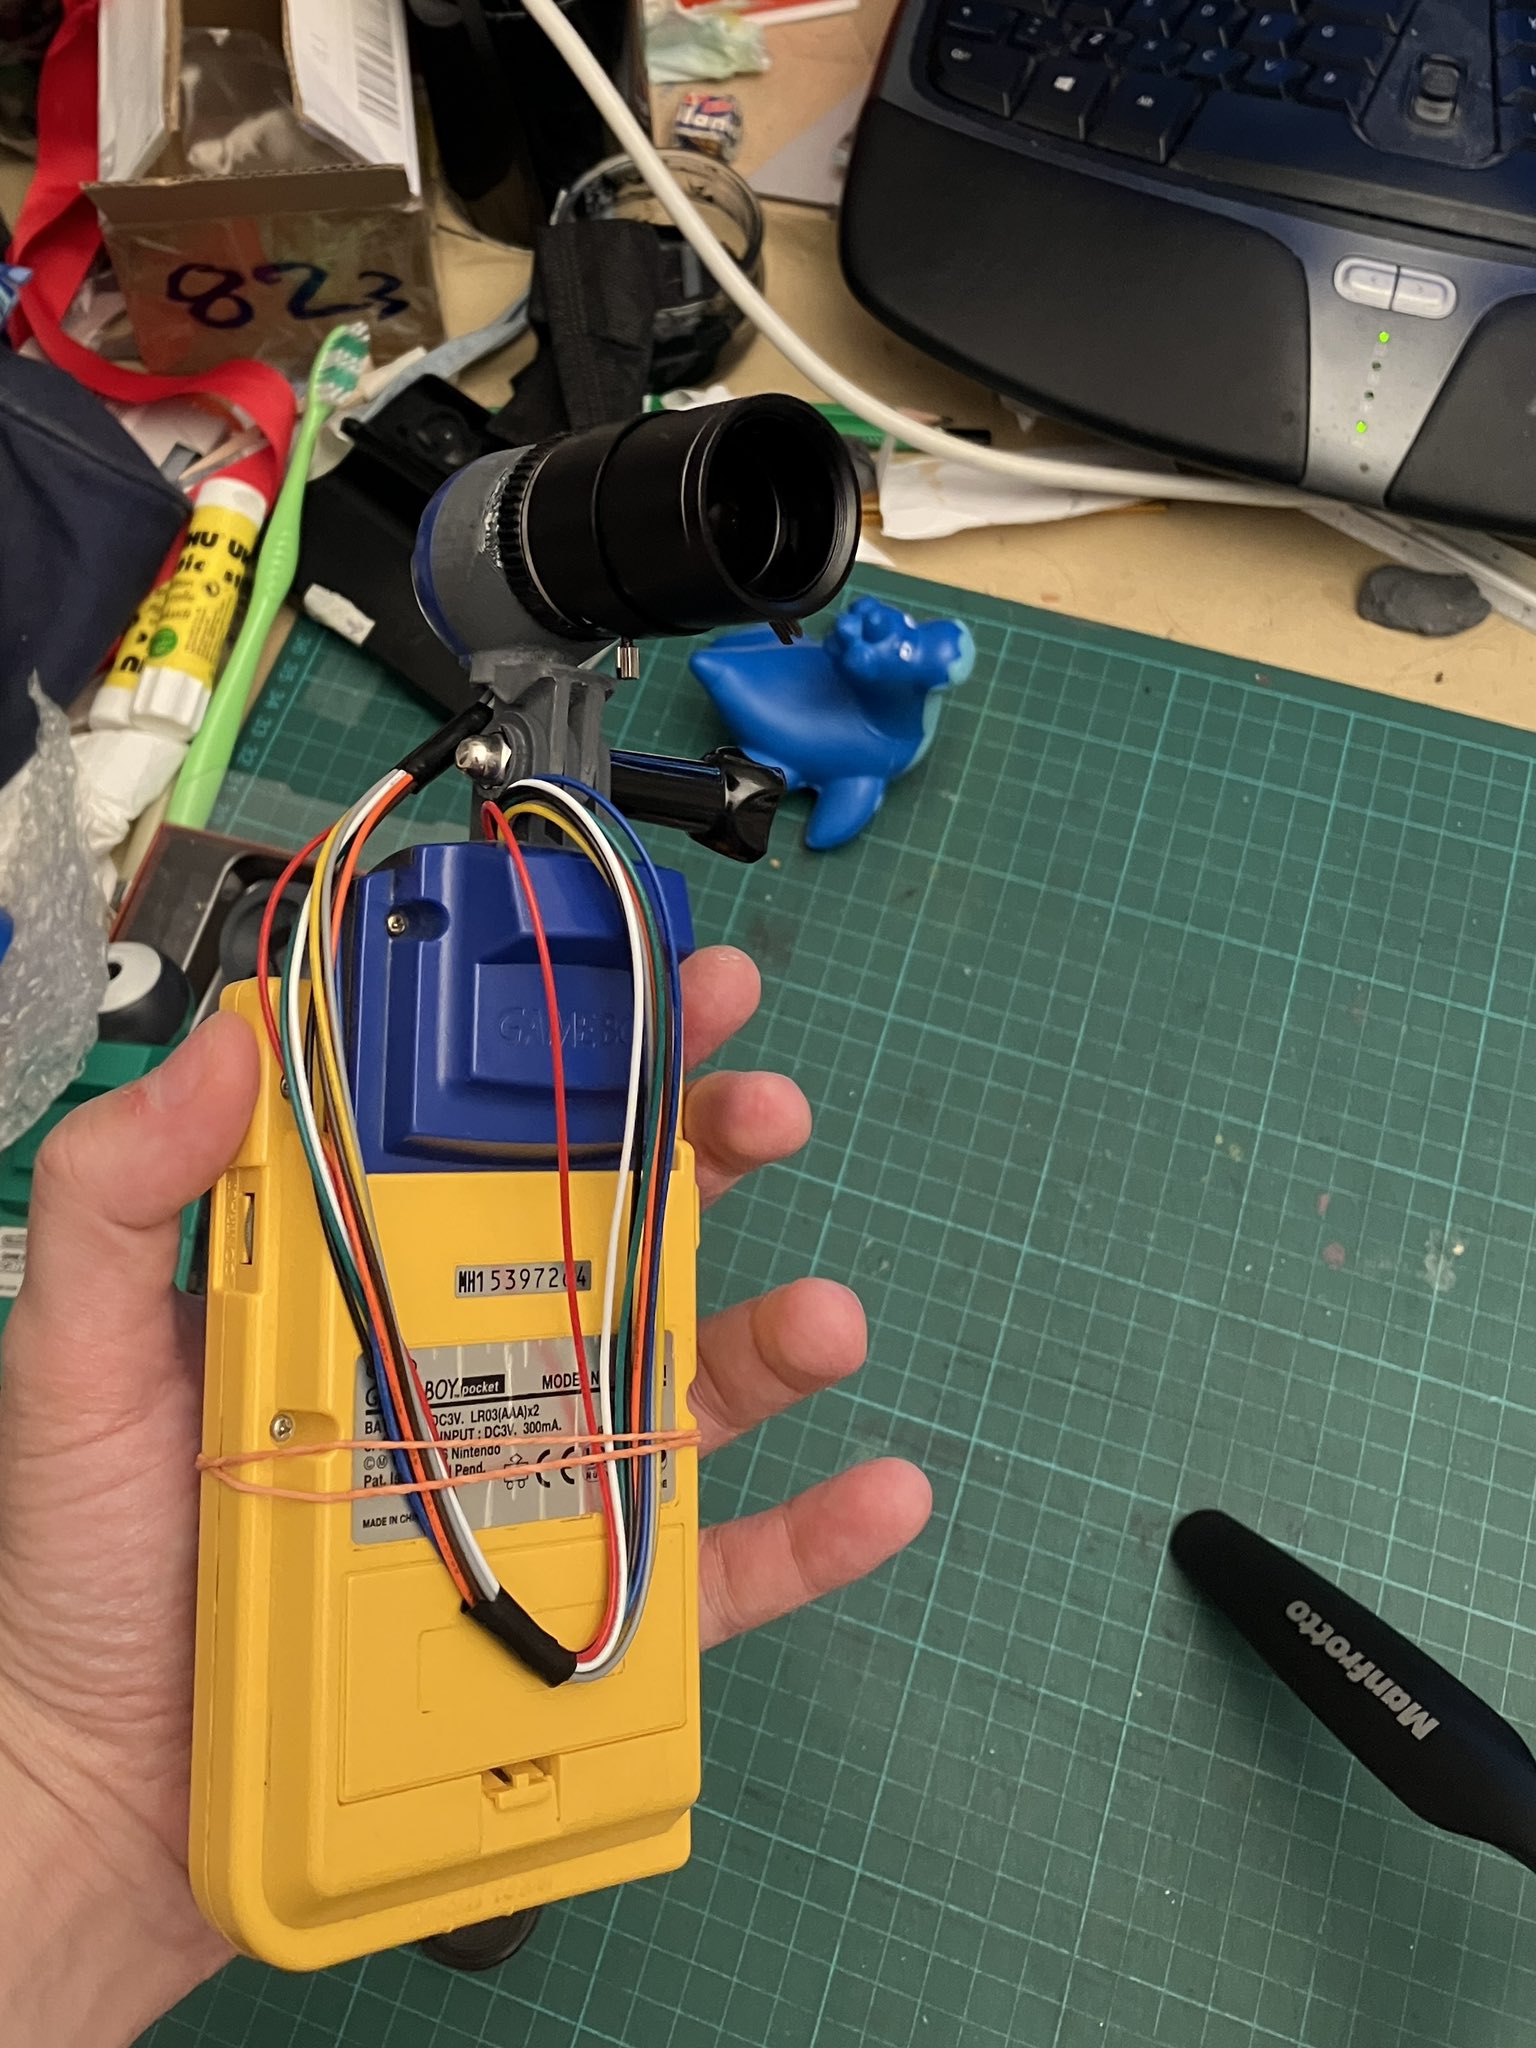
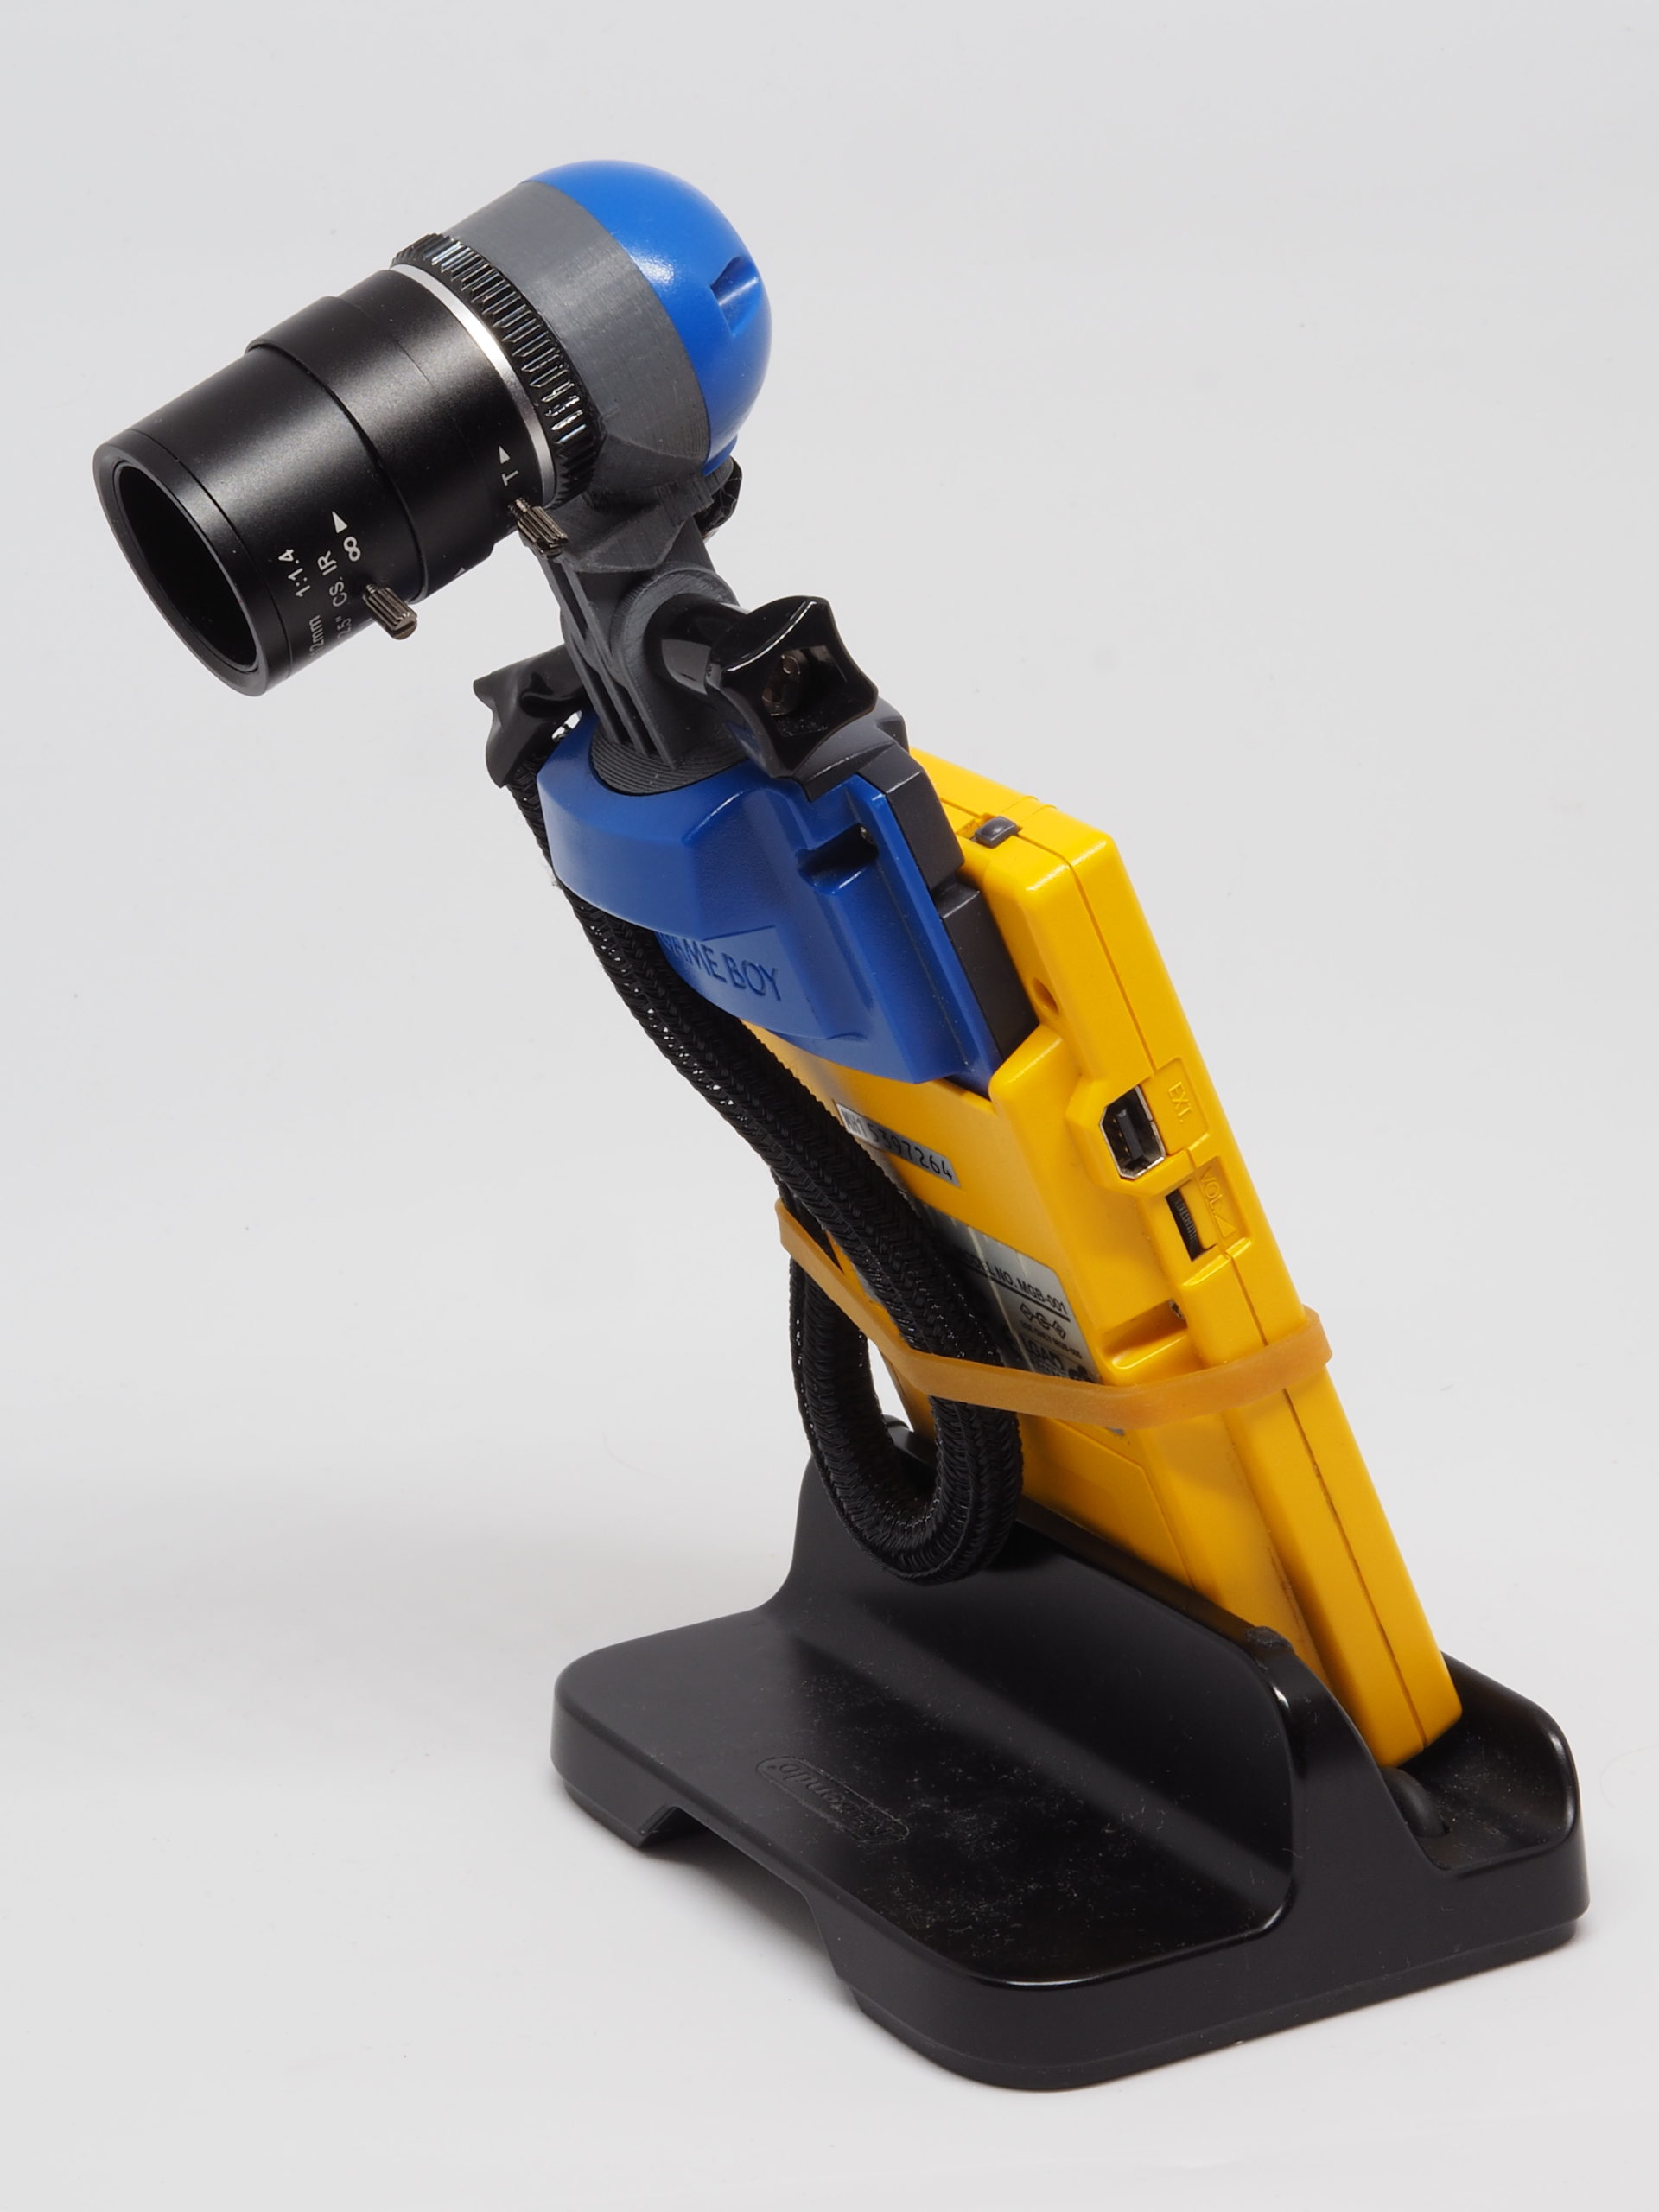
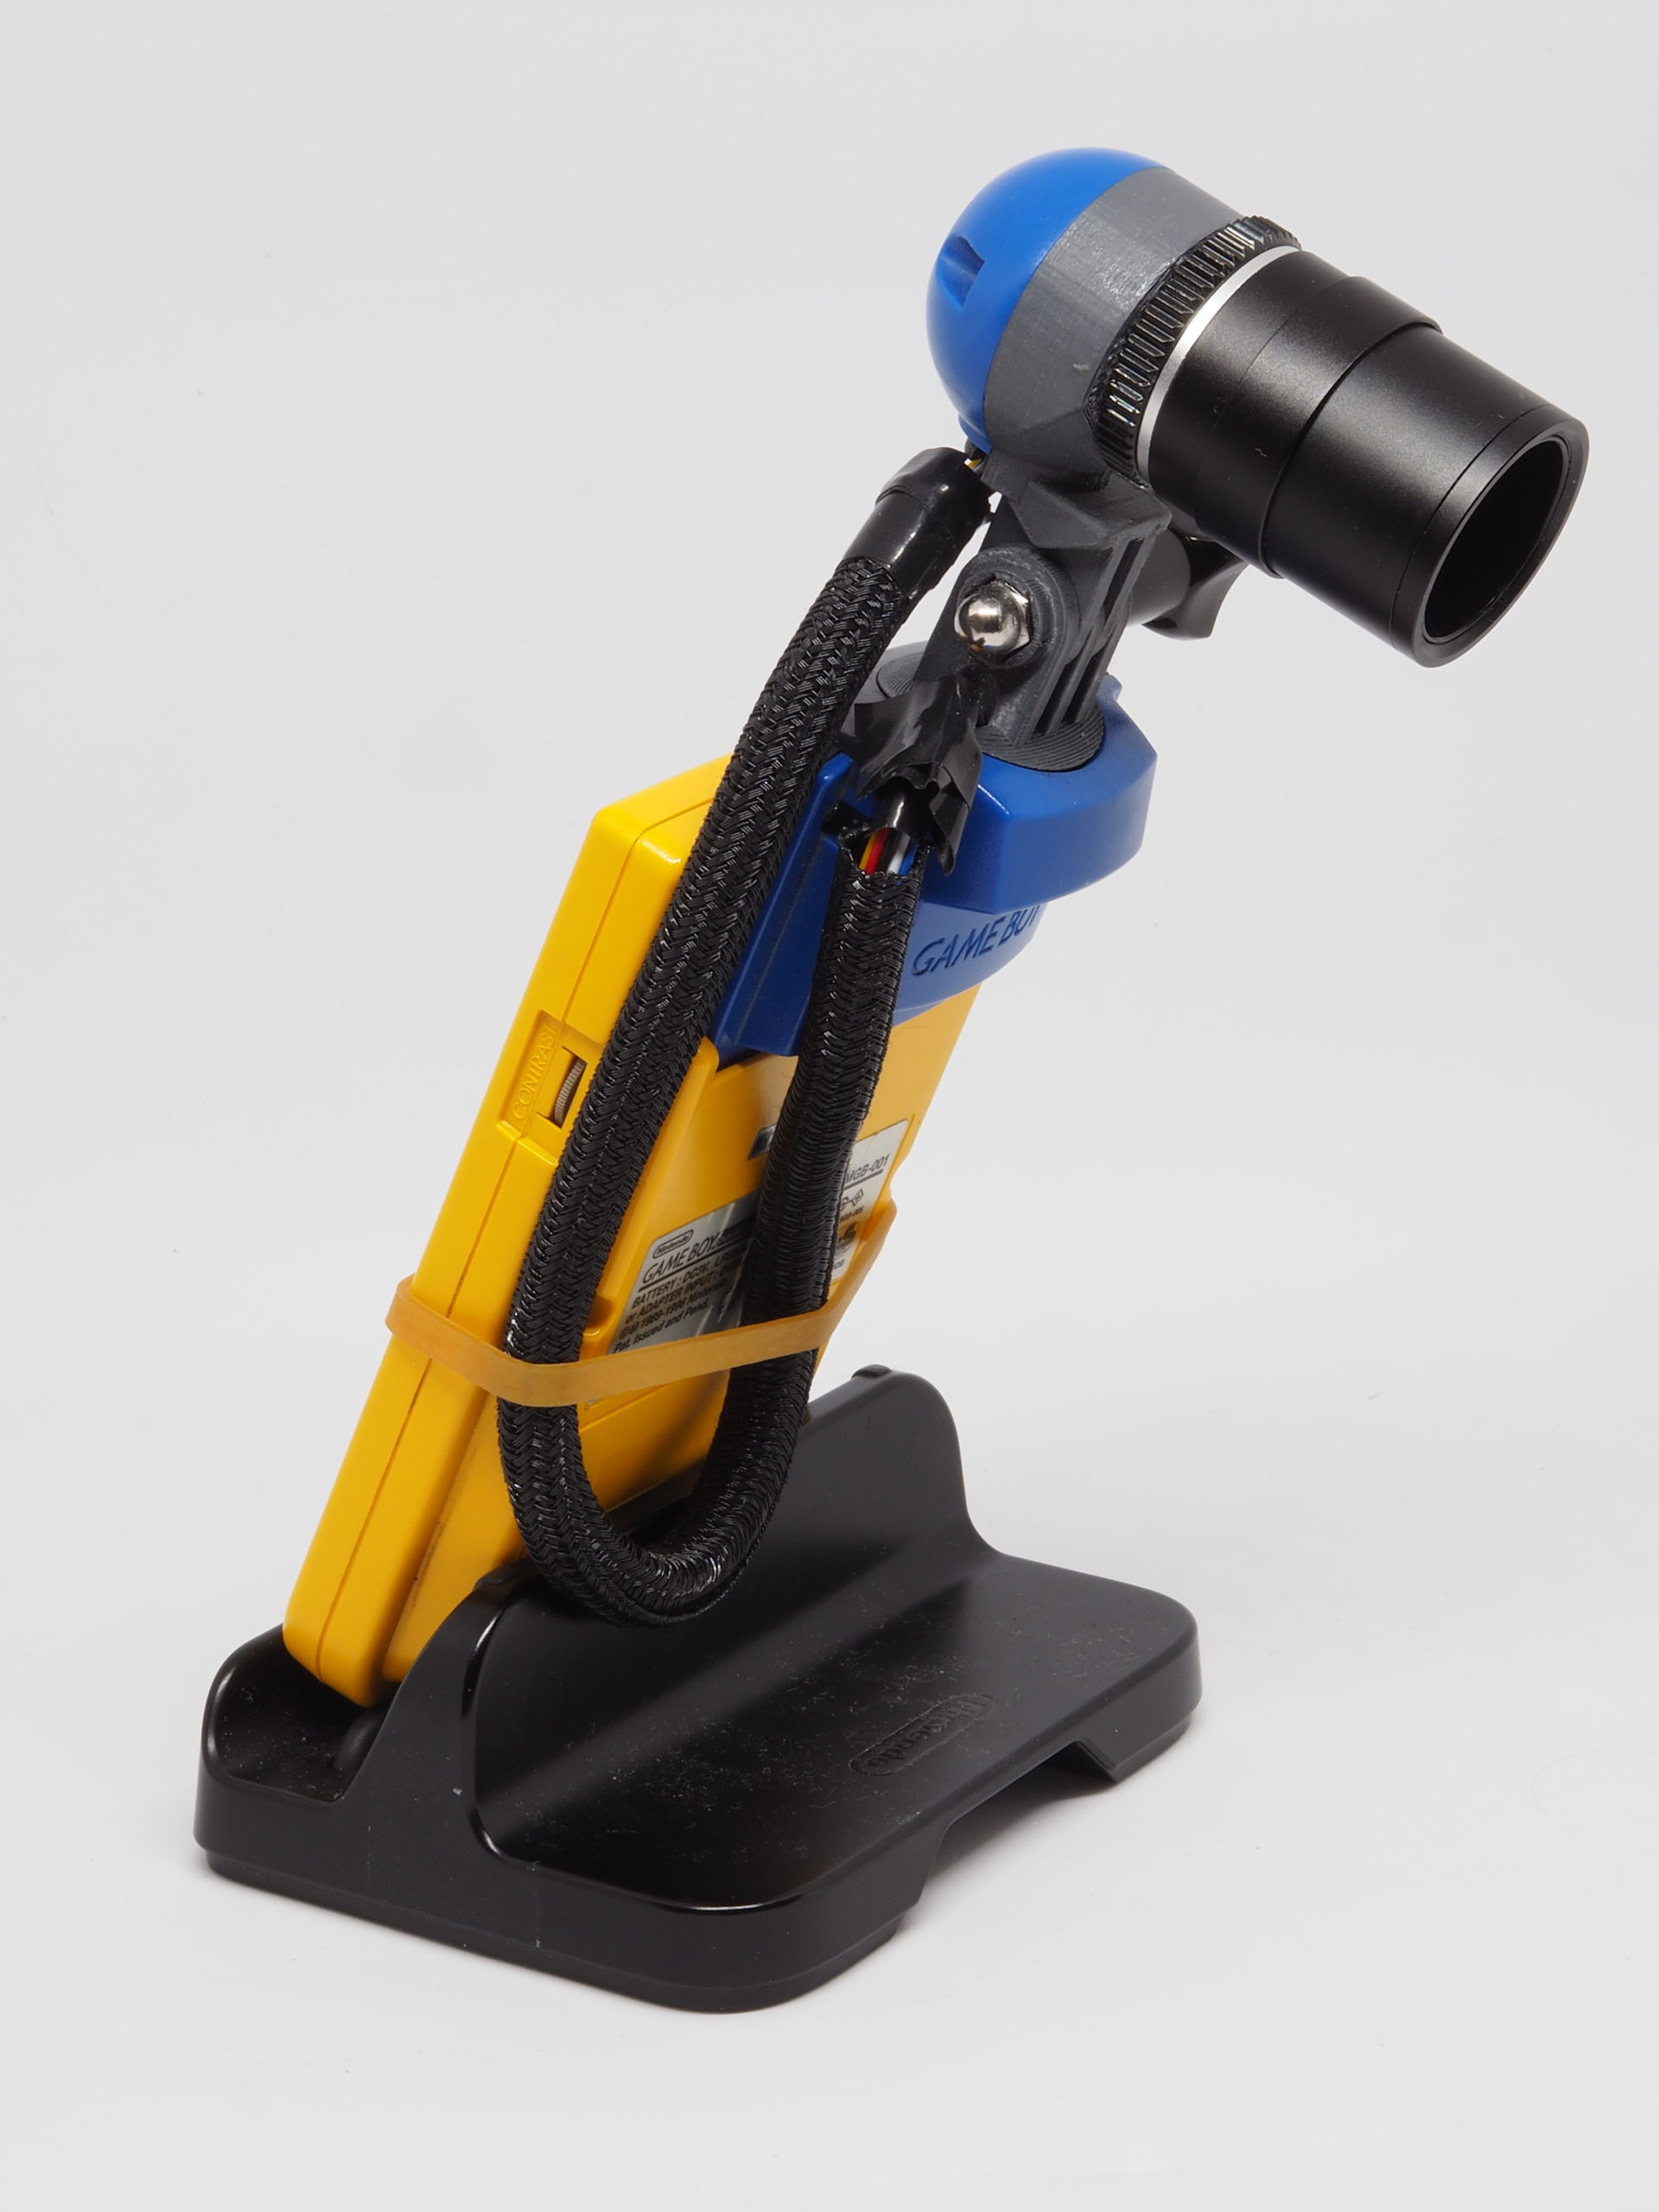
I 3D-printed the parts, glue some inserts, screwed some screws, got the 40cm cable, and tadaaa !


Finally, I added a Flexo F6, lateral insertion sleeve to protect the cables, and for a cleaner look.


Download the STL files here
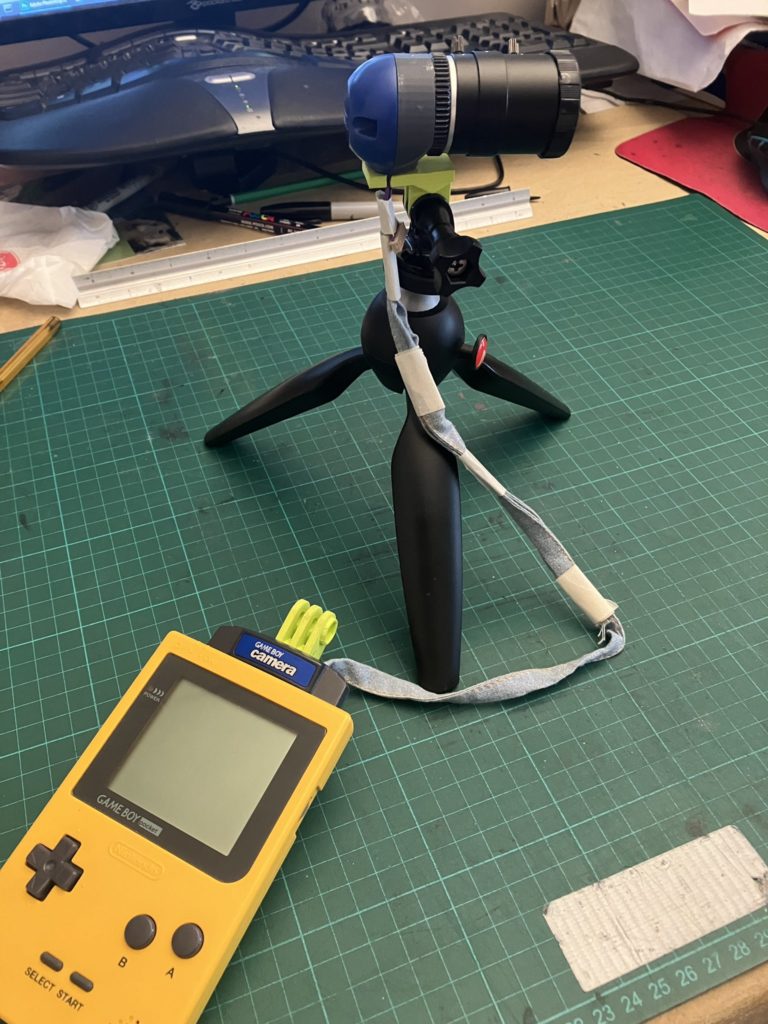
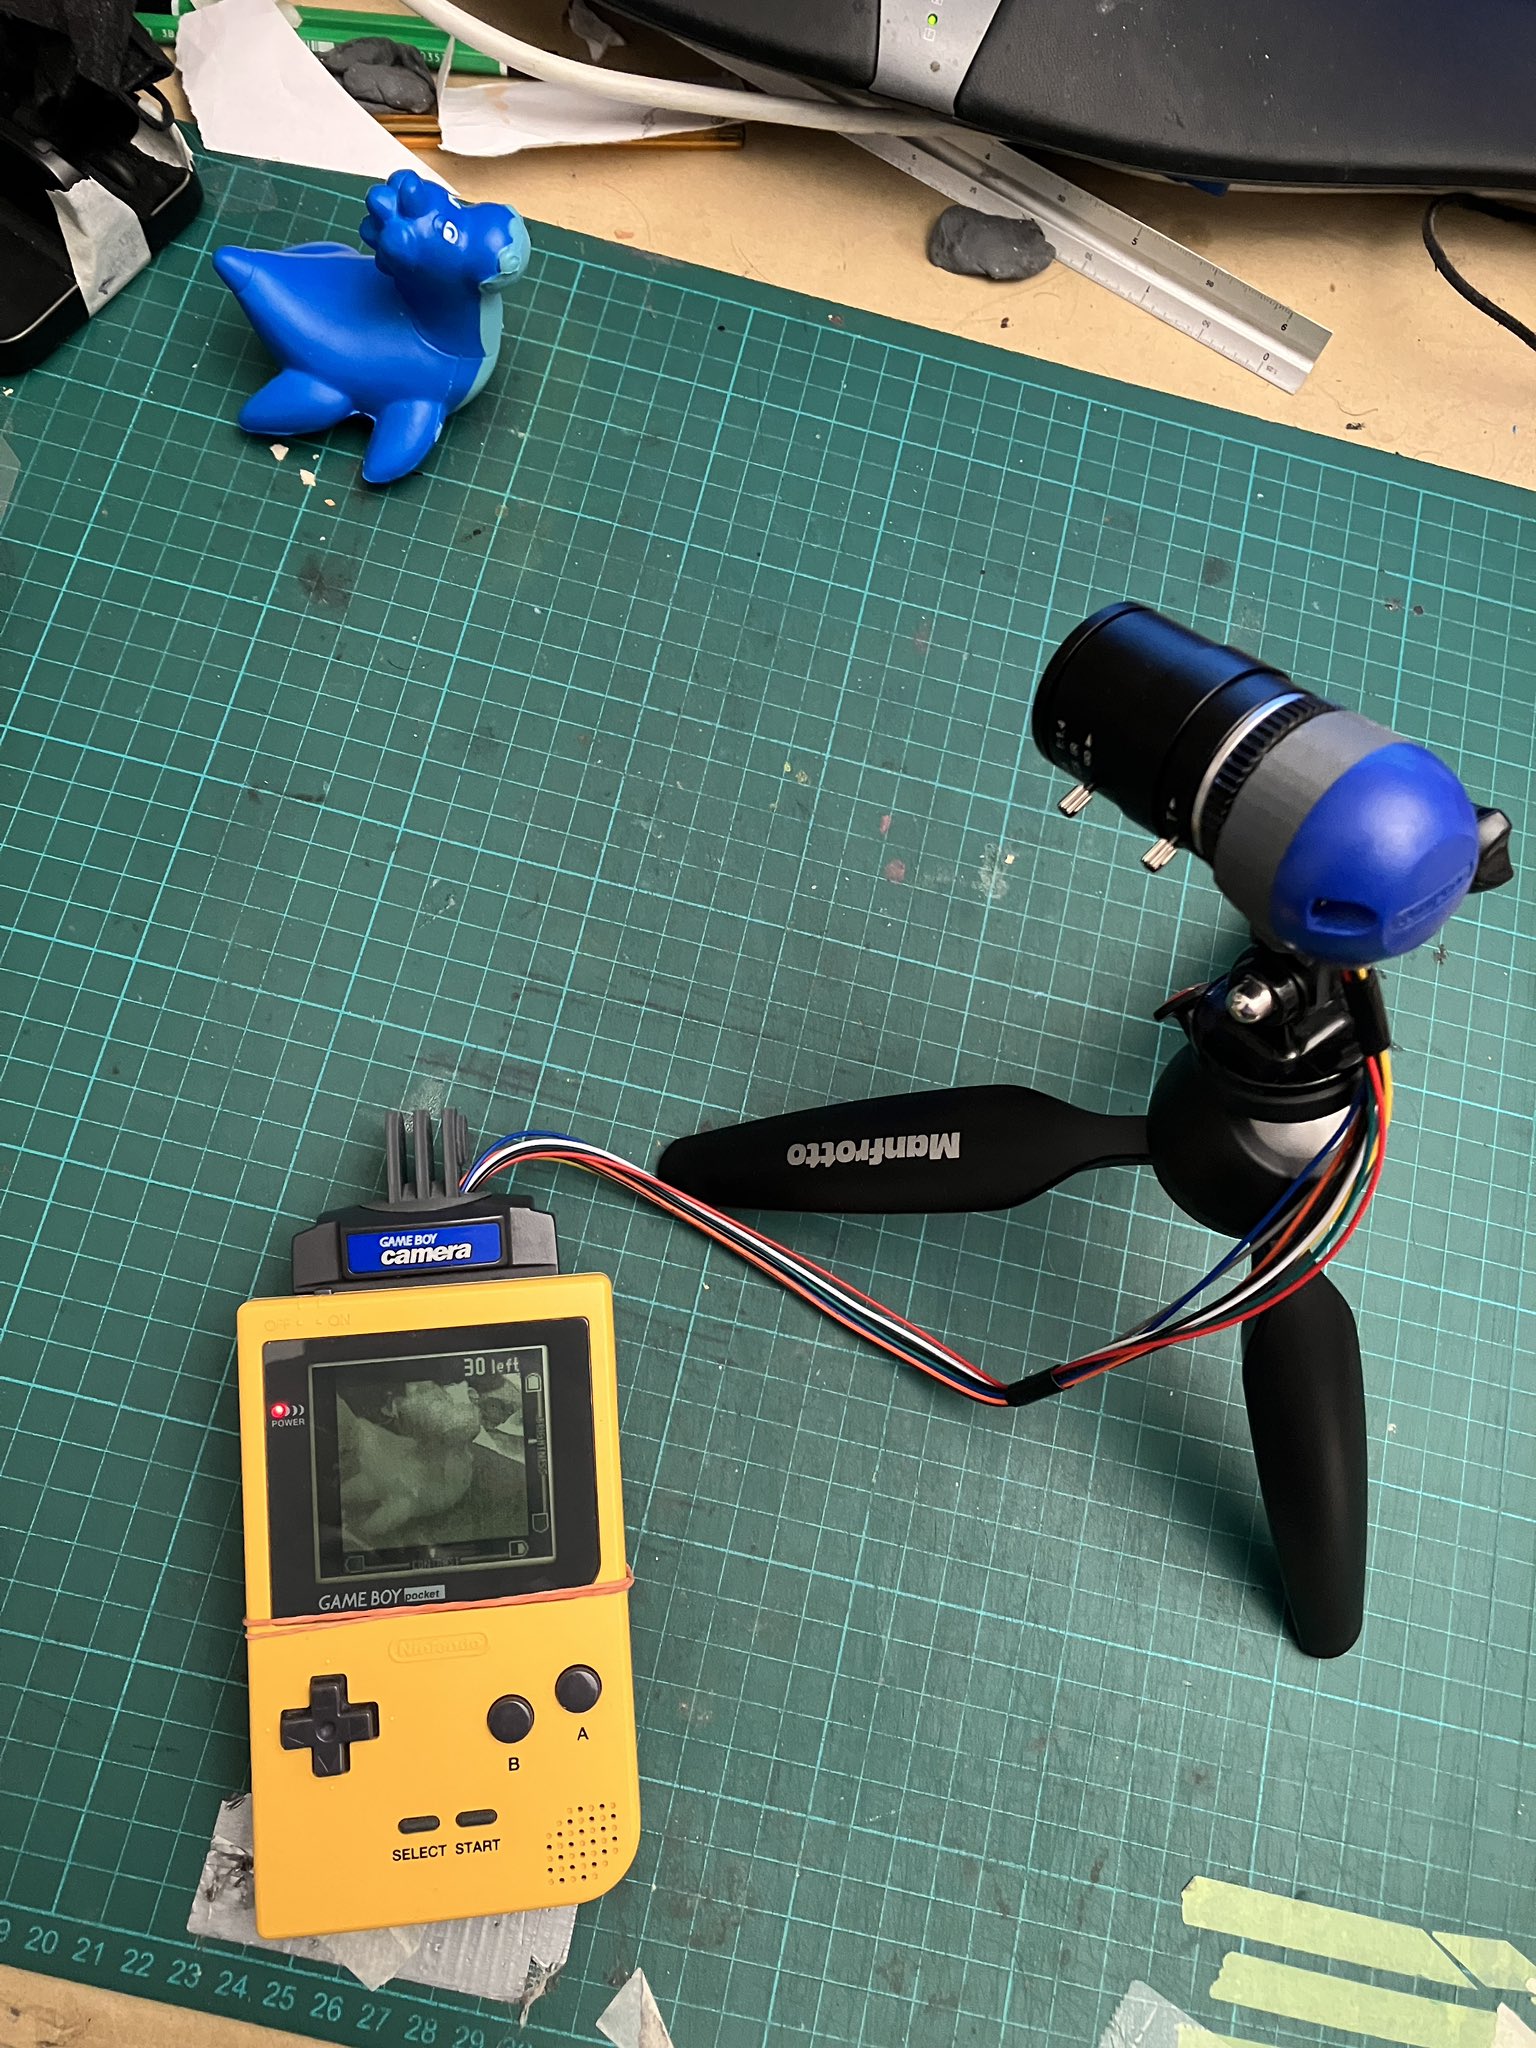
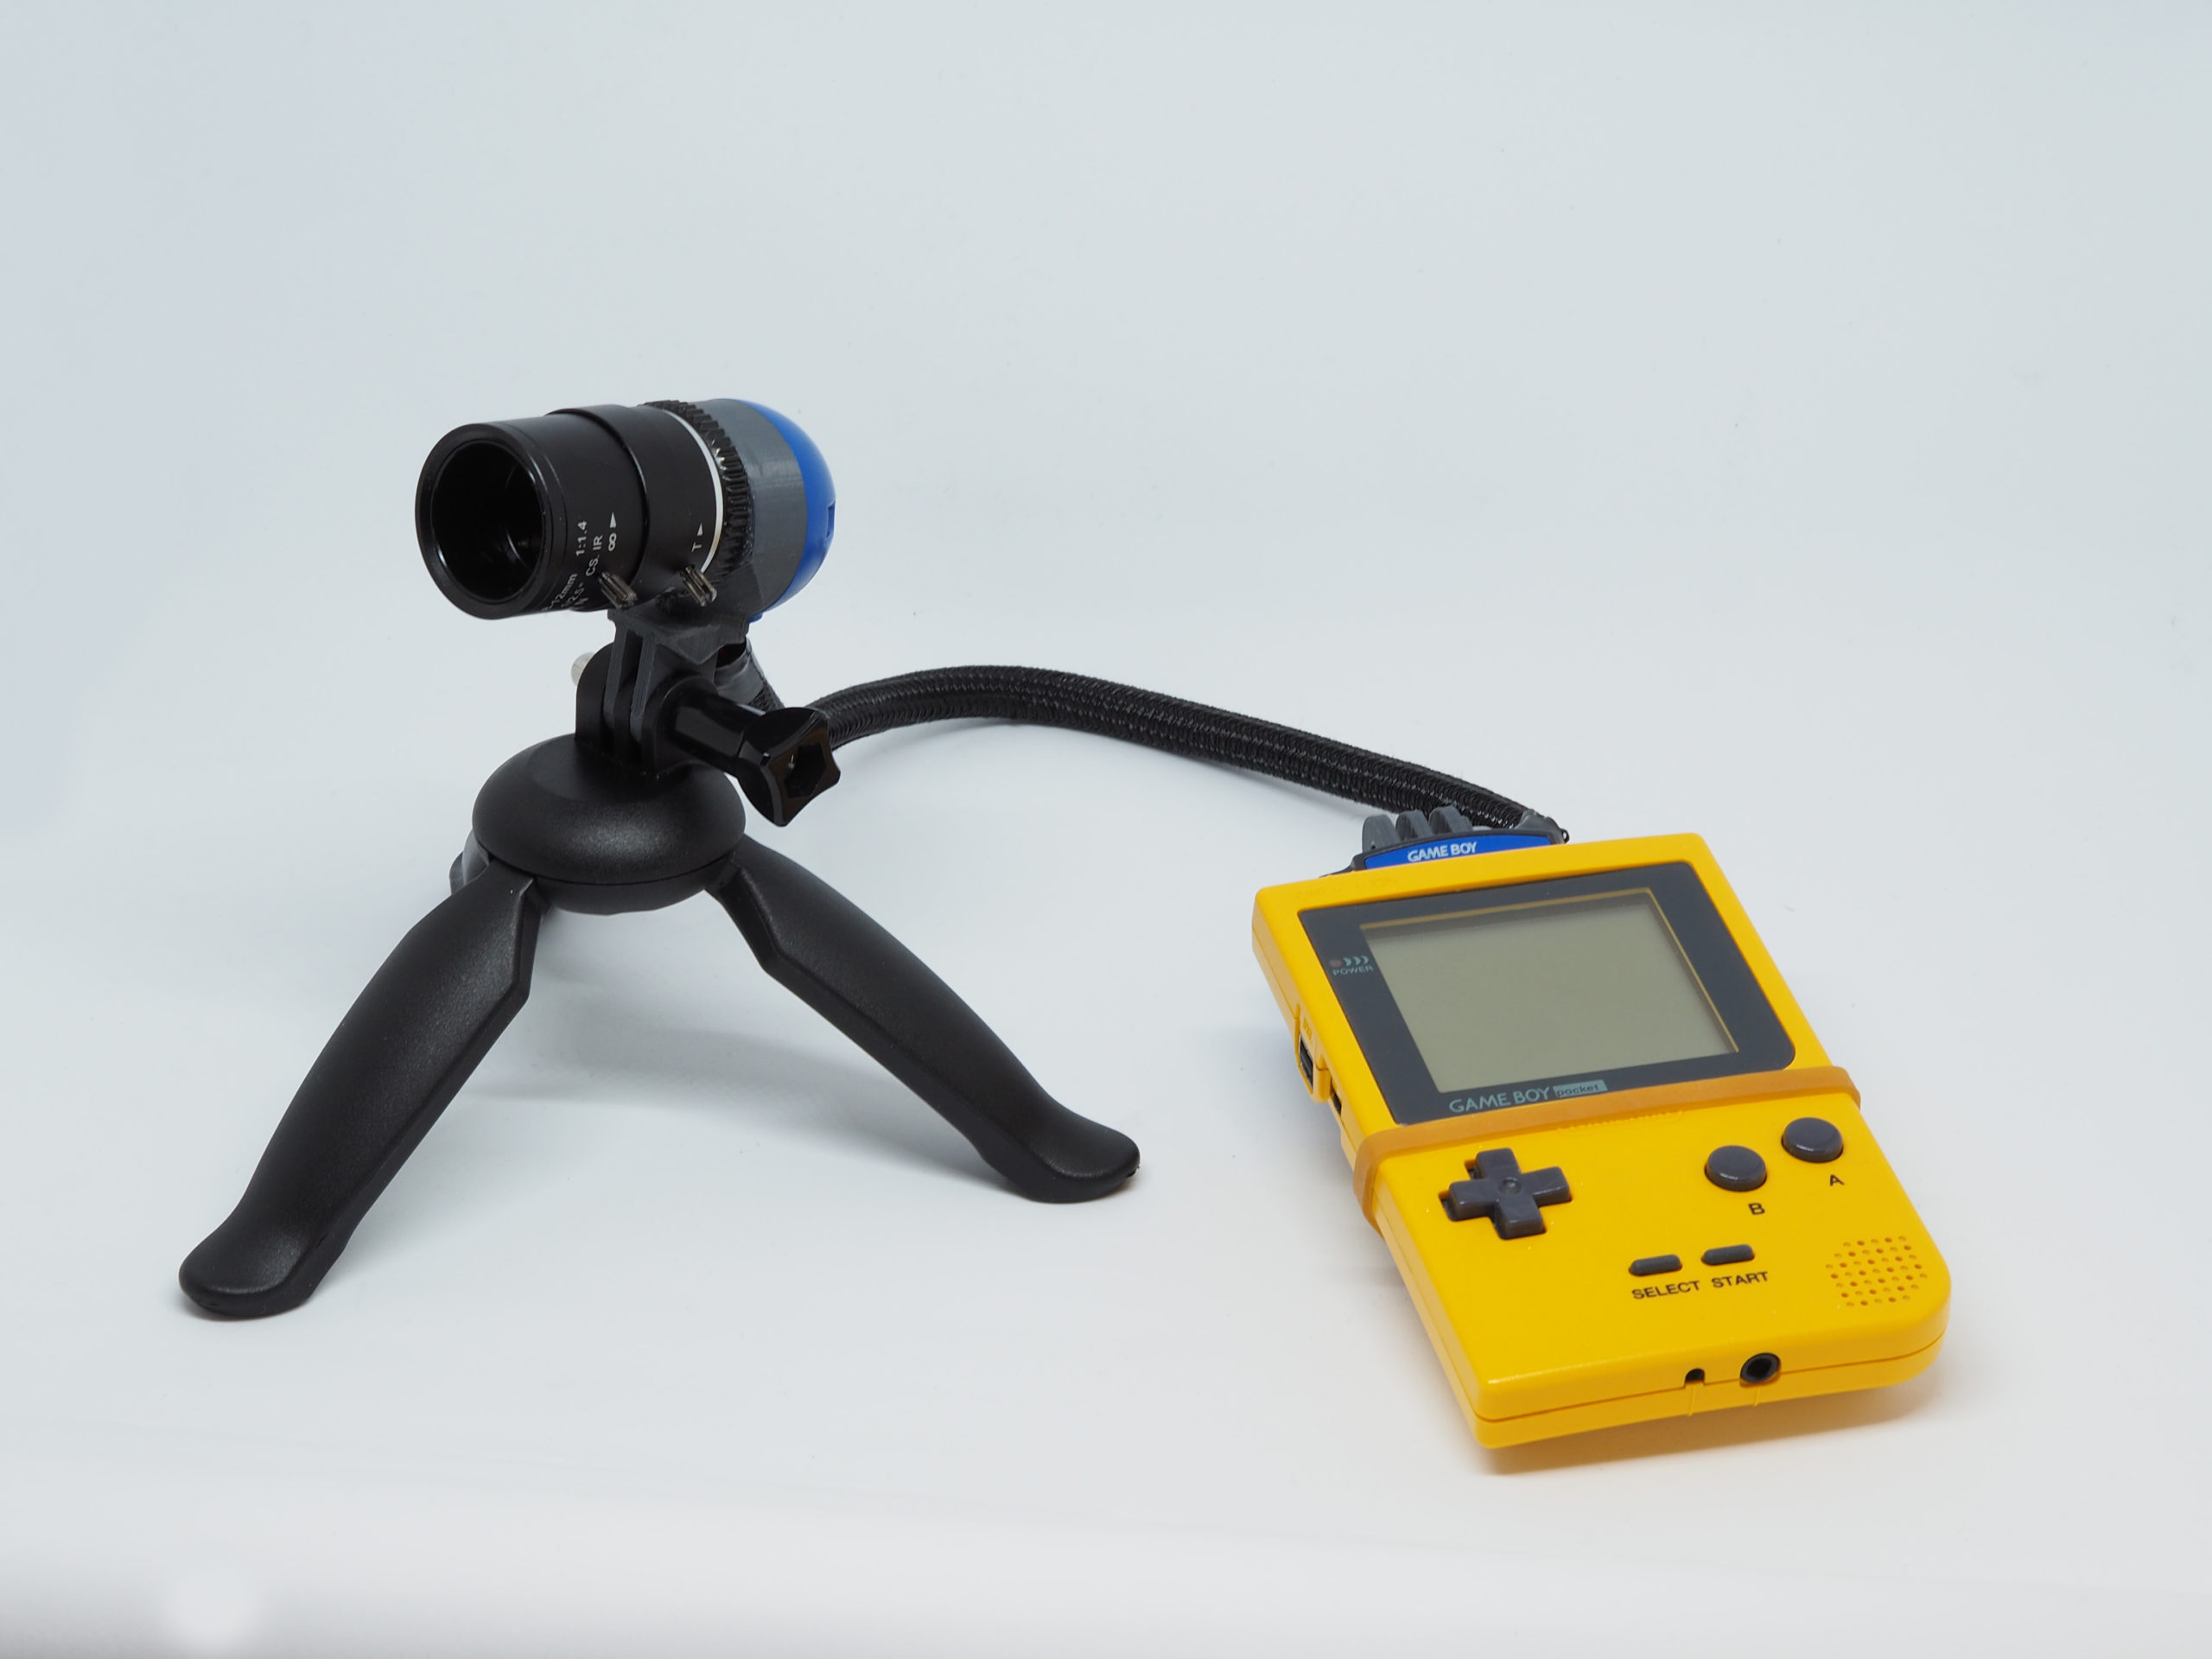
Shooting with the GoPro mount
Shooting with this mod came out great. It serves it’s purpose of being quickly mounted on a tripod, (I carry a small one in my bag) when I decide to shoot some HDR pictures. One drawback of this design is that the lens sits higher on the cartridge, leading to some slight unbalance, especially with heavier lenses. But it is not that much trouble.
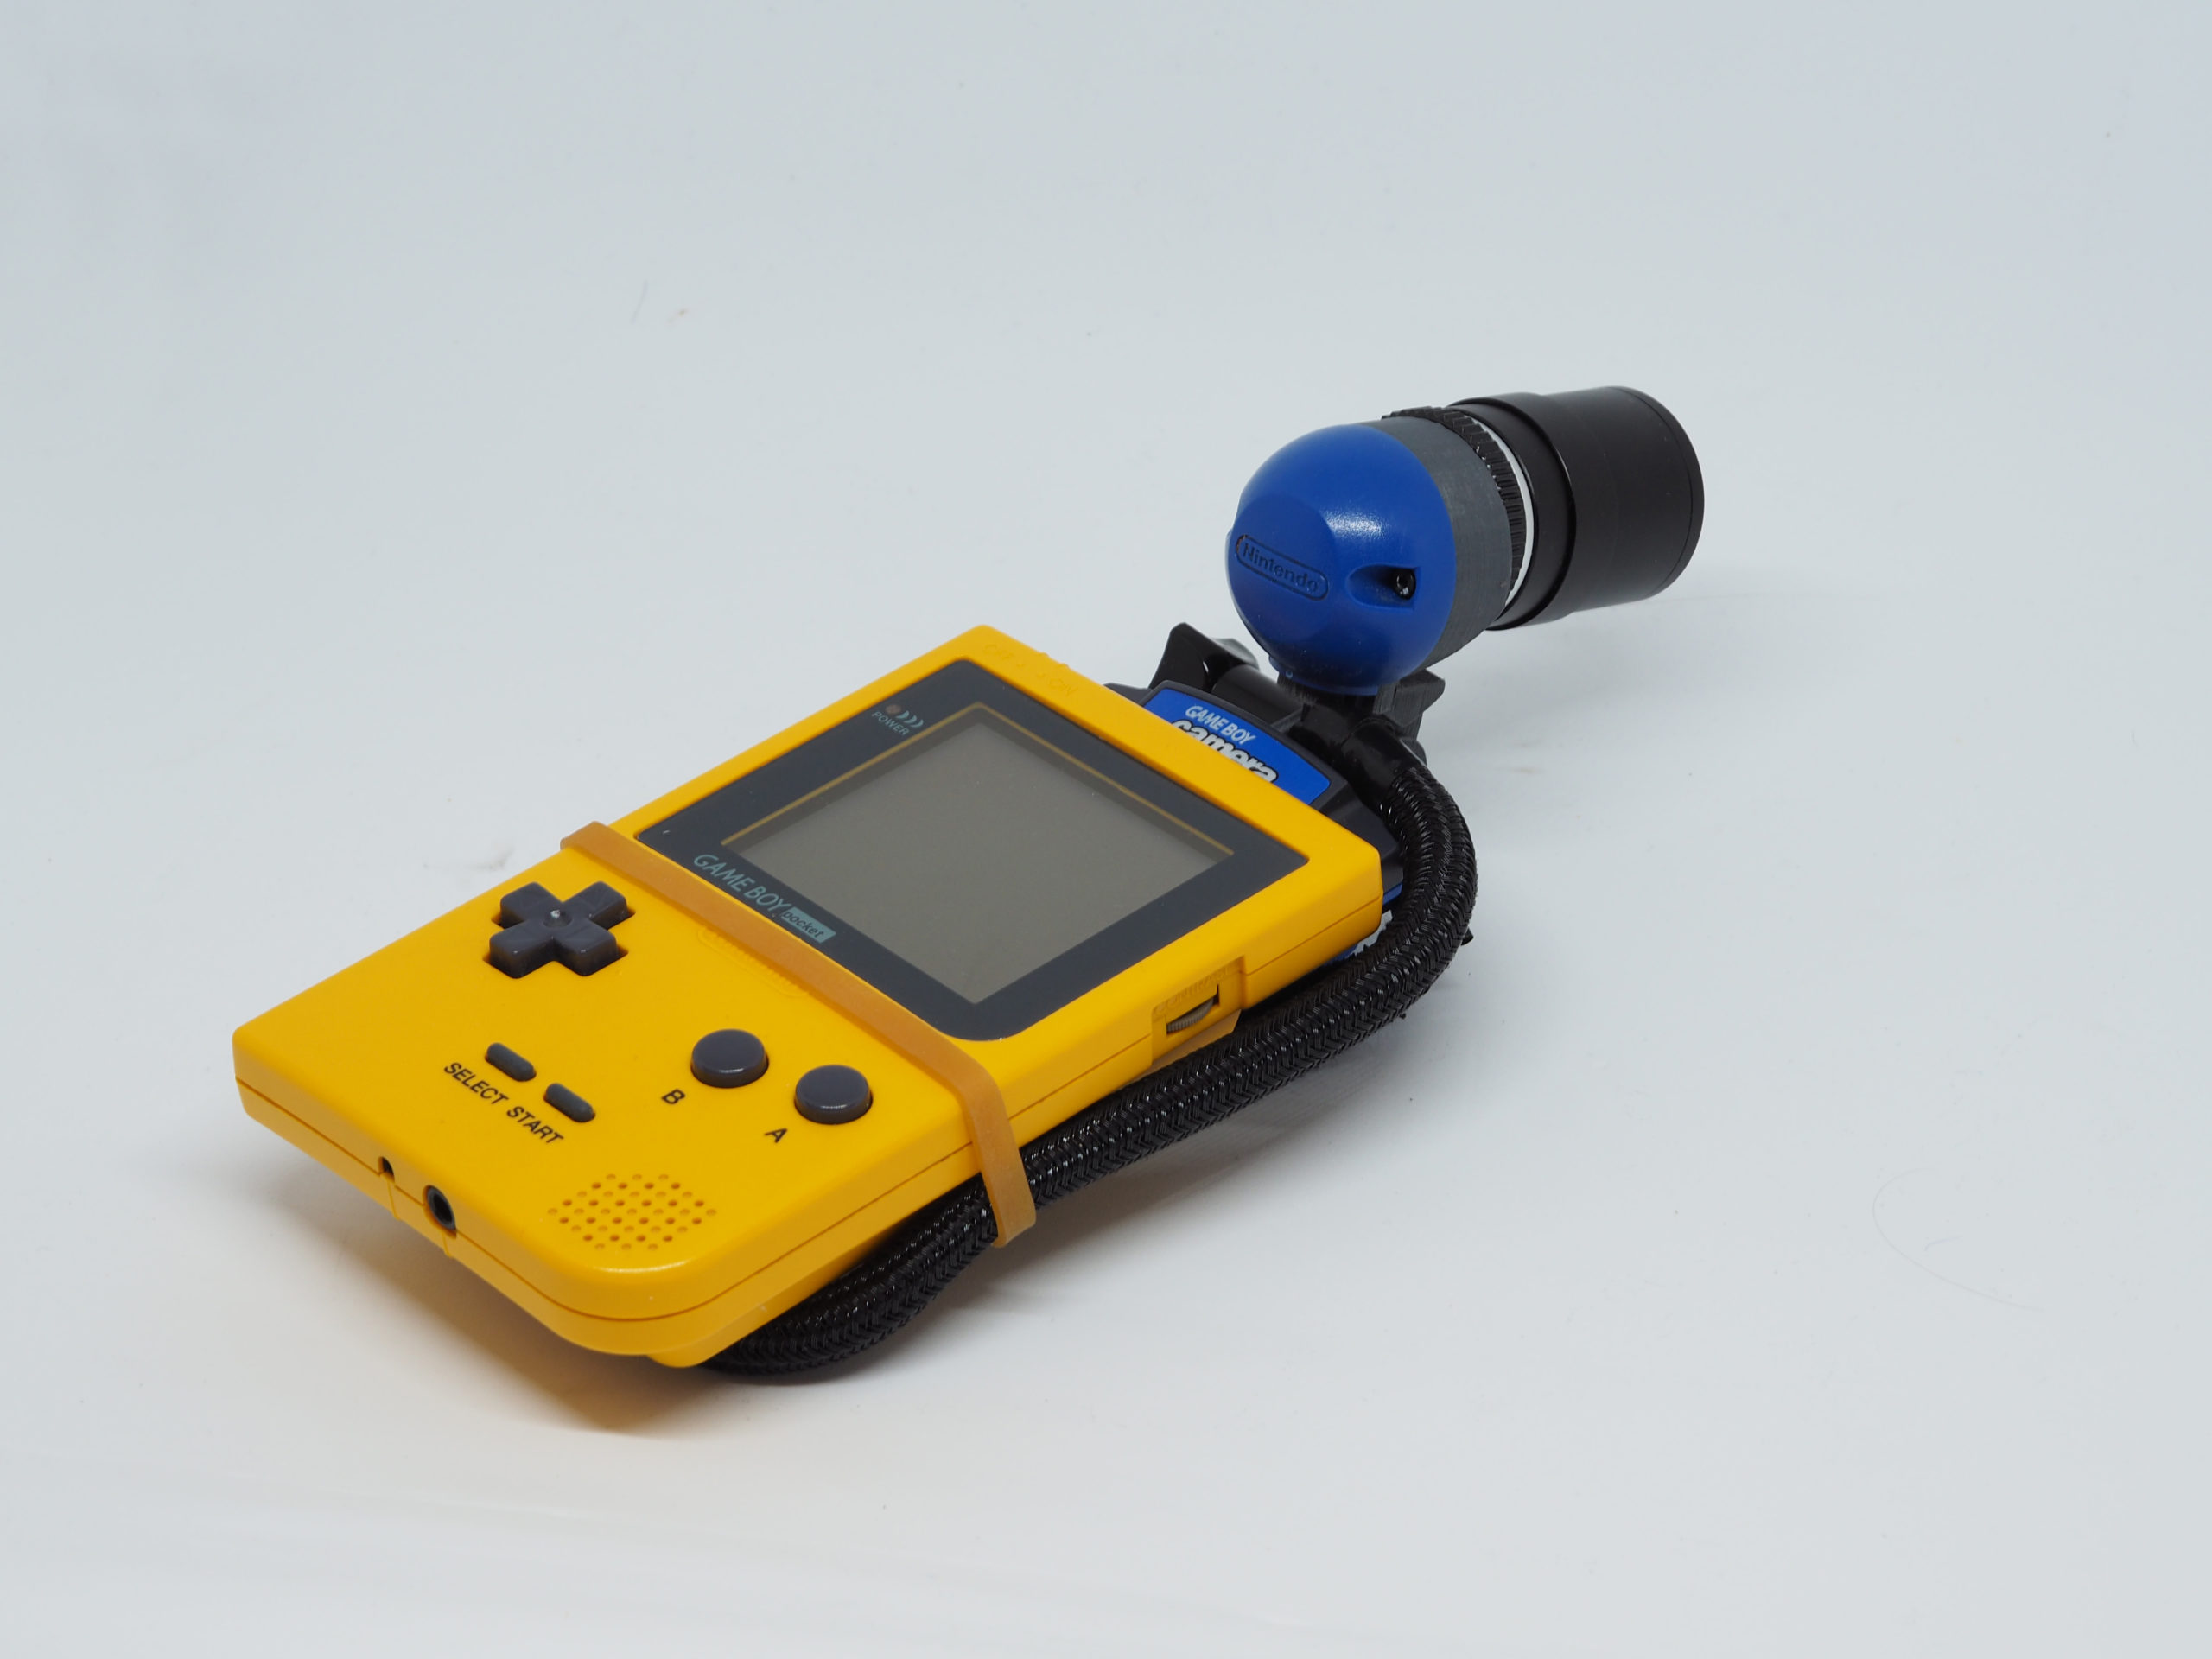
A cool (non anticipated) side-effect of the GoPro mount is that it can be rotated around its axis, thus allowing shooting “from” the hip with the lens facing forward and the screen facing up. I particularly like shooting from the hip with the flip screen of my digital camera, so it was good getting back to this habit. Especially with the screen of the gameboy, that shows off some heavy reflections, it was hard to see anything with the standard camera, and this orientation helps a bit.
HDR
HDR pictures consists in taking several images of the same scene with different exposure. The images are then blended together to create one image with much bigger range of pixel values. While one Gameboy Camera picture has a range of 4 different values, an HDR image composed by 16 different exposures can have a range of 48 different values.
A tripod almost essential to guarantee that the several images are aligned. That is where the GoPro mount shines, the Gameboy body acting as a remote shutter, while the lens stays still on the tripod.


