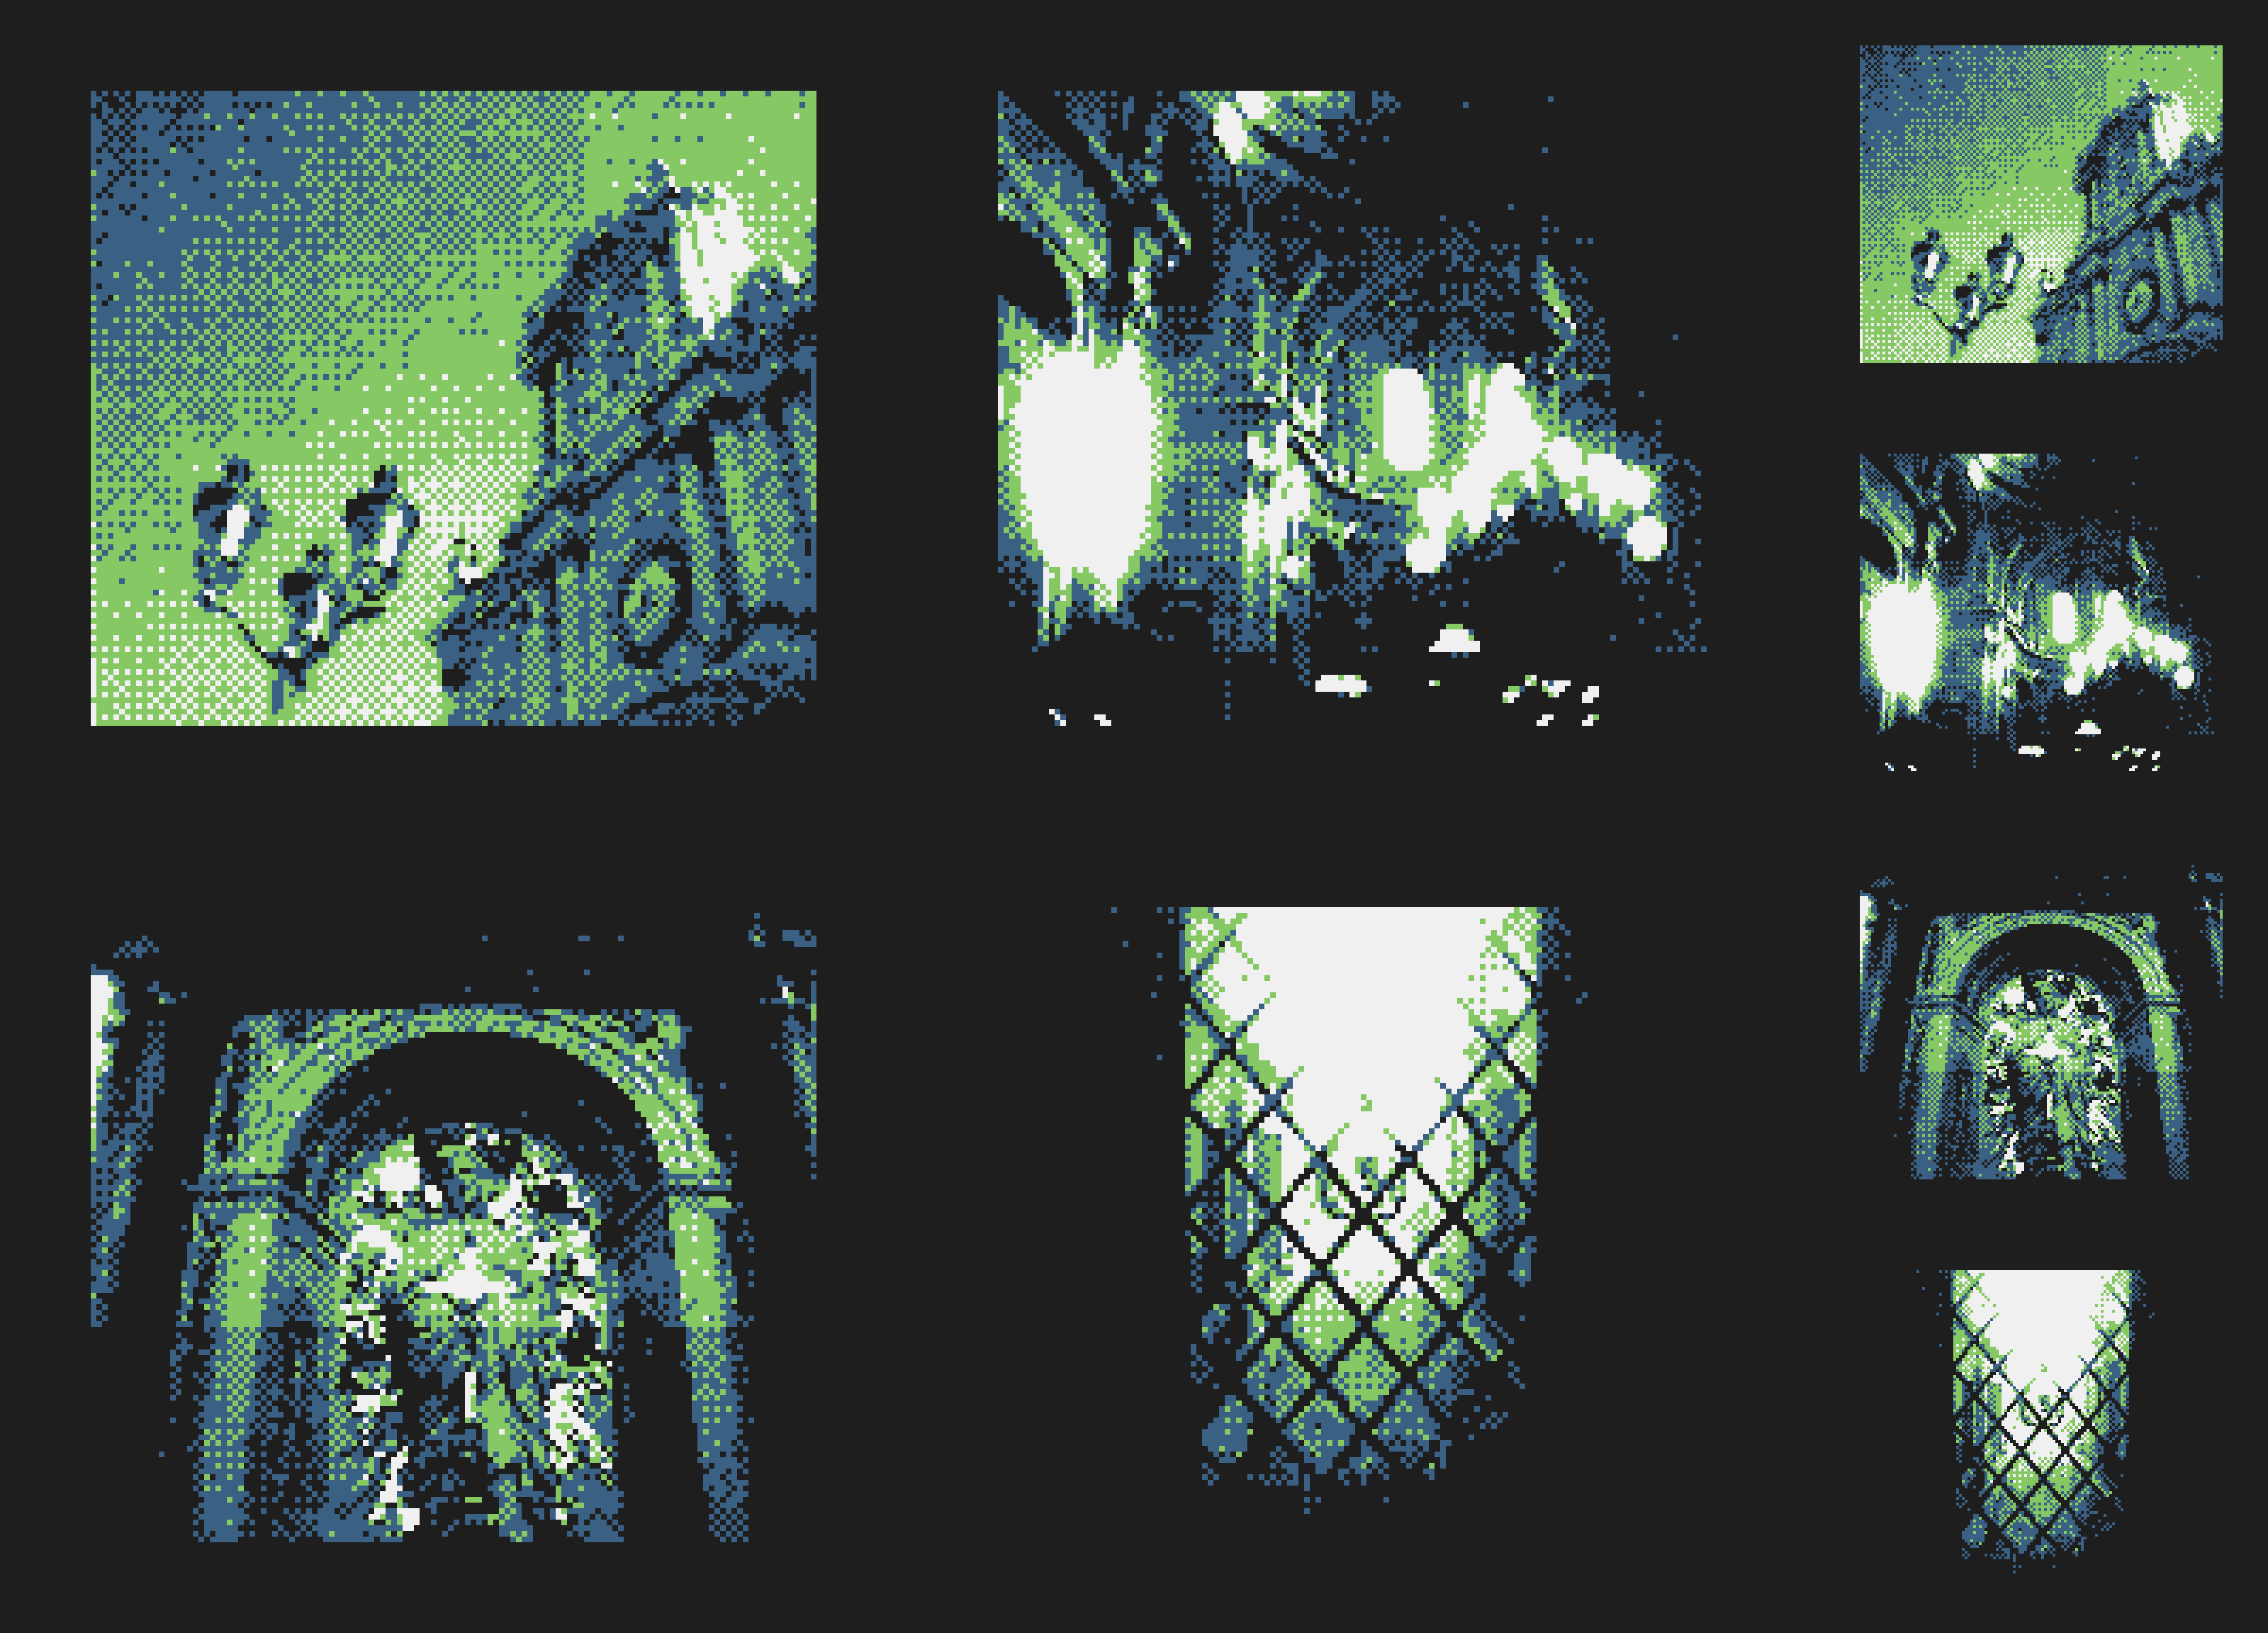
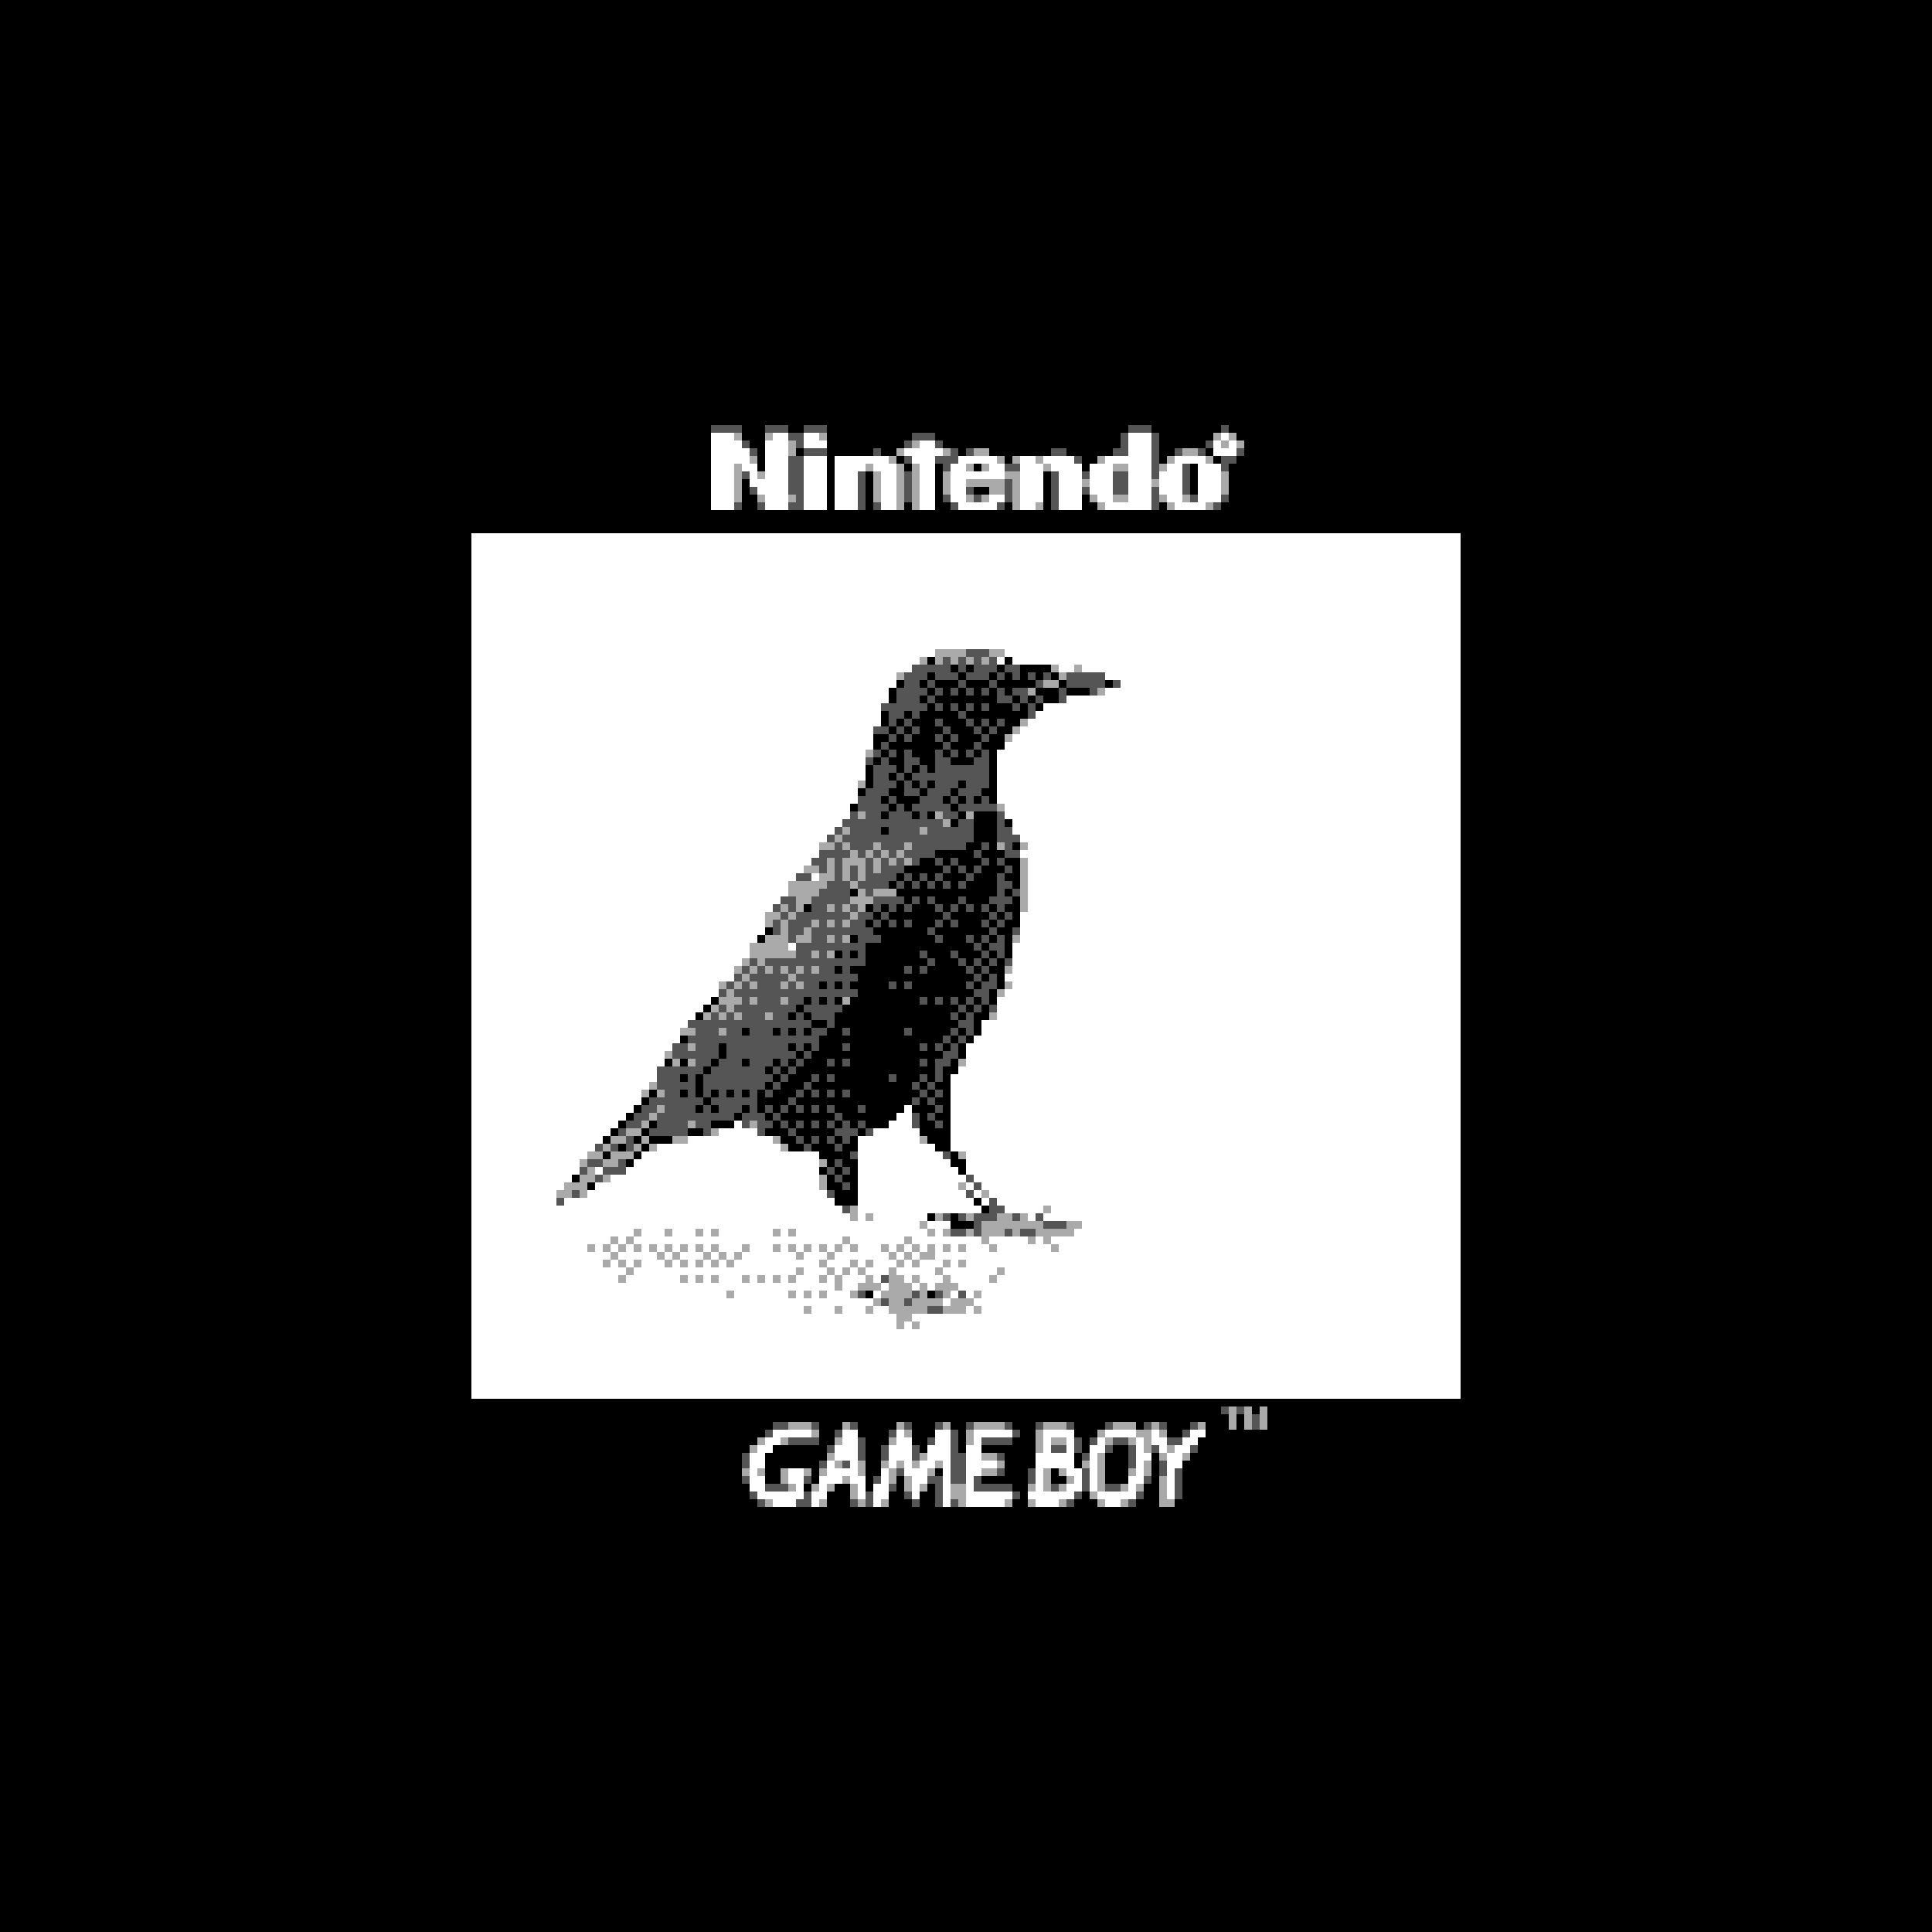
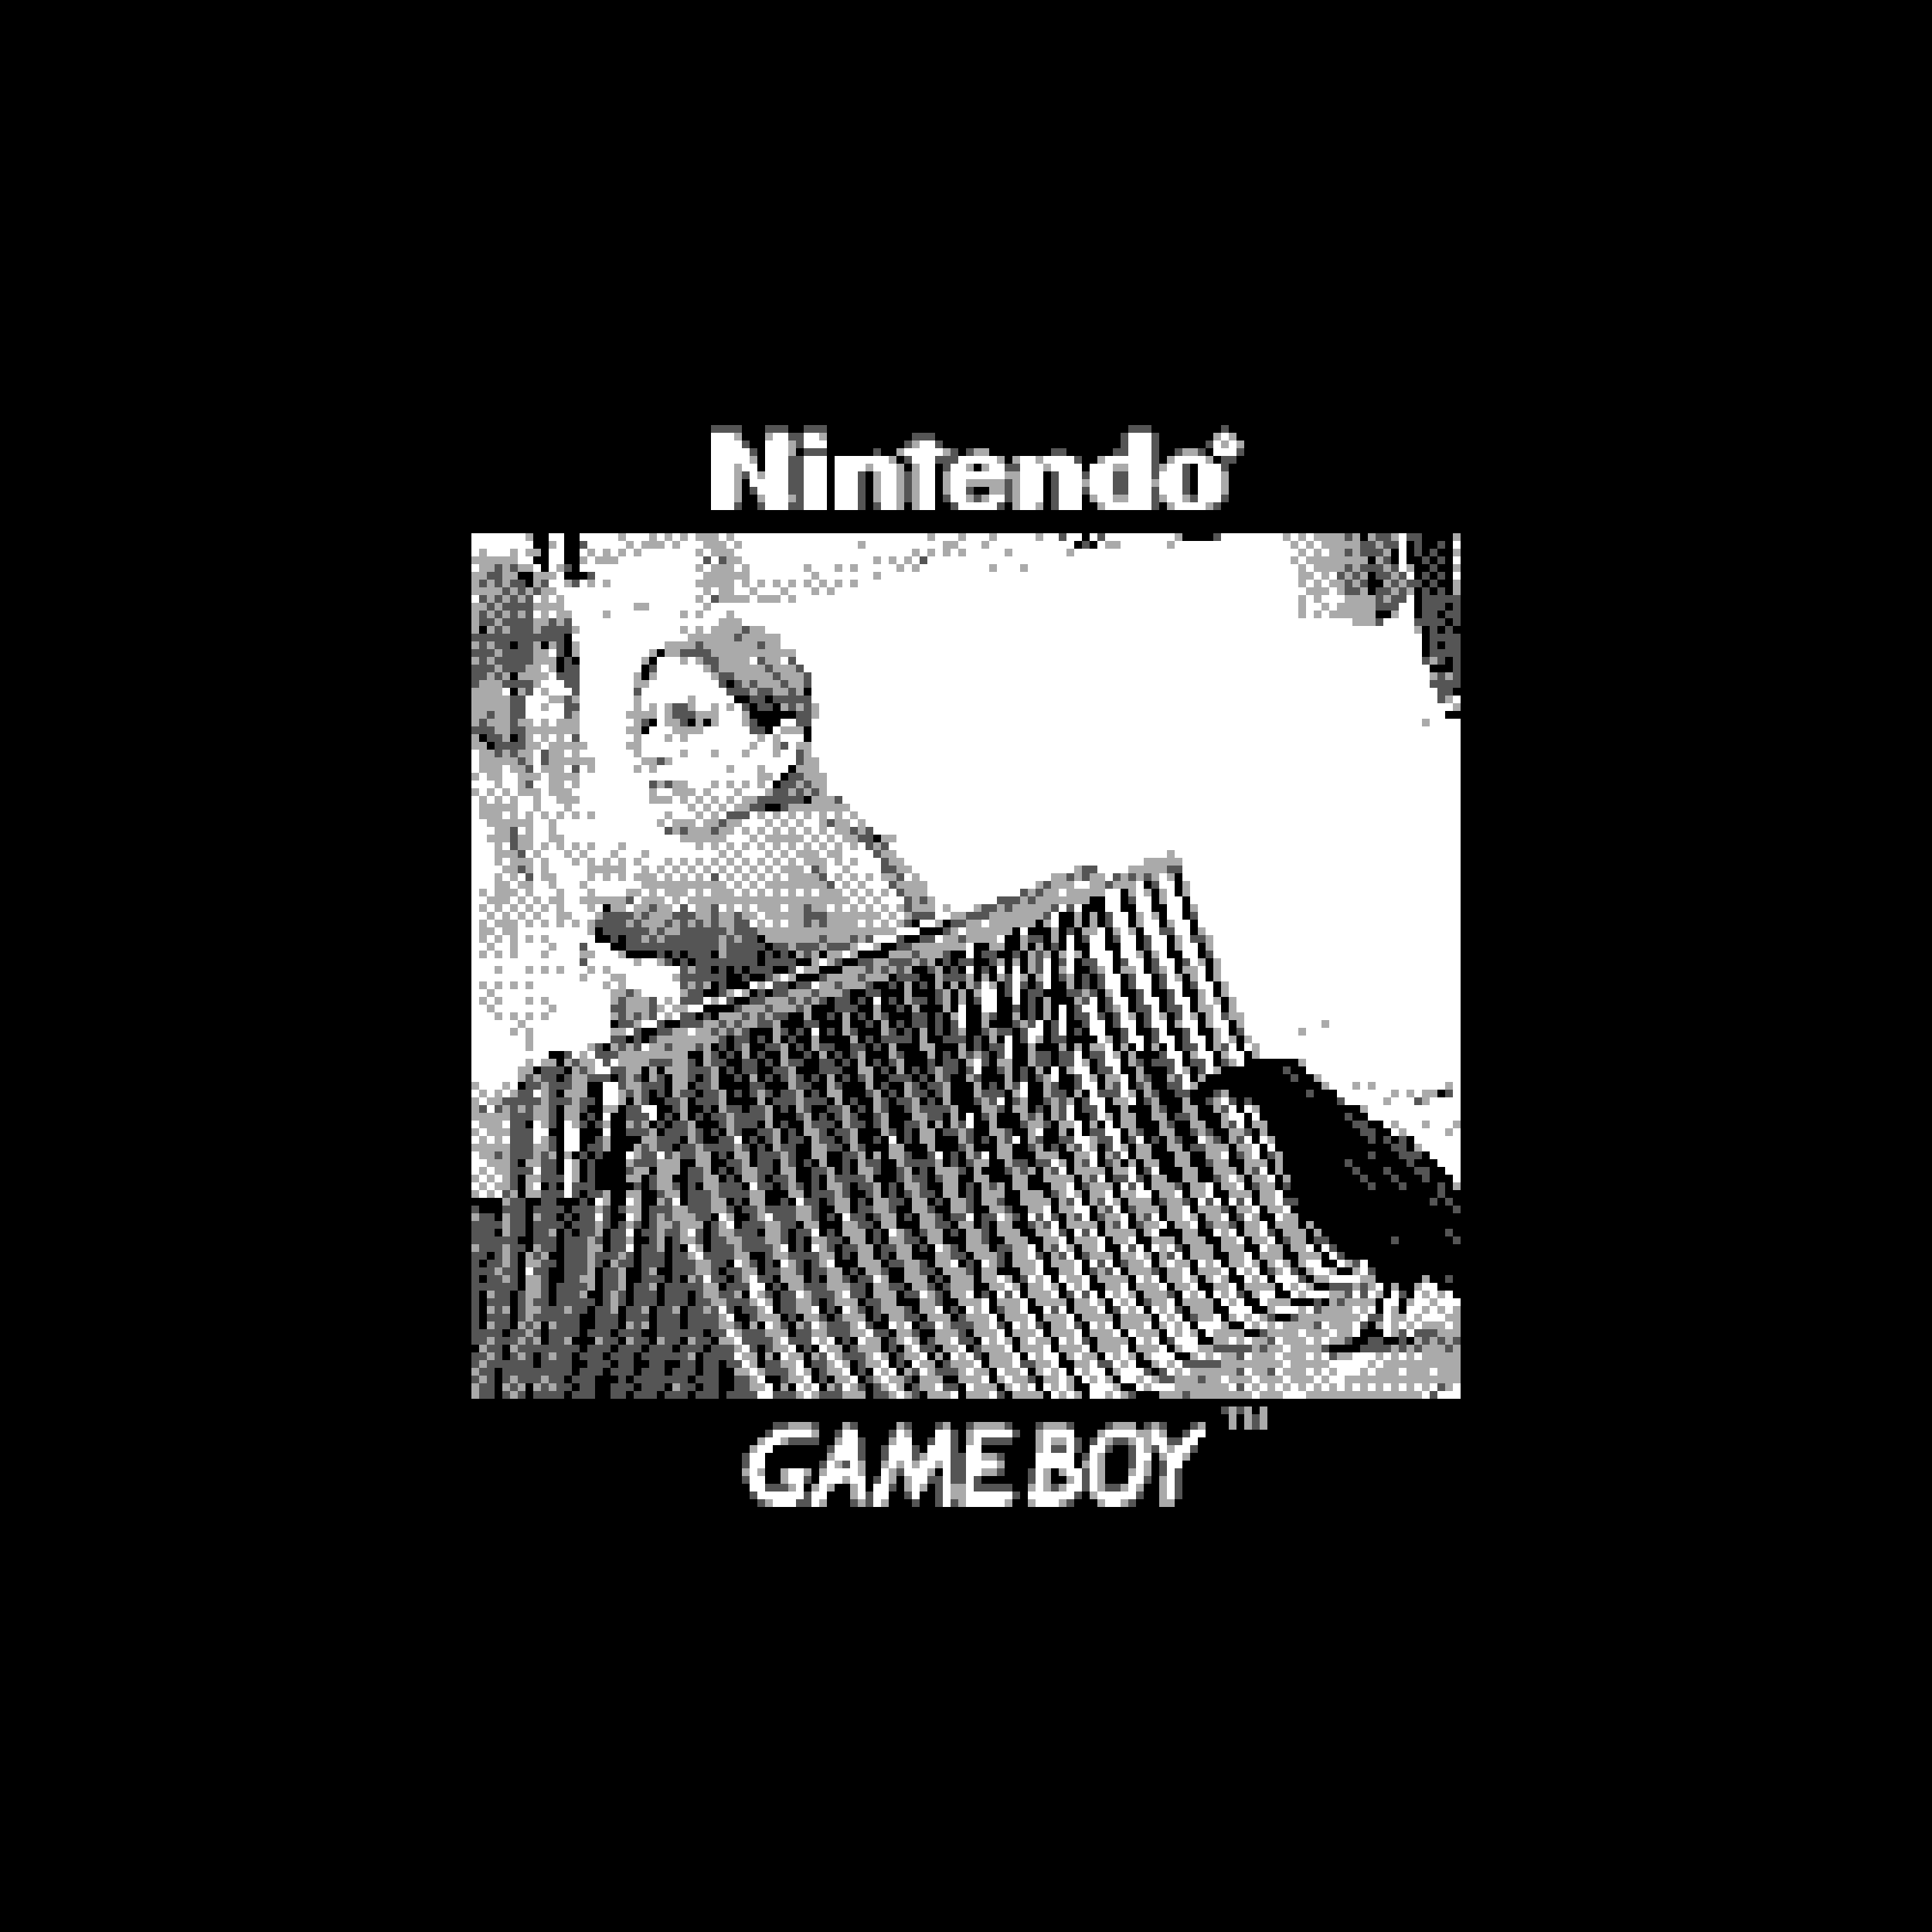
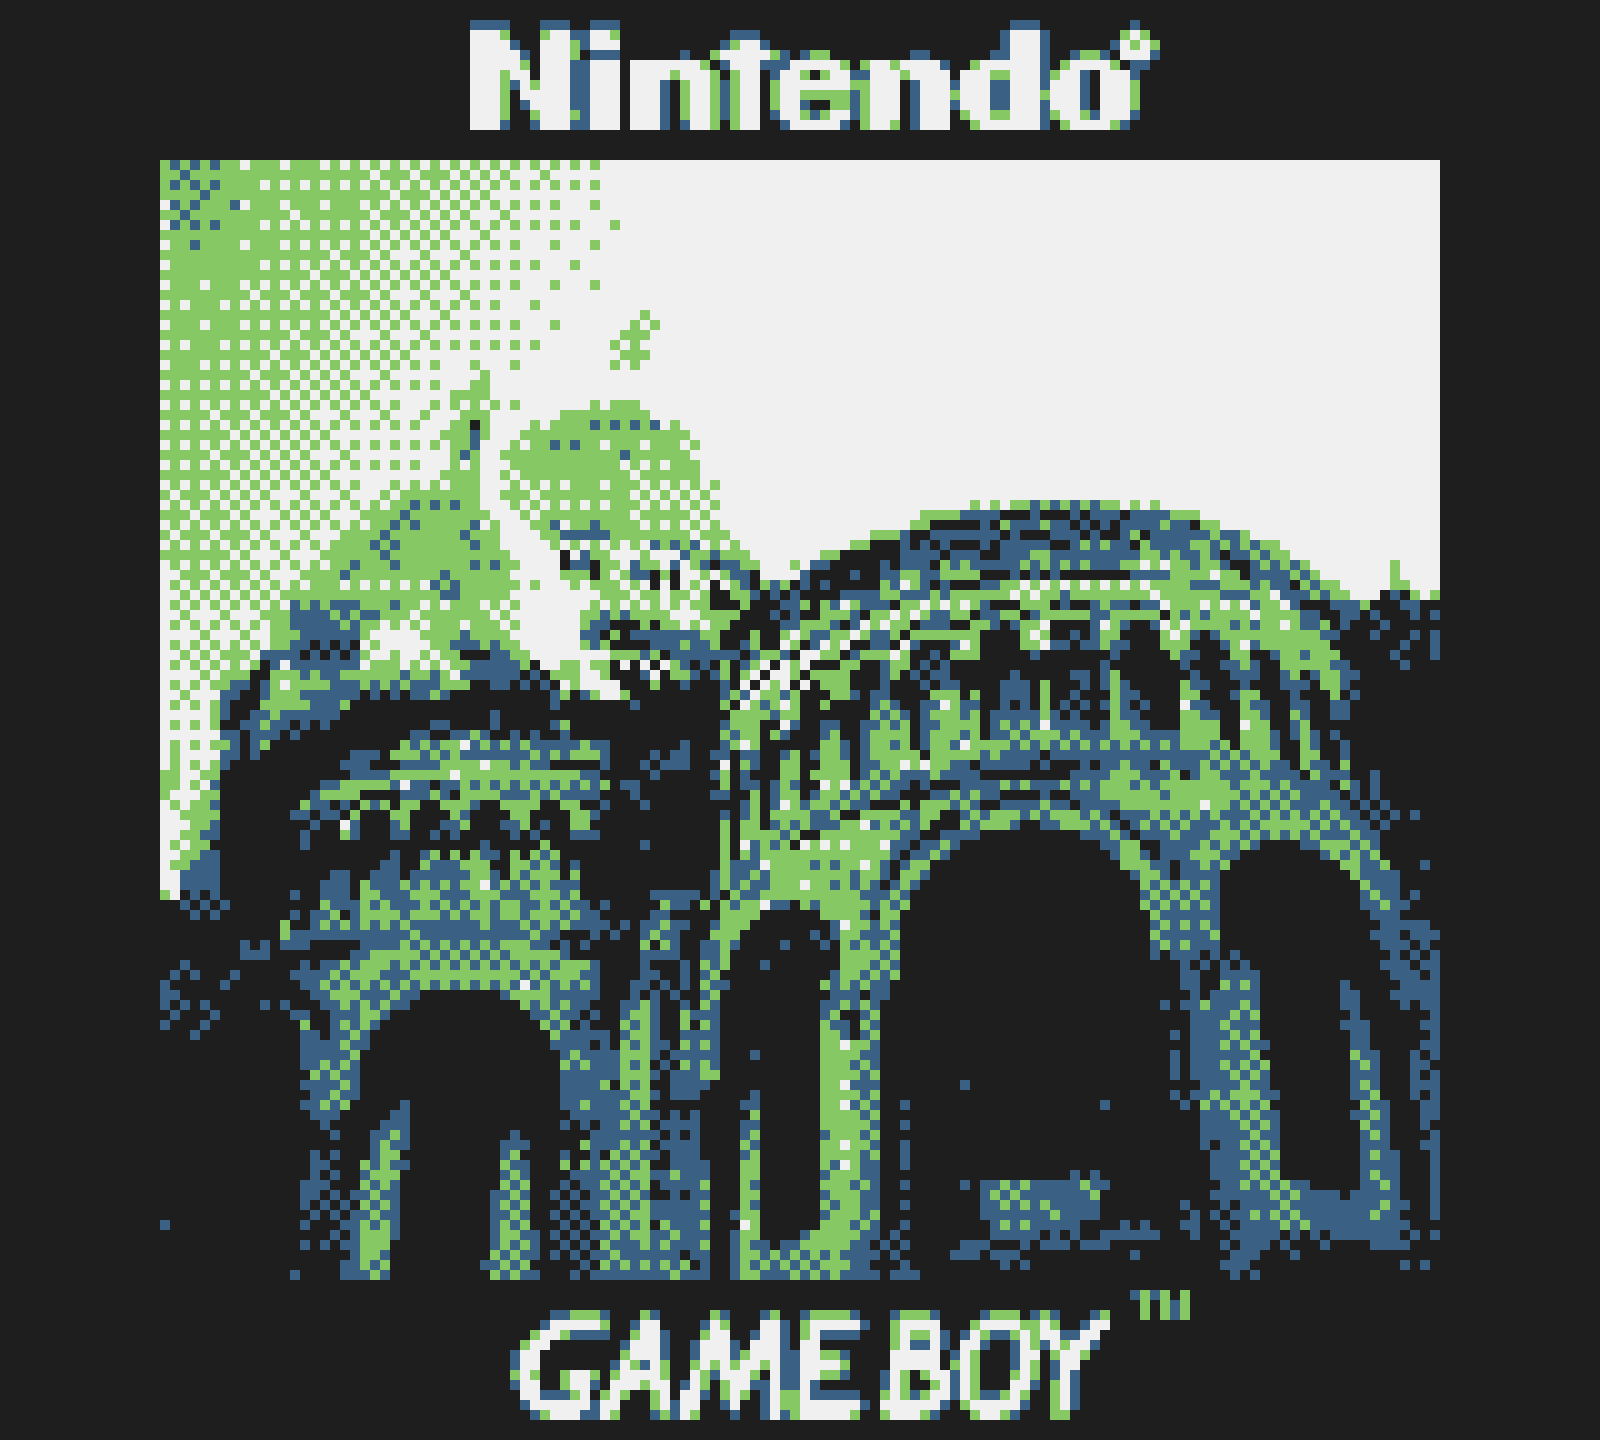
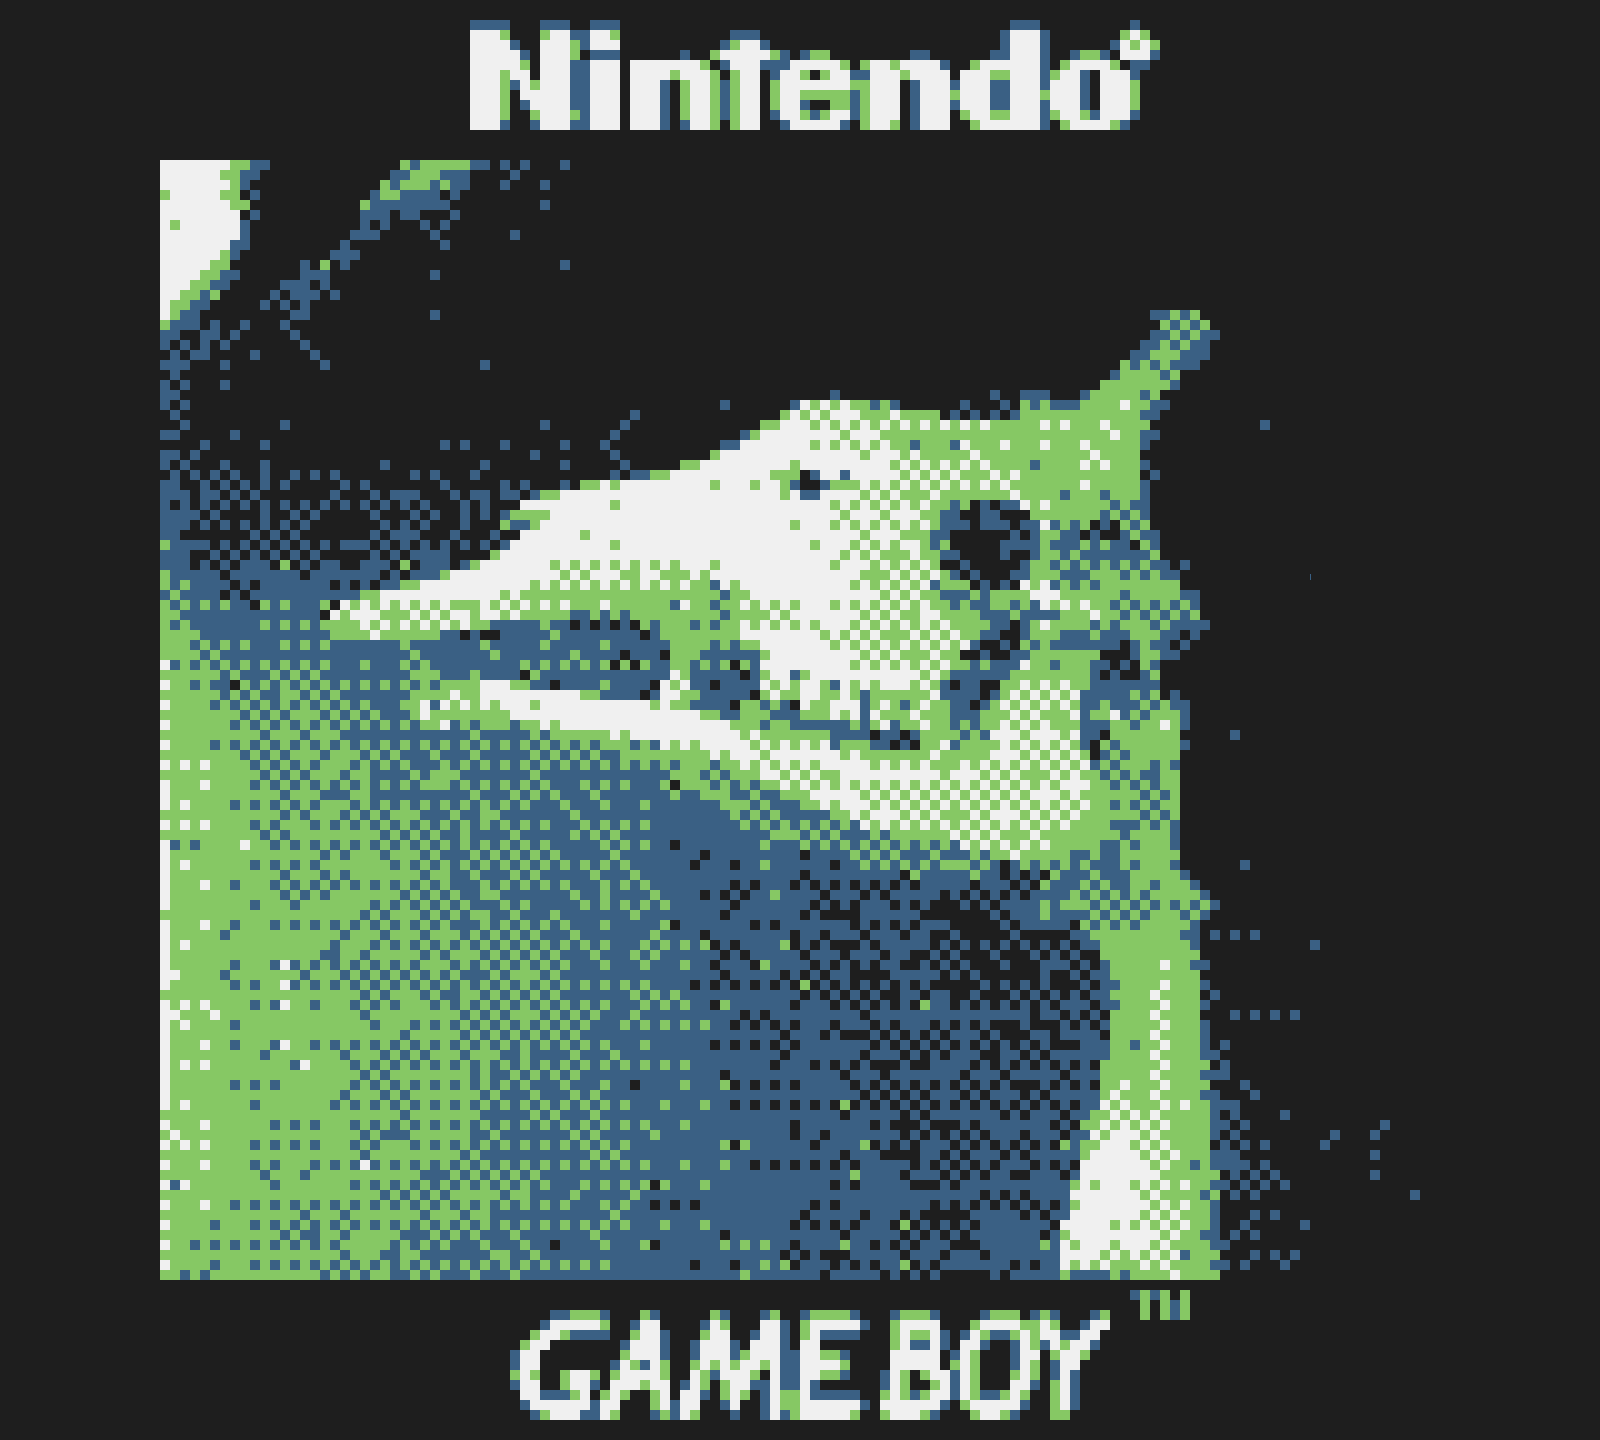
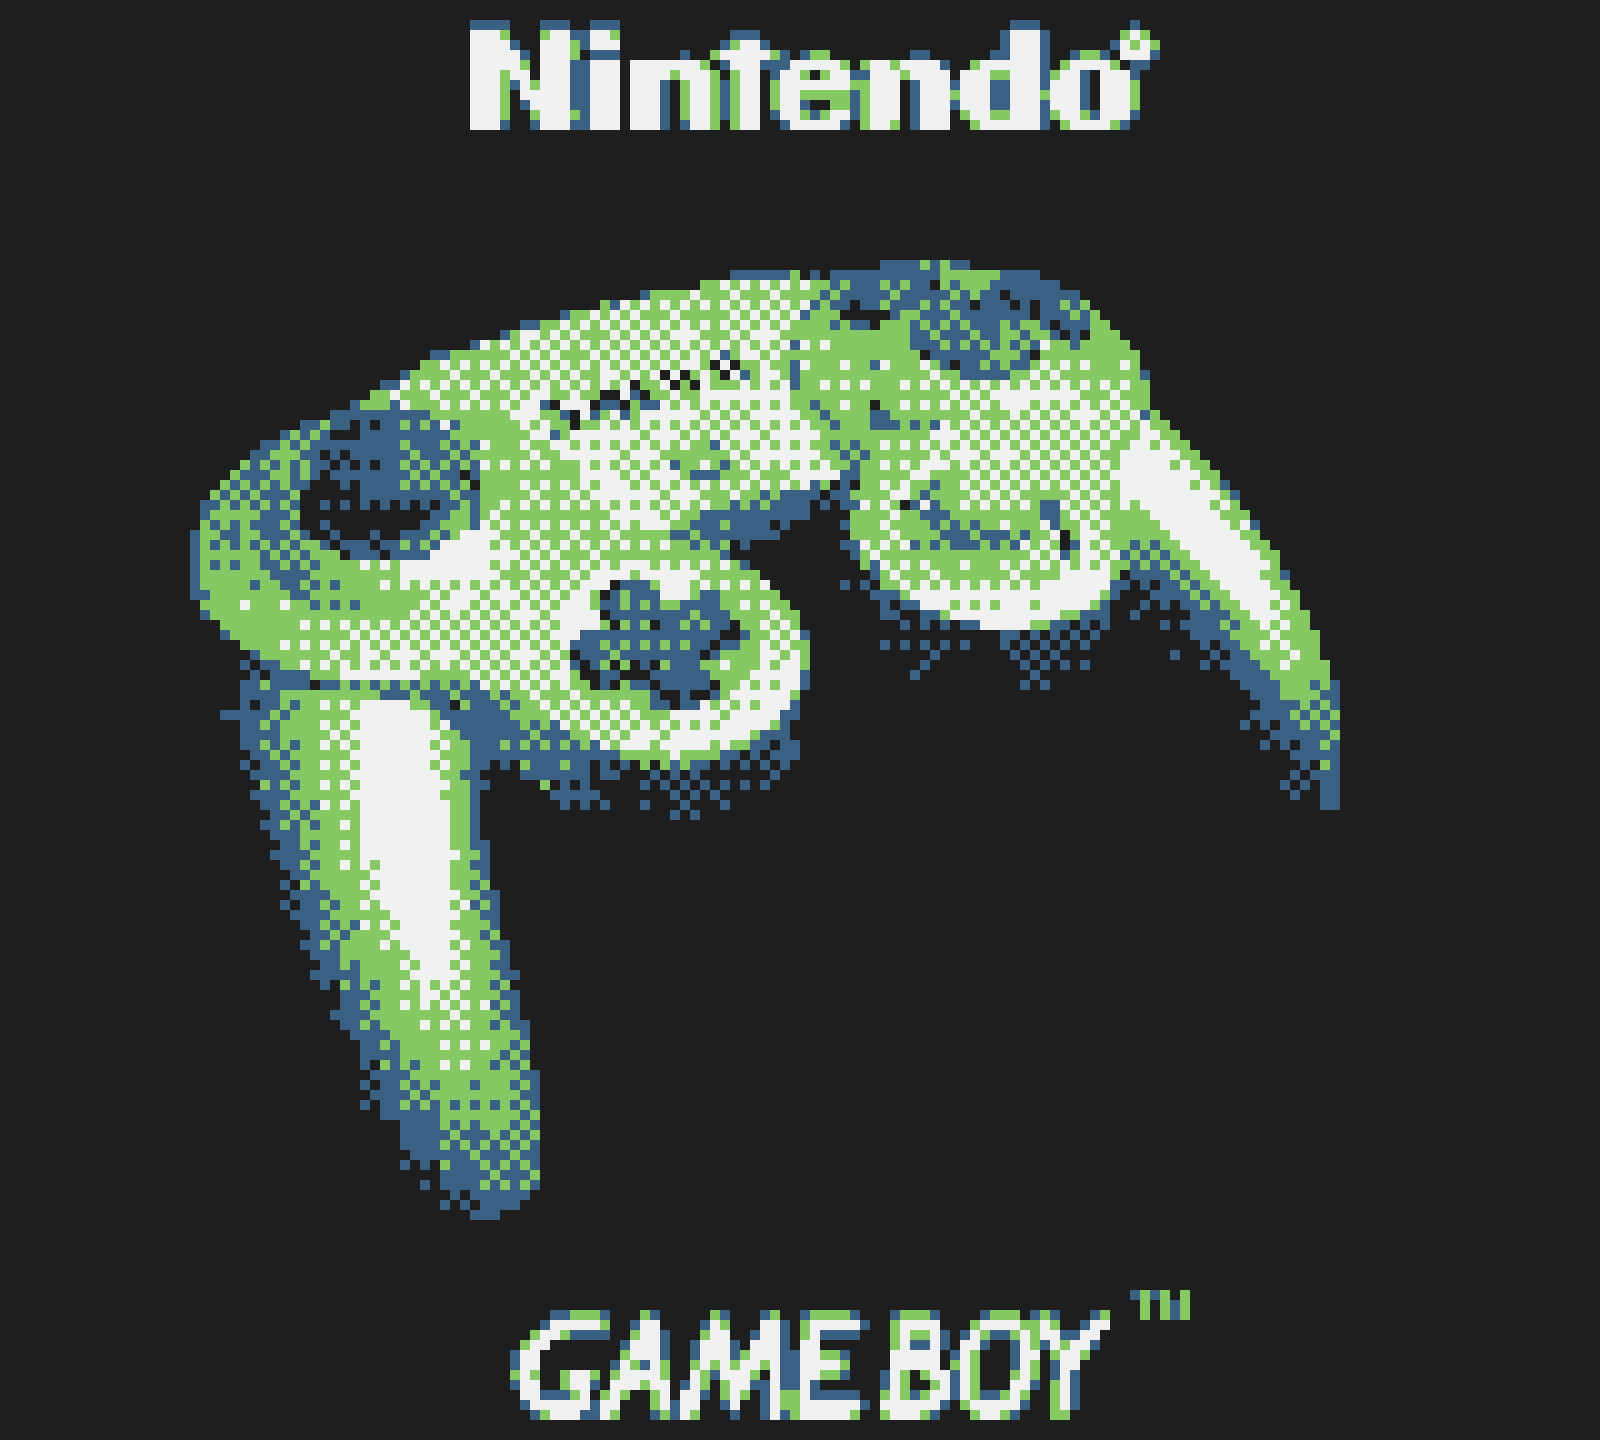
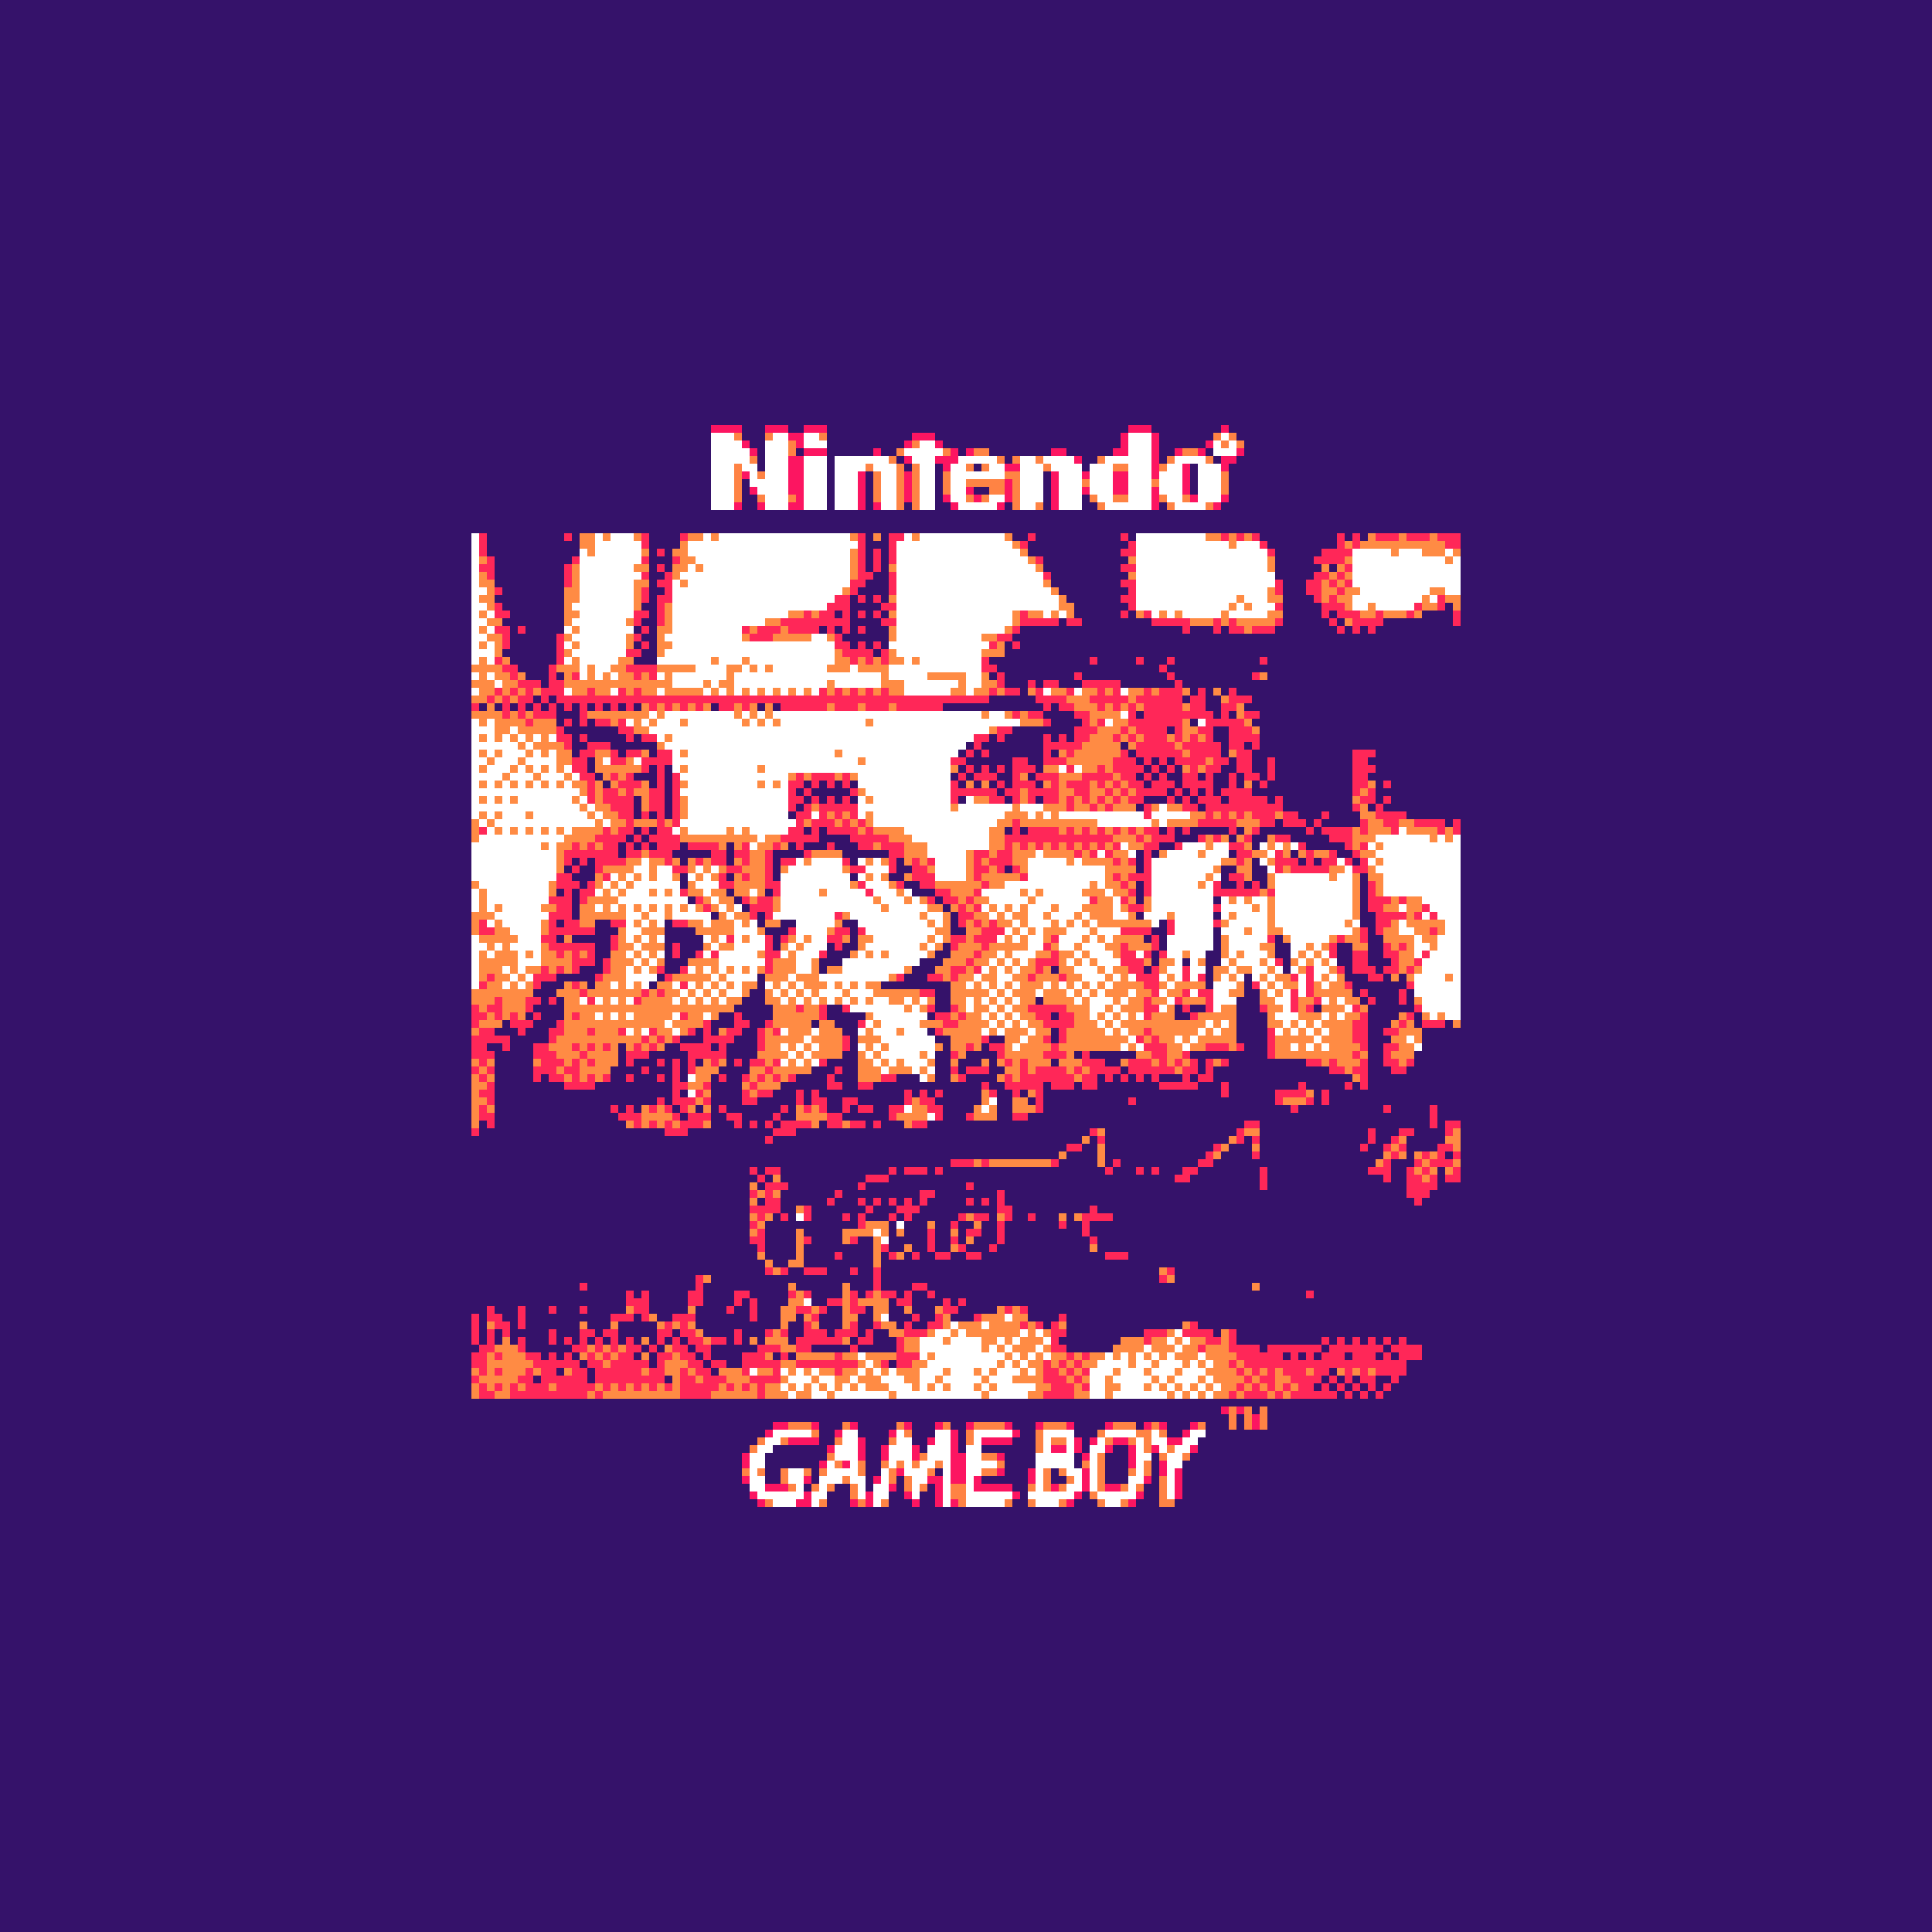
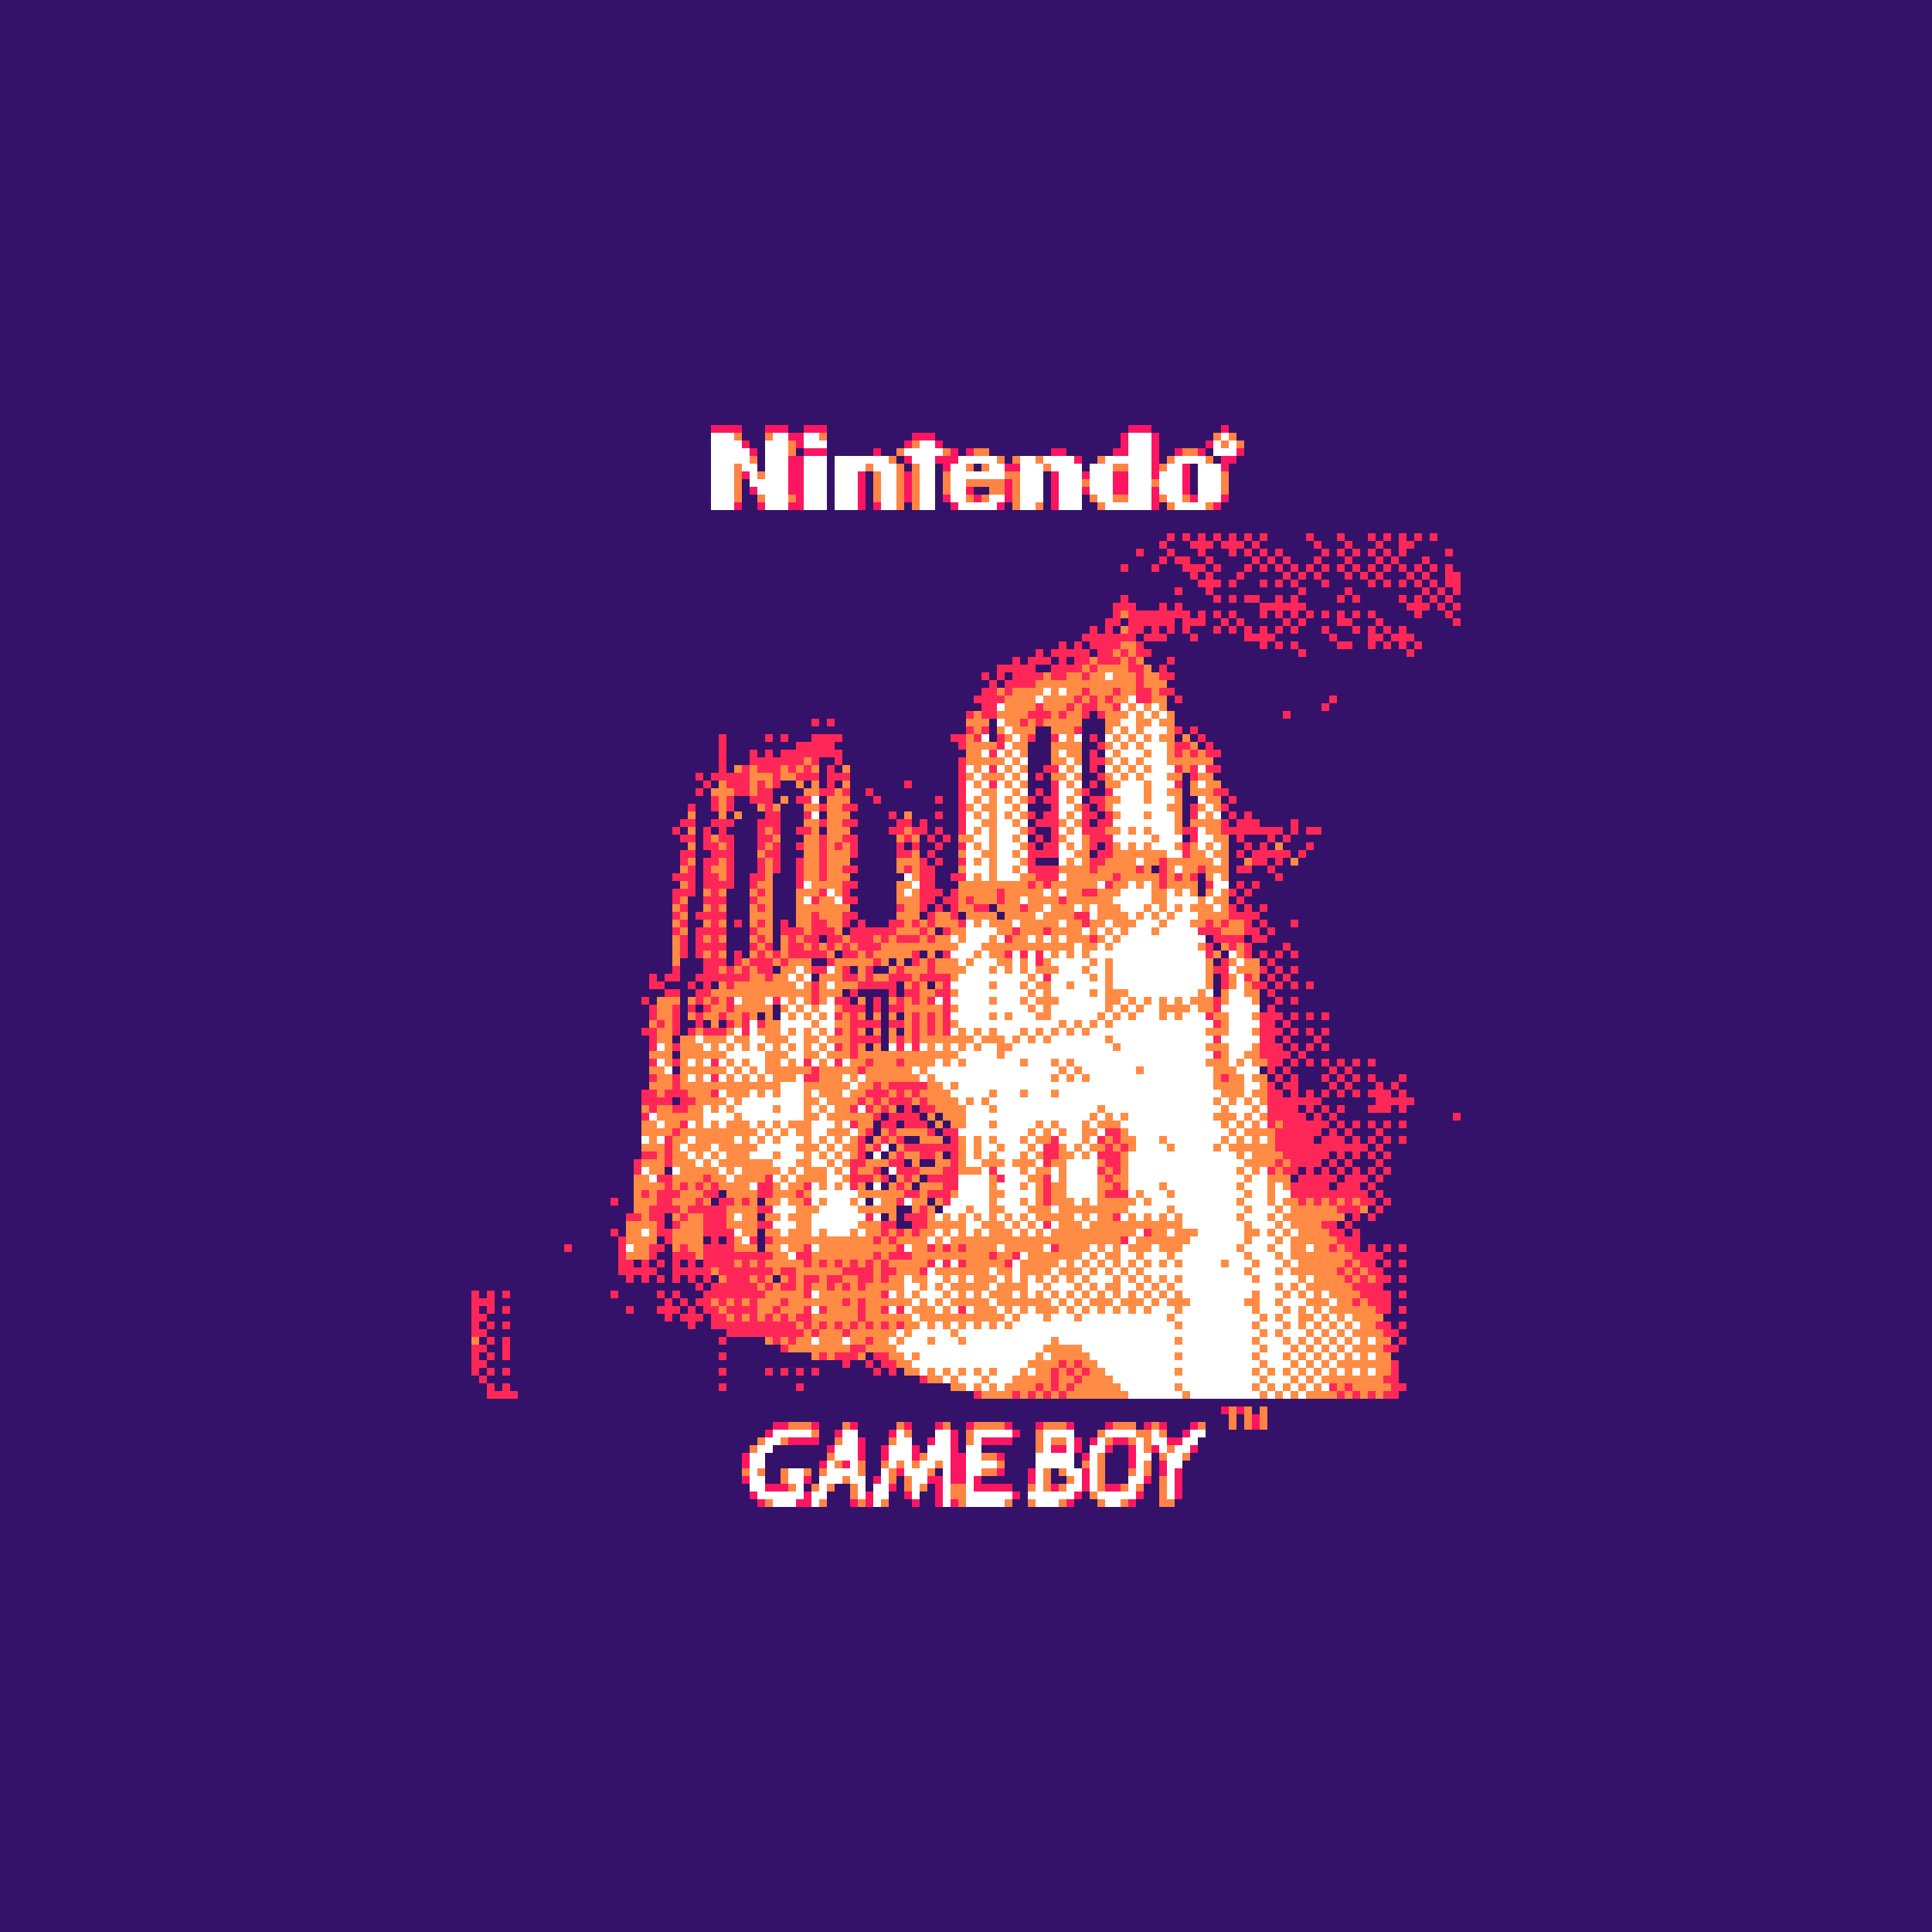
Sample pictures
For more pictures, see my Gameboy Camera gallery.


The Gameboy Camera
The Gameboy Camera, released in 1998, is a special Gameboy cartridge that can shoot pictures with a distinctive pixel-art style. The pictures have a 128×112 resolution (0.014 megapixels) and 2 bits depth (only 4 different pixel values : black, dark grey, light grey, white).
For a couple of years,It got a lot of traction on the Internet, thanks to, I believe so, two posts of lenses mounted on Gameboy Camera : someone that shot a F1 Grand Prix and someone else that attached a Canon DSLR lens to their Gameboy Camera, both in 2018. I knew about it as a kid, but I couldn’t understand why one would buy a camera cartridge, while you can get an actual video game. But as an adult, I got seduced by the look of its pictures, sometimes looking just as a carefully hand-crafted pixel-art. I recently got myself in the hype train, and I will describe here my process, and my results.
I got a second-hand Gameboy Camera from LeBonCoin, for 25€. Prices are skyrocketing since the two famous posts, from $10 before 2018 to $50 in 2022.
Battery Replacement
The Gameboy Camera has 30 picture memory, stored in RAM and thus needing a functioning battery to keep this storage. The battery from the cartridge I bought was dead, so the first thing was to replace it. It is the same process as any other Gameboy cartridge (replacing a battery after losing a Pokemon save seems to be a classic), so the process is well-documented, and new batteries can be found easily . You have to desolder the dead battery, and solder the new one, basically.
Export images
With my picture well stored on my cartridge, the next step is, in our social media era, to be able to retrieve and share those pictures. Several solutions are available to read the cartridge memory, I chose to buy a cartridge reader (GBxCart), as it seems the easiest solution. I later built this pico printer that uses a Raspberry Pi to transfer pictures on the go, directly to a smartphone.
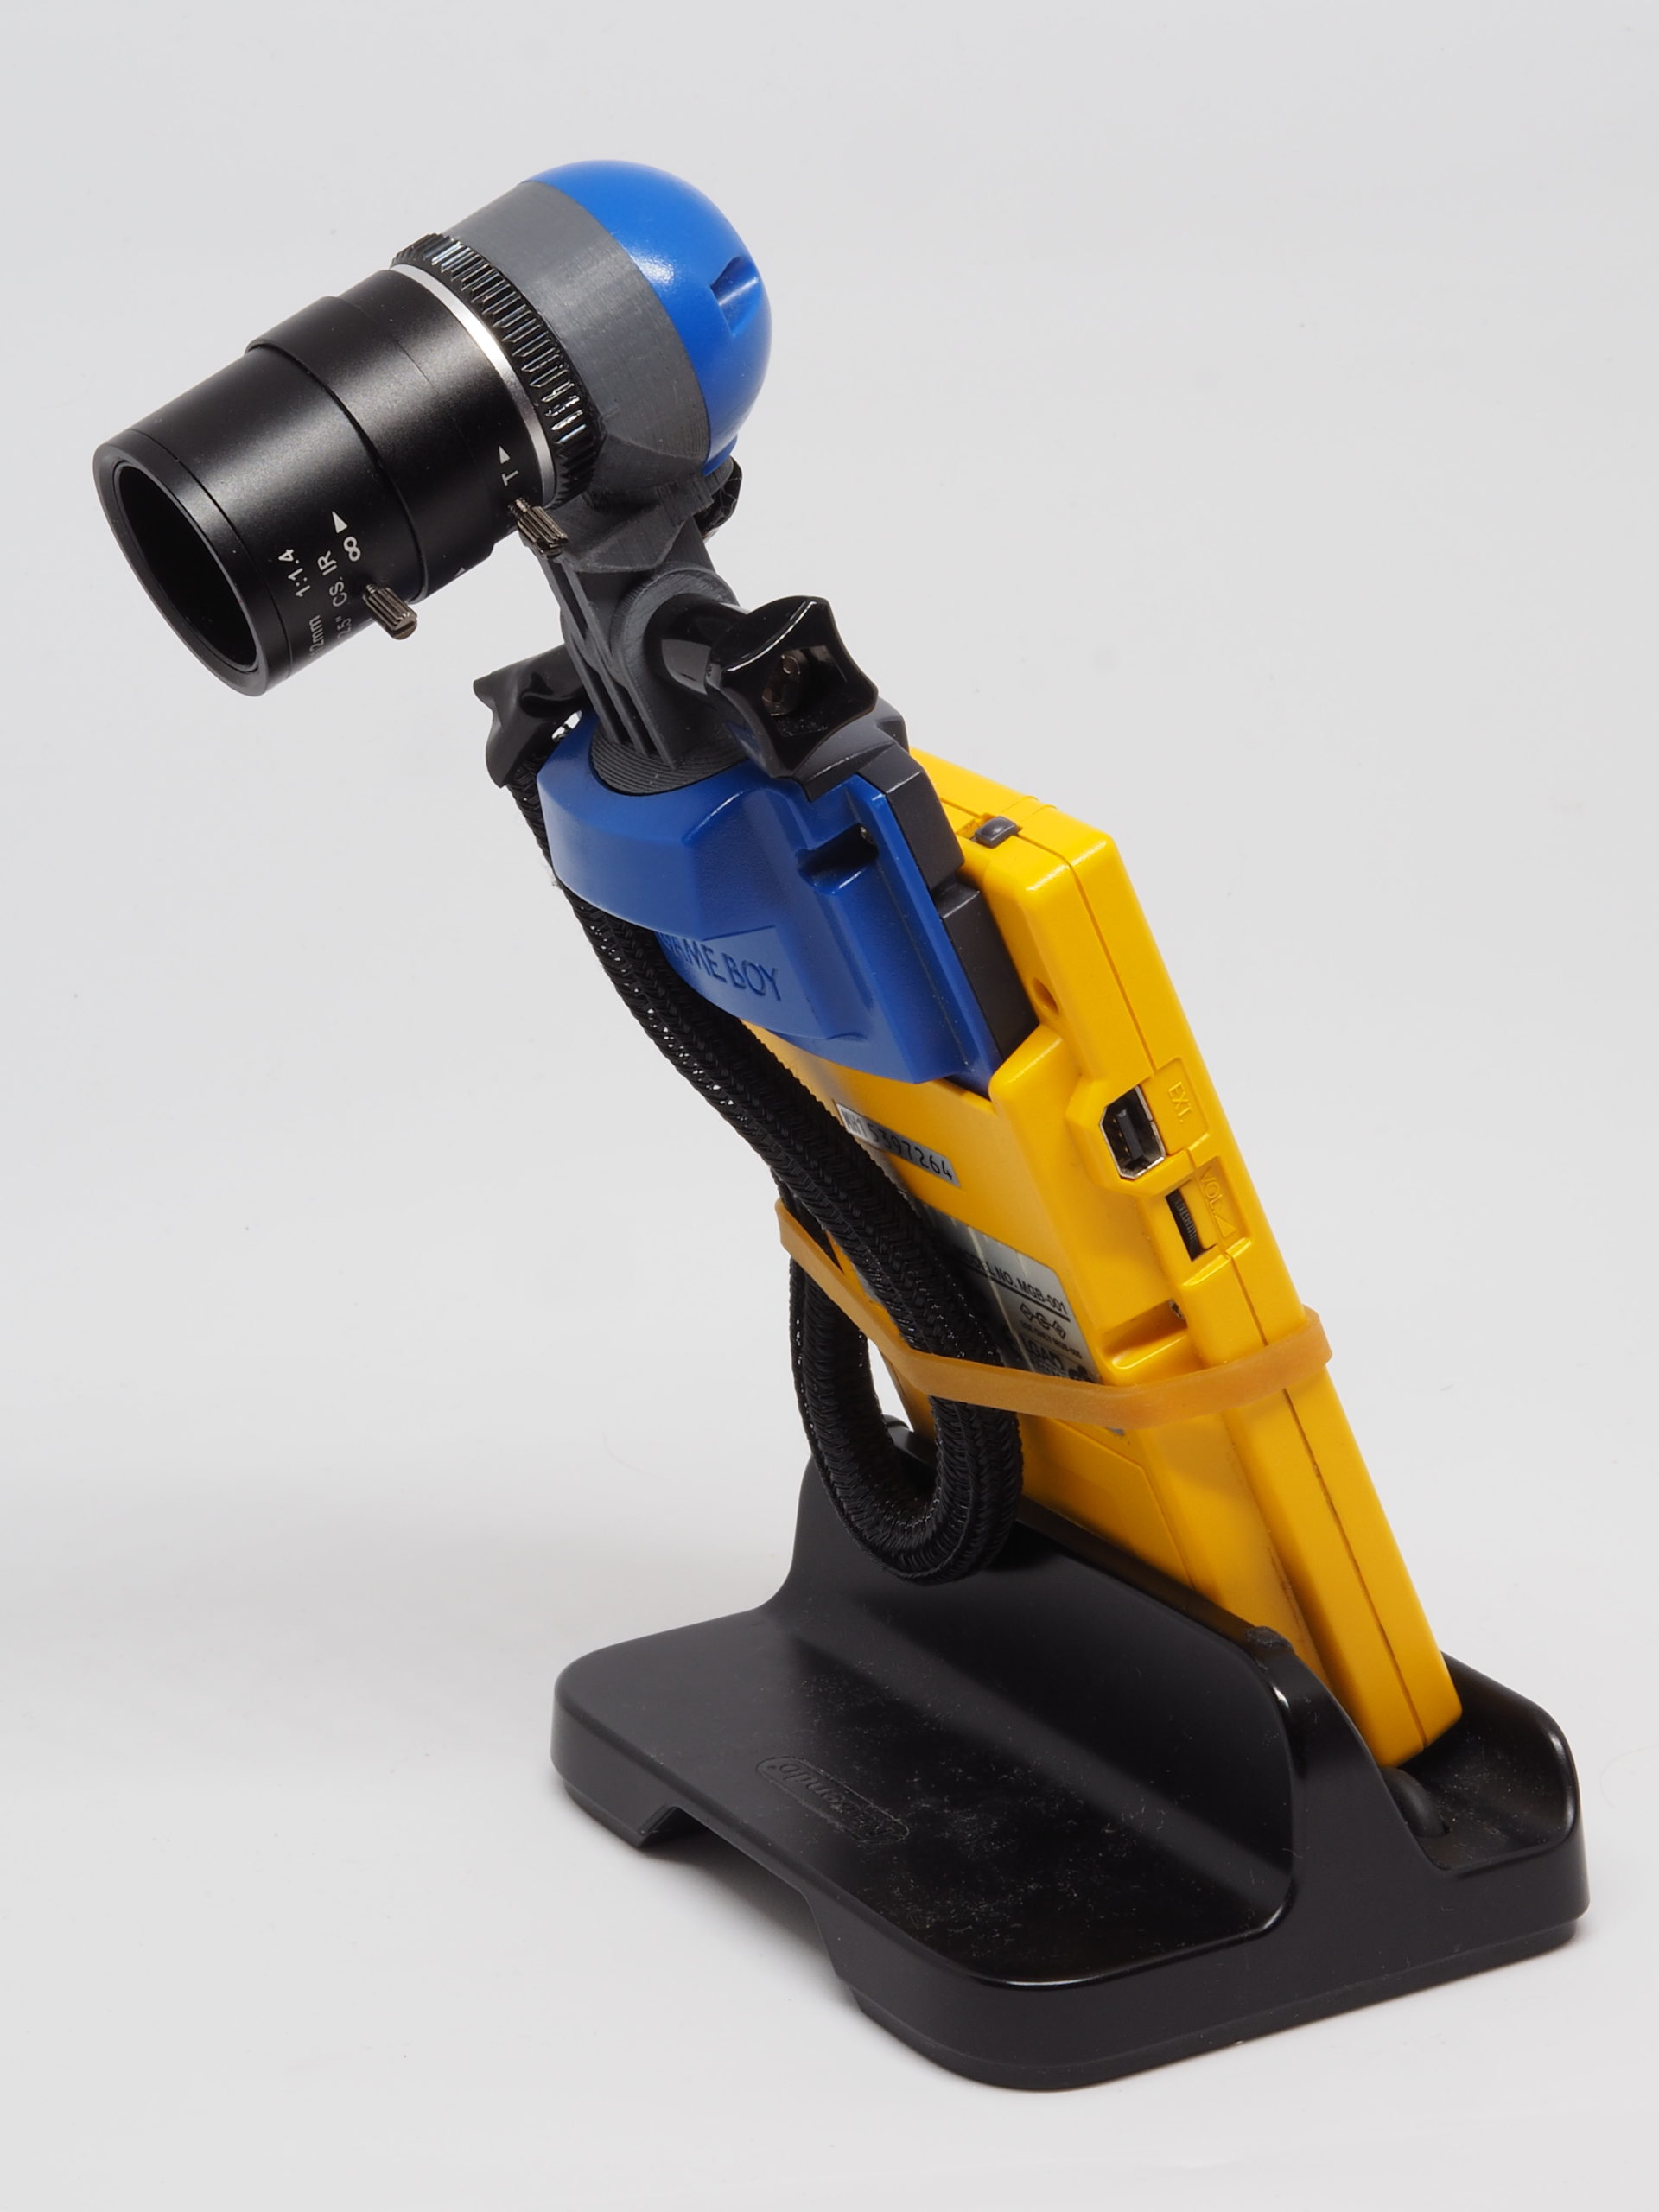
Lens Mod
The original Gameboy Camera has a plastic length with fixed focal length of roughly 41mm (in full frame equivalence). For some kind of photography, it would be great to have a greater zoom. Also, a manual focus feature would be great to achieve some kind of background separation.
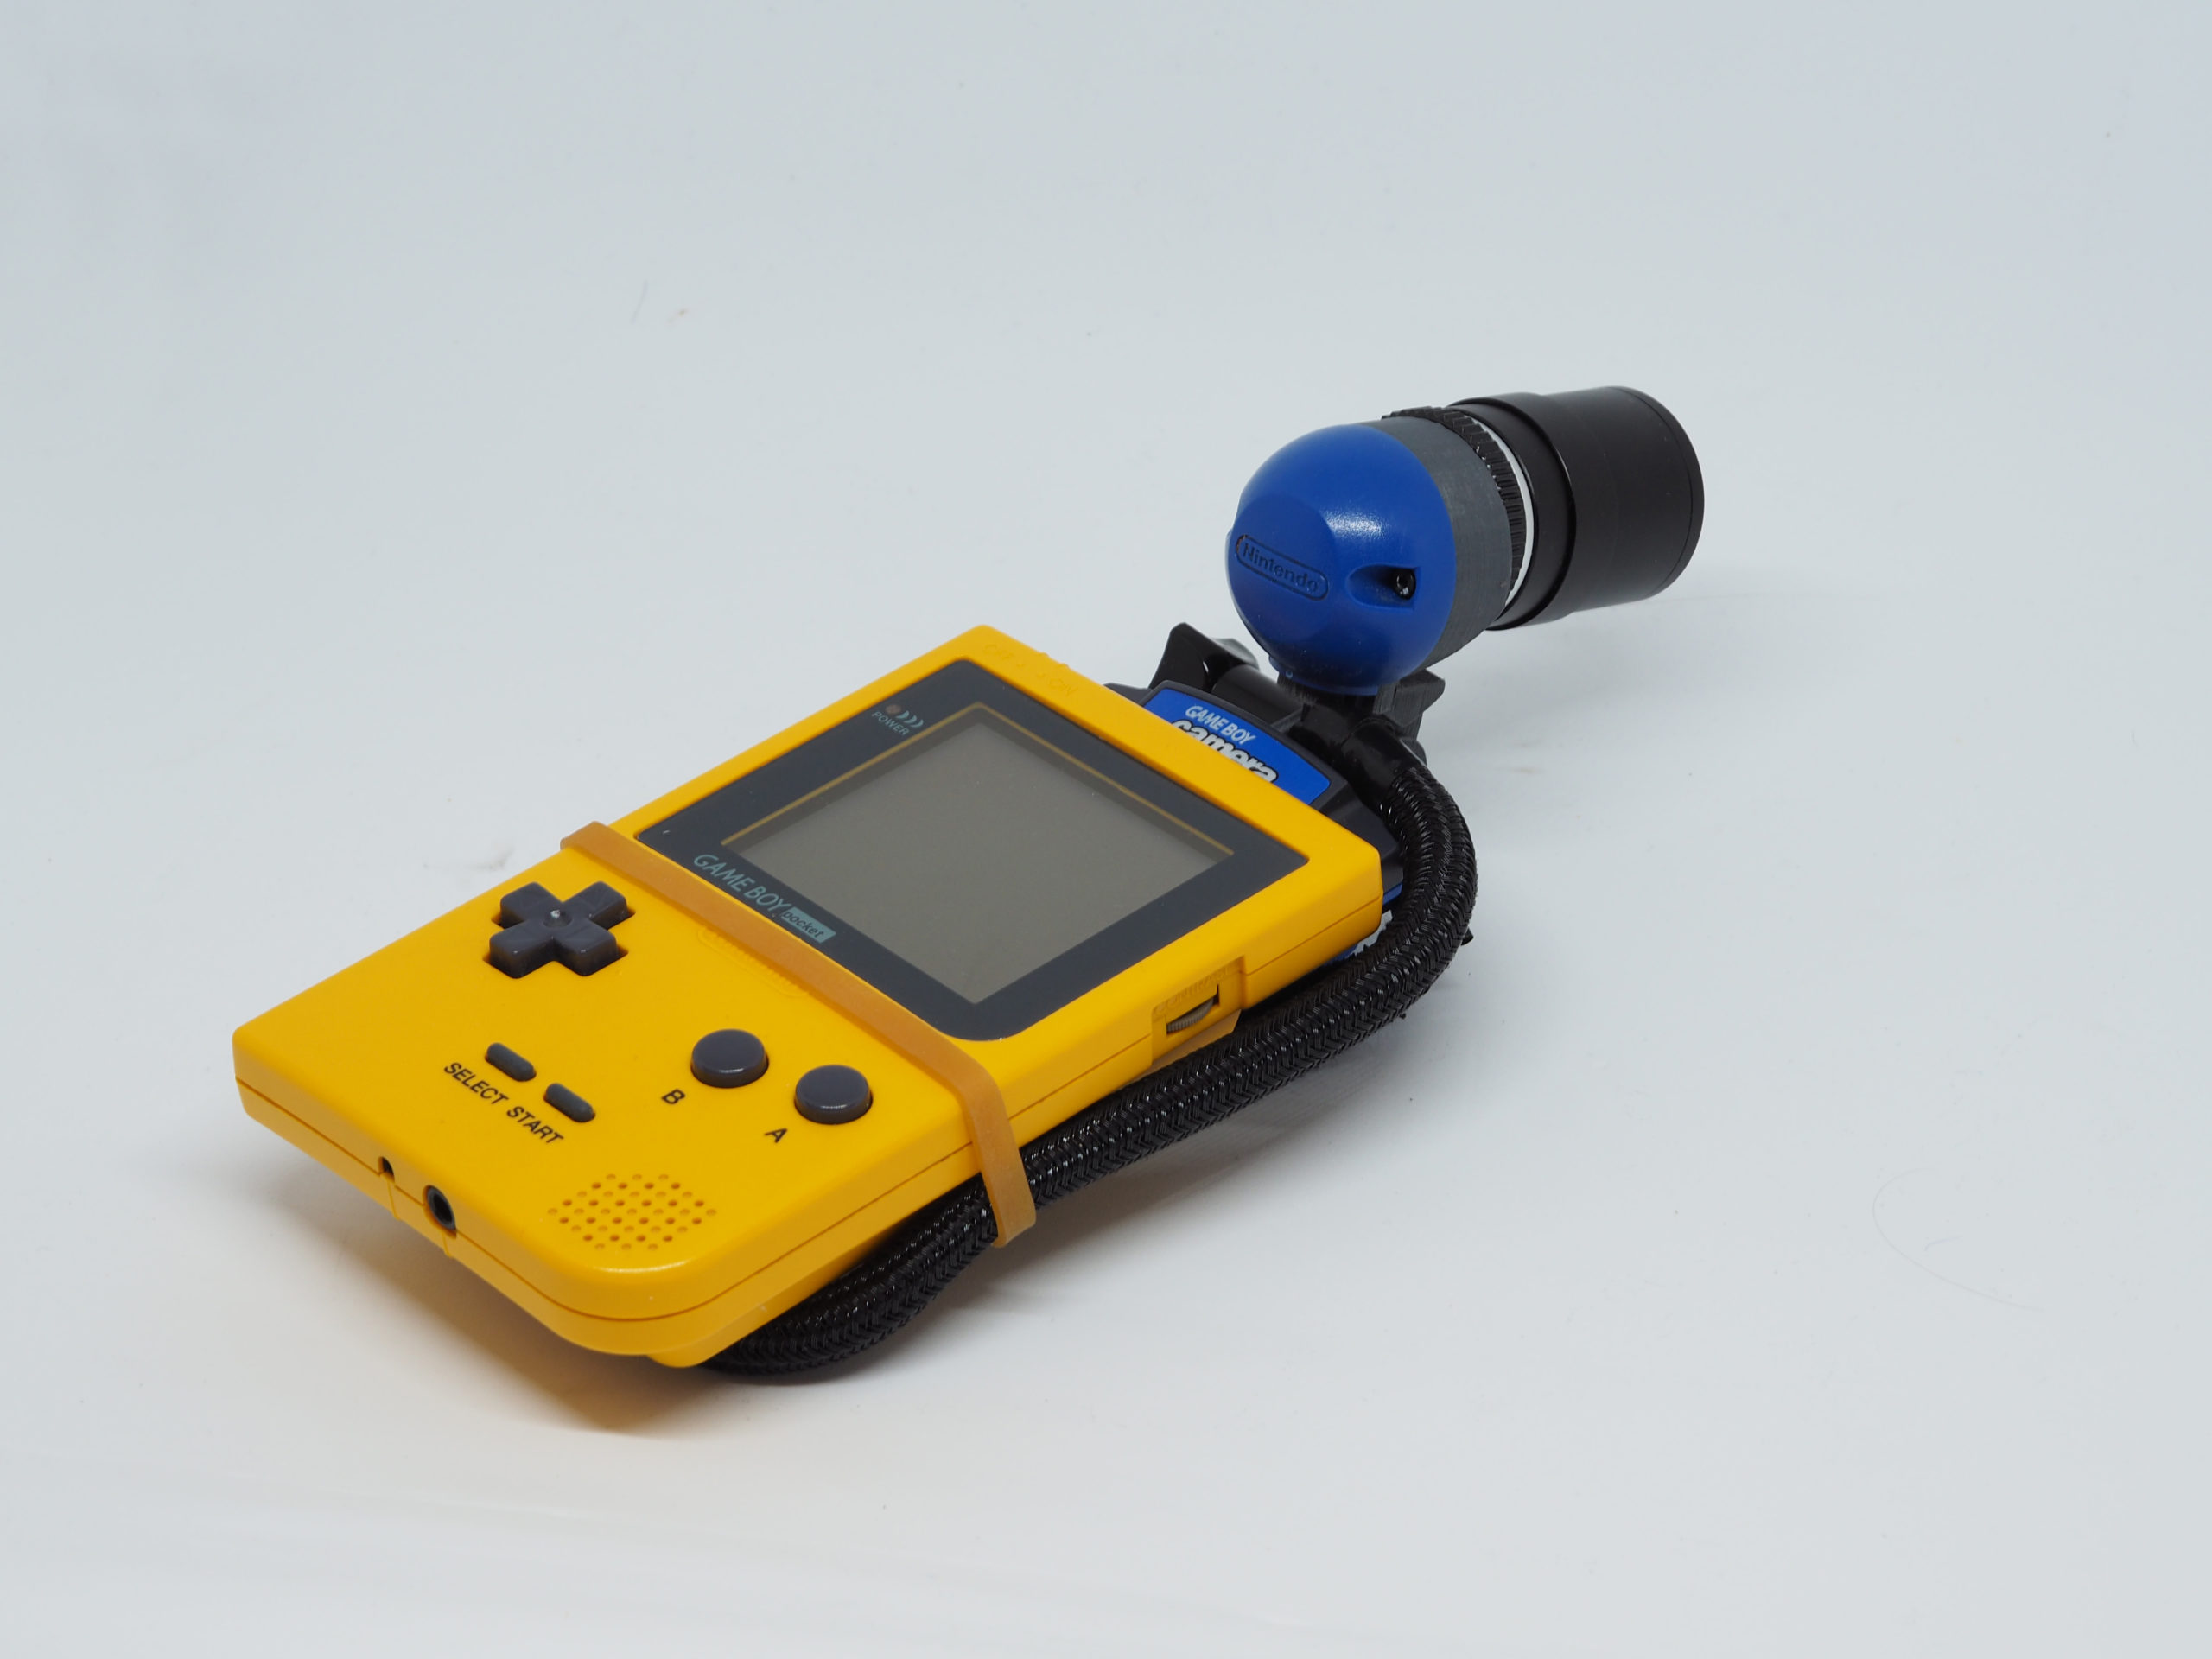
The online community is very active, and have worked on several lens type adaptation mods. The CS lens type is the most popular, as lenses are rather lightweight and small, approximately the same size as the Gameboy Camera eye.
I made this CS mount adapter by modder Herr_Zatacke. The mod is a 3D printed part that holds the sensor and fits to half of the original ball. A metal thread is glued on top of that, to be able to screw different lenses. For more detail about the making of this modification, see my related post.
As the sensor is so small, we get a crop factor of 10.81, meaning that this 2.8-12mm lens is equivalent to a 30-130mm lens in full frame equivalence ! With a bigger lens, you can get insane zooms. The small focal lens of the CS lenses is a good thing here, allowing you to use the camera in handheld fashion, without the need of a tripod.


Pictures taken with a lens mod
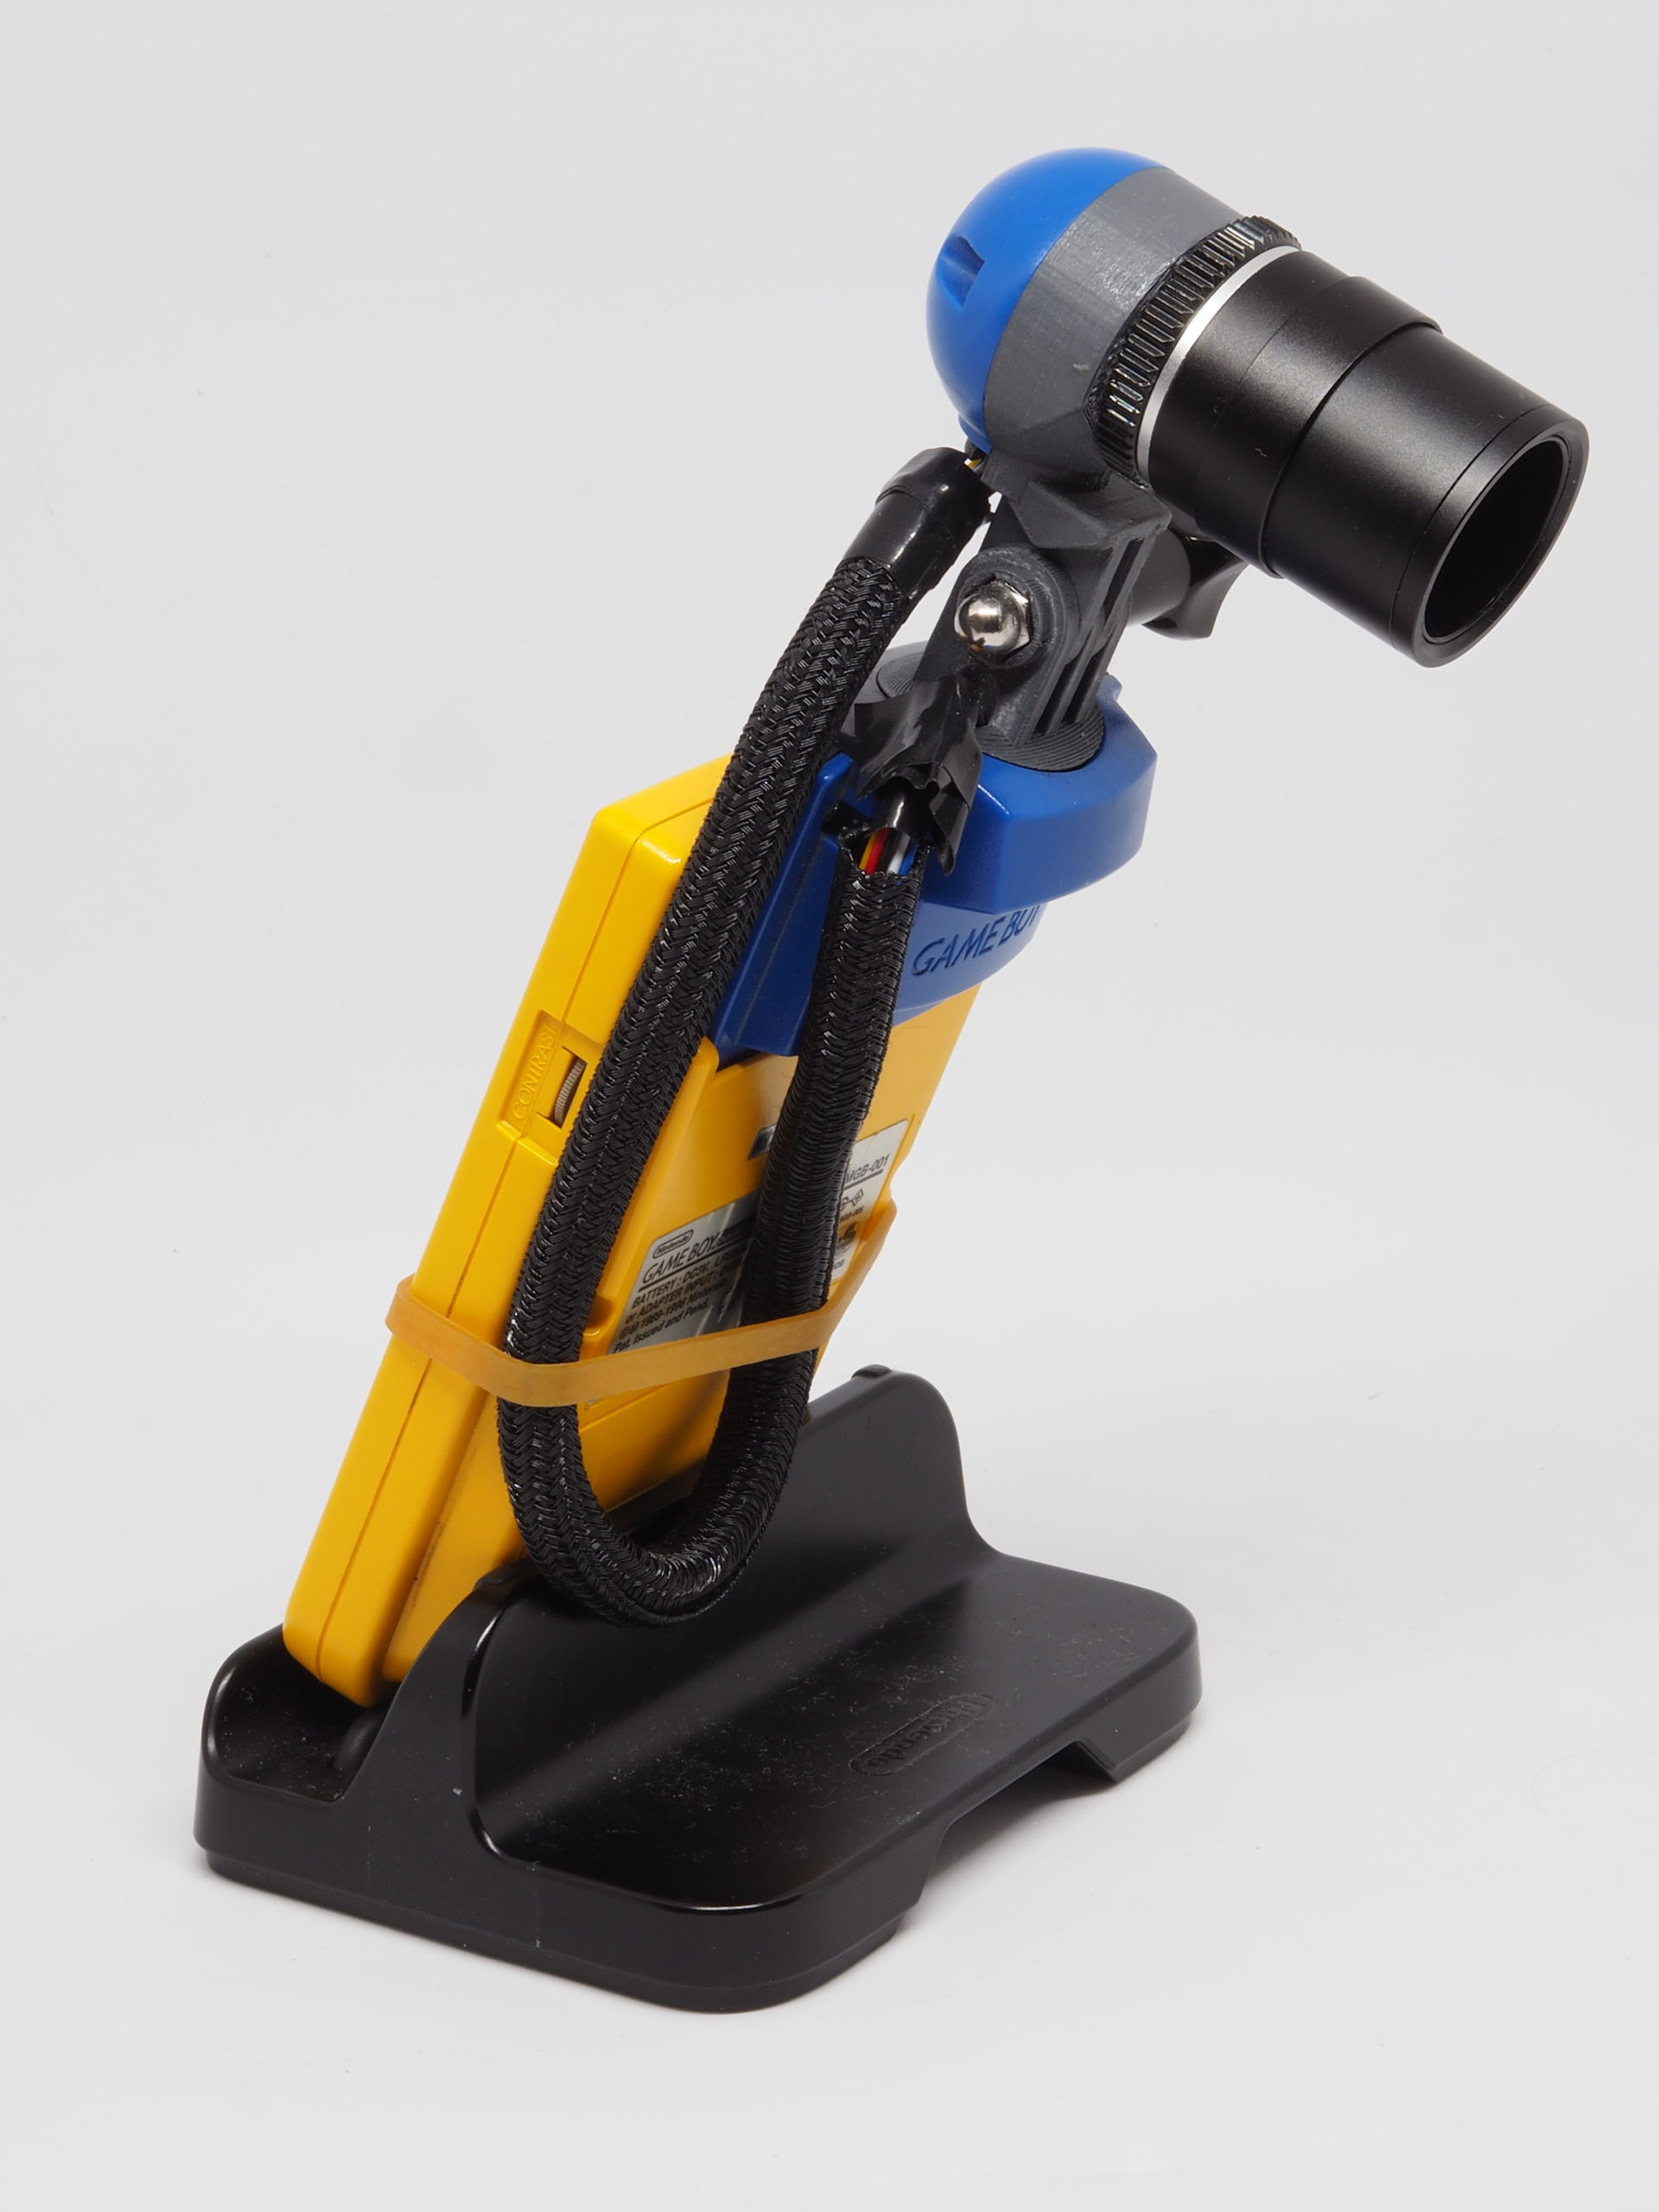
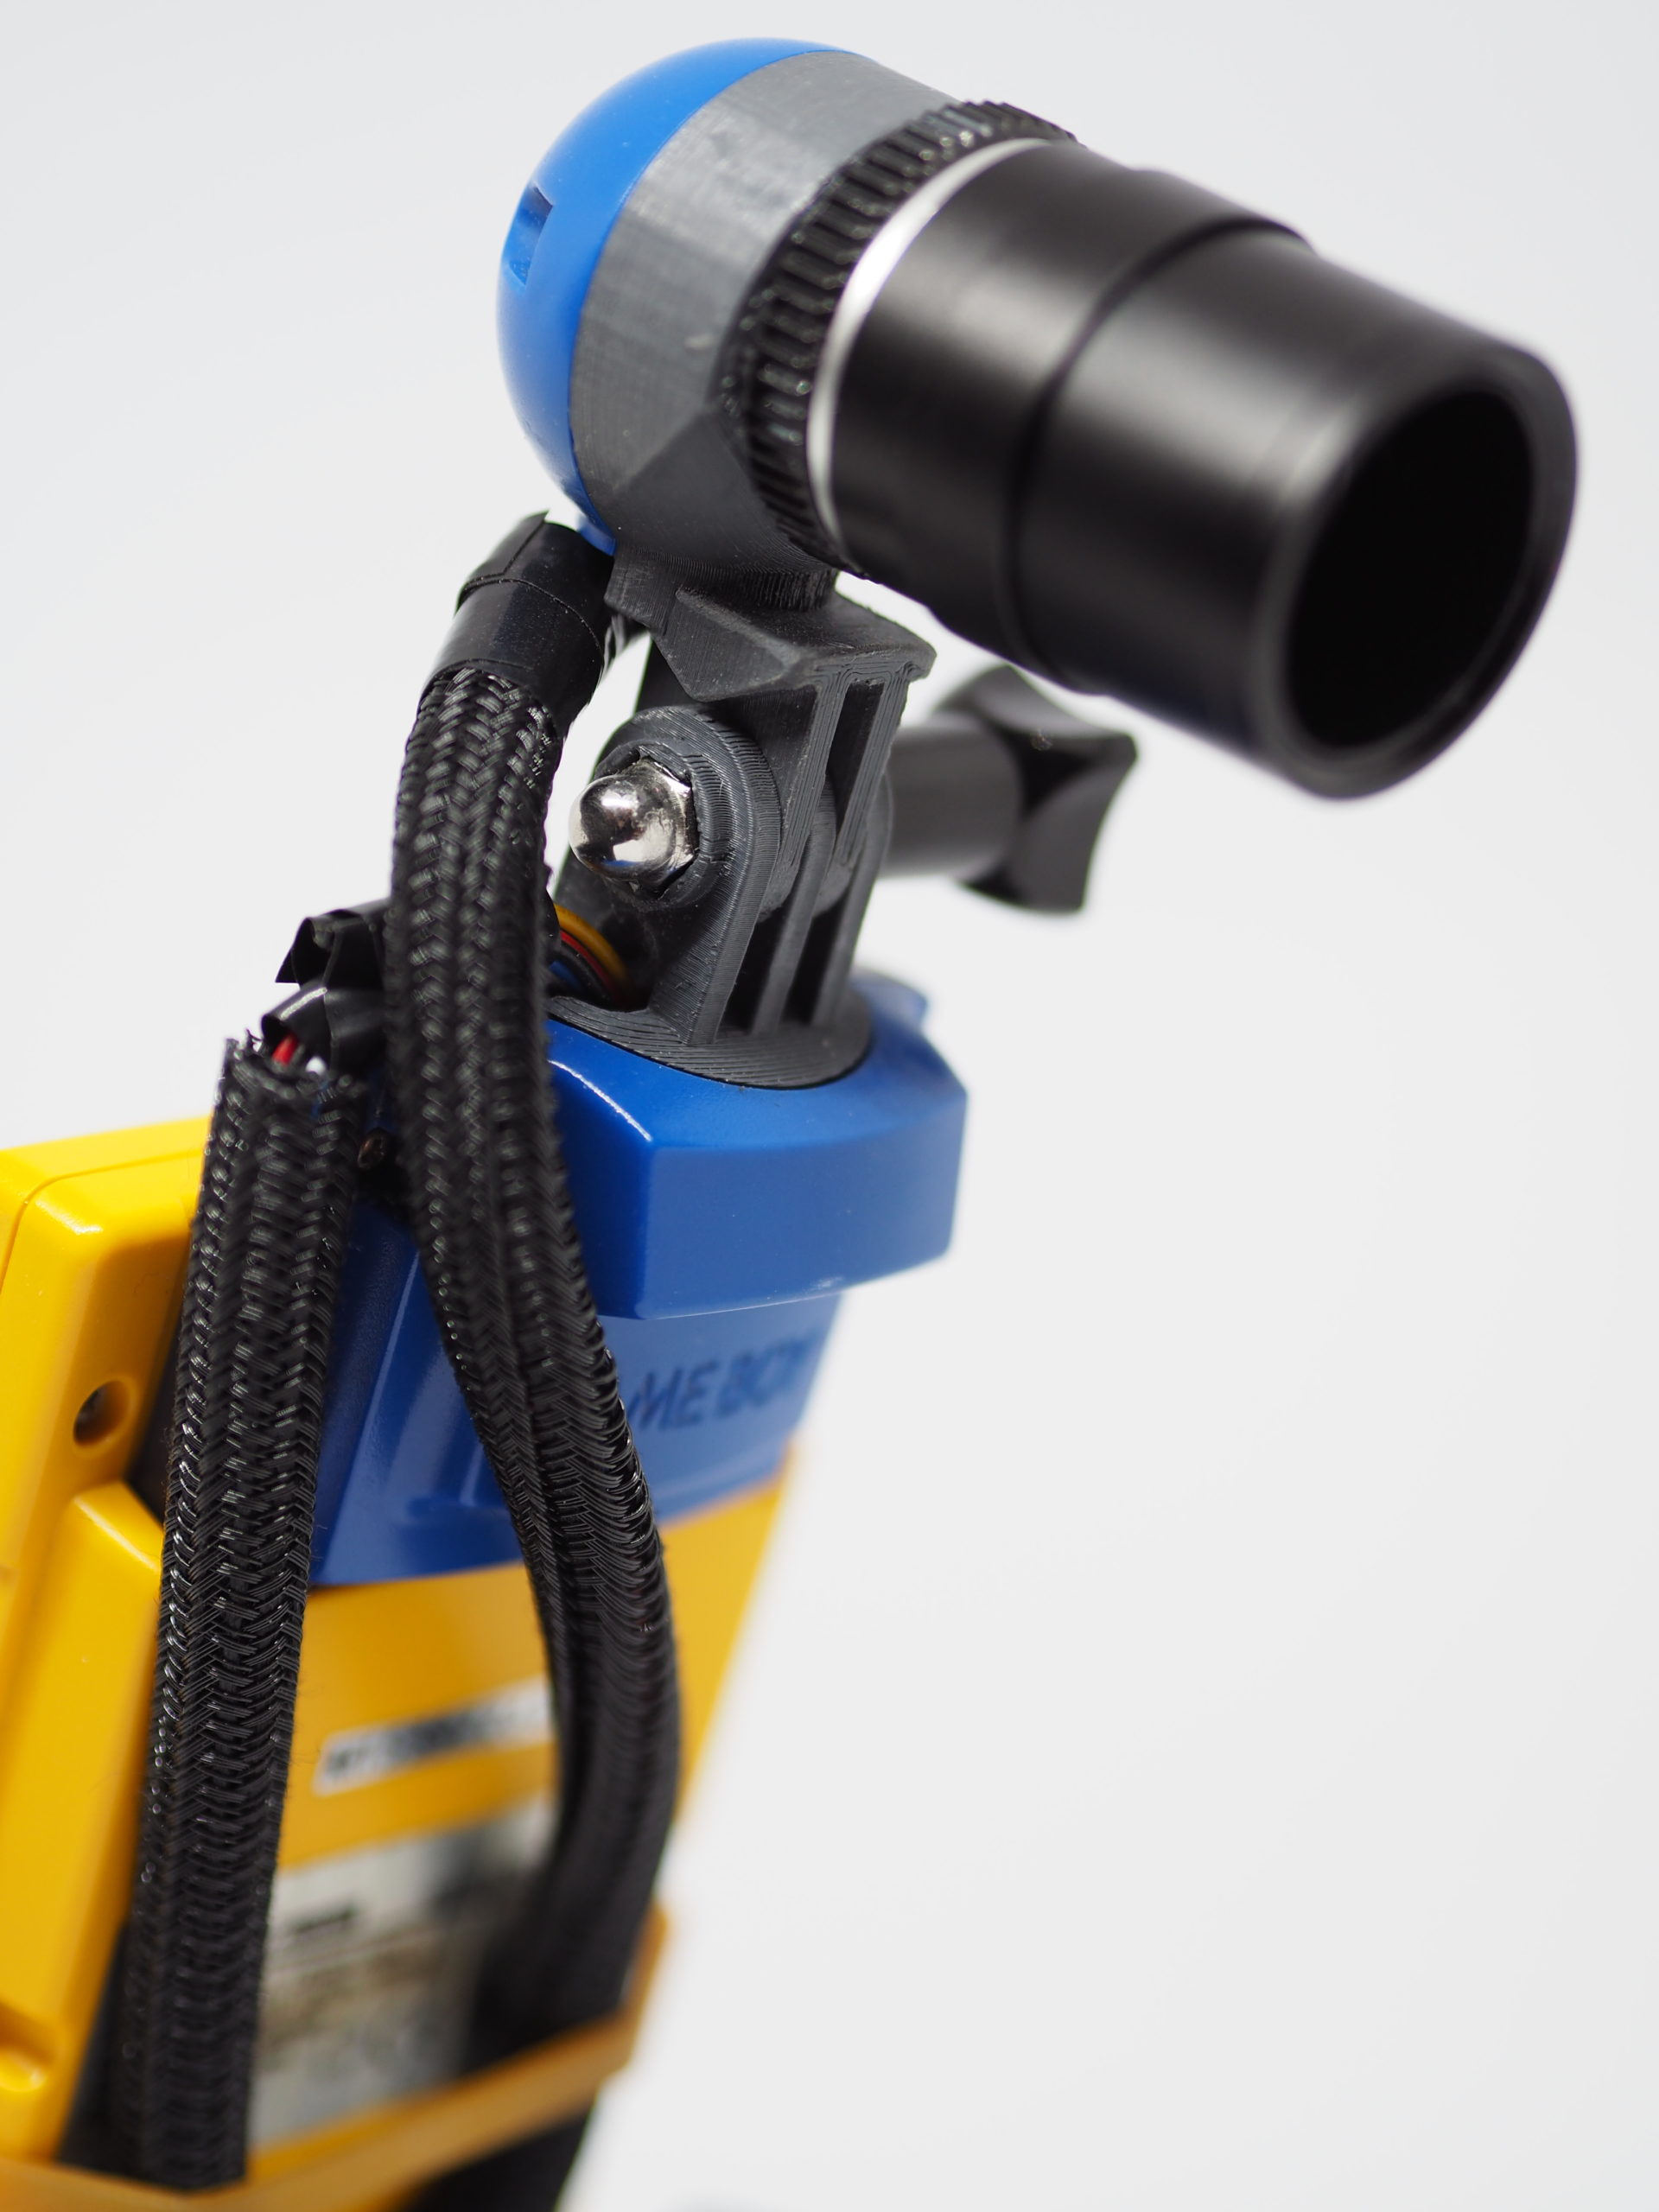
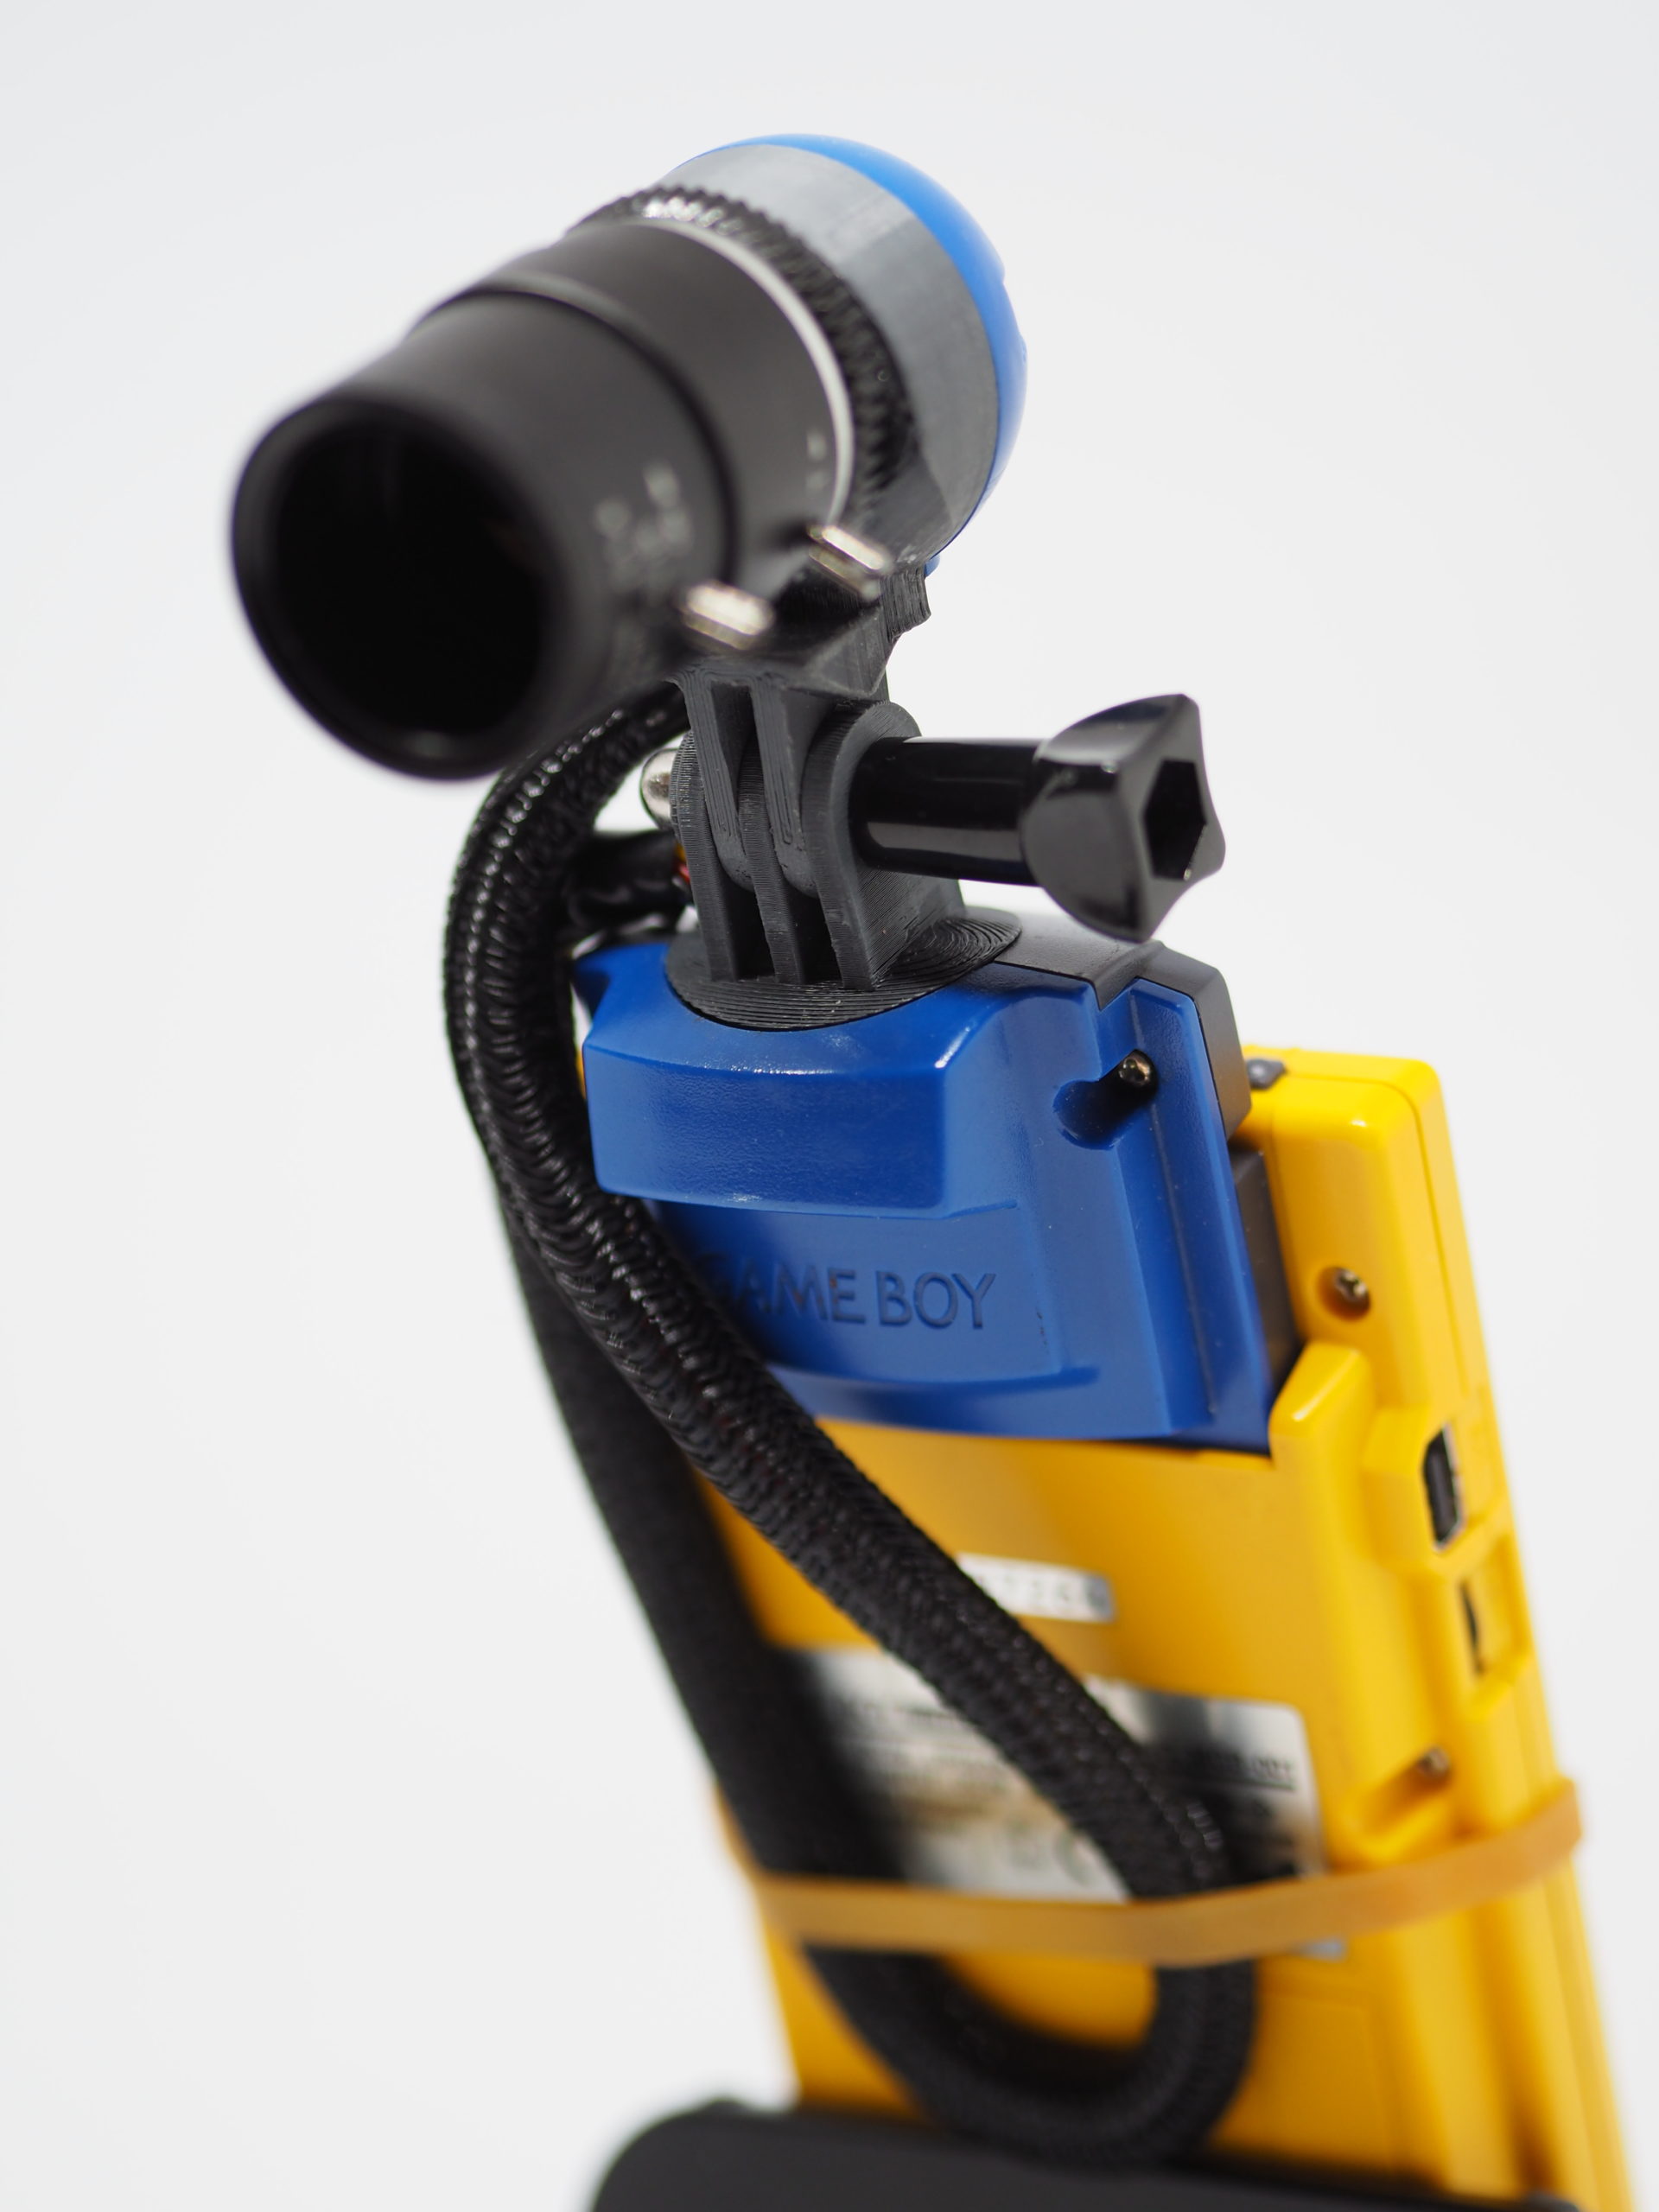
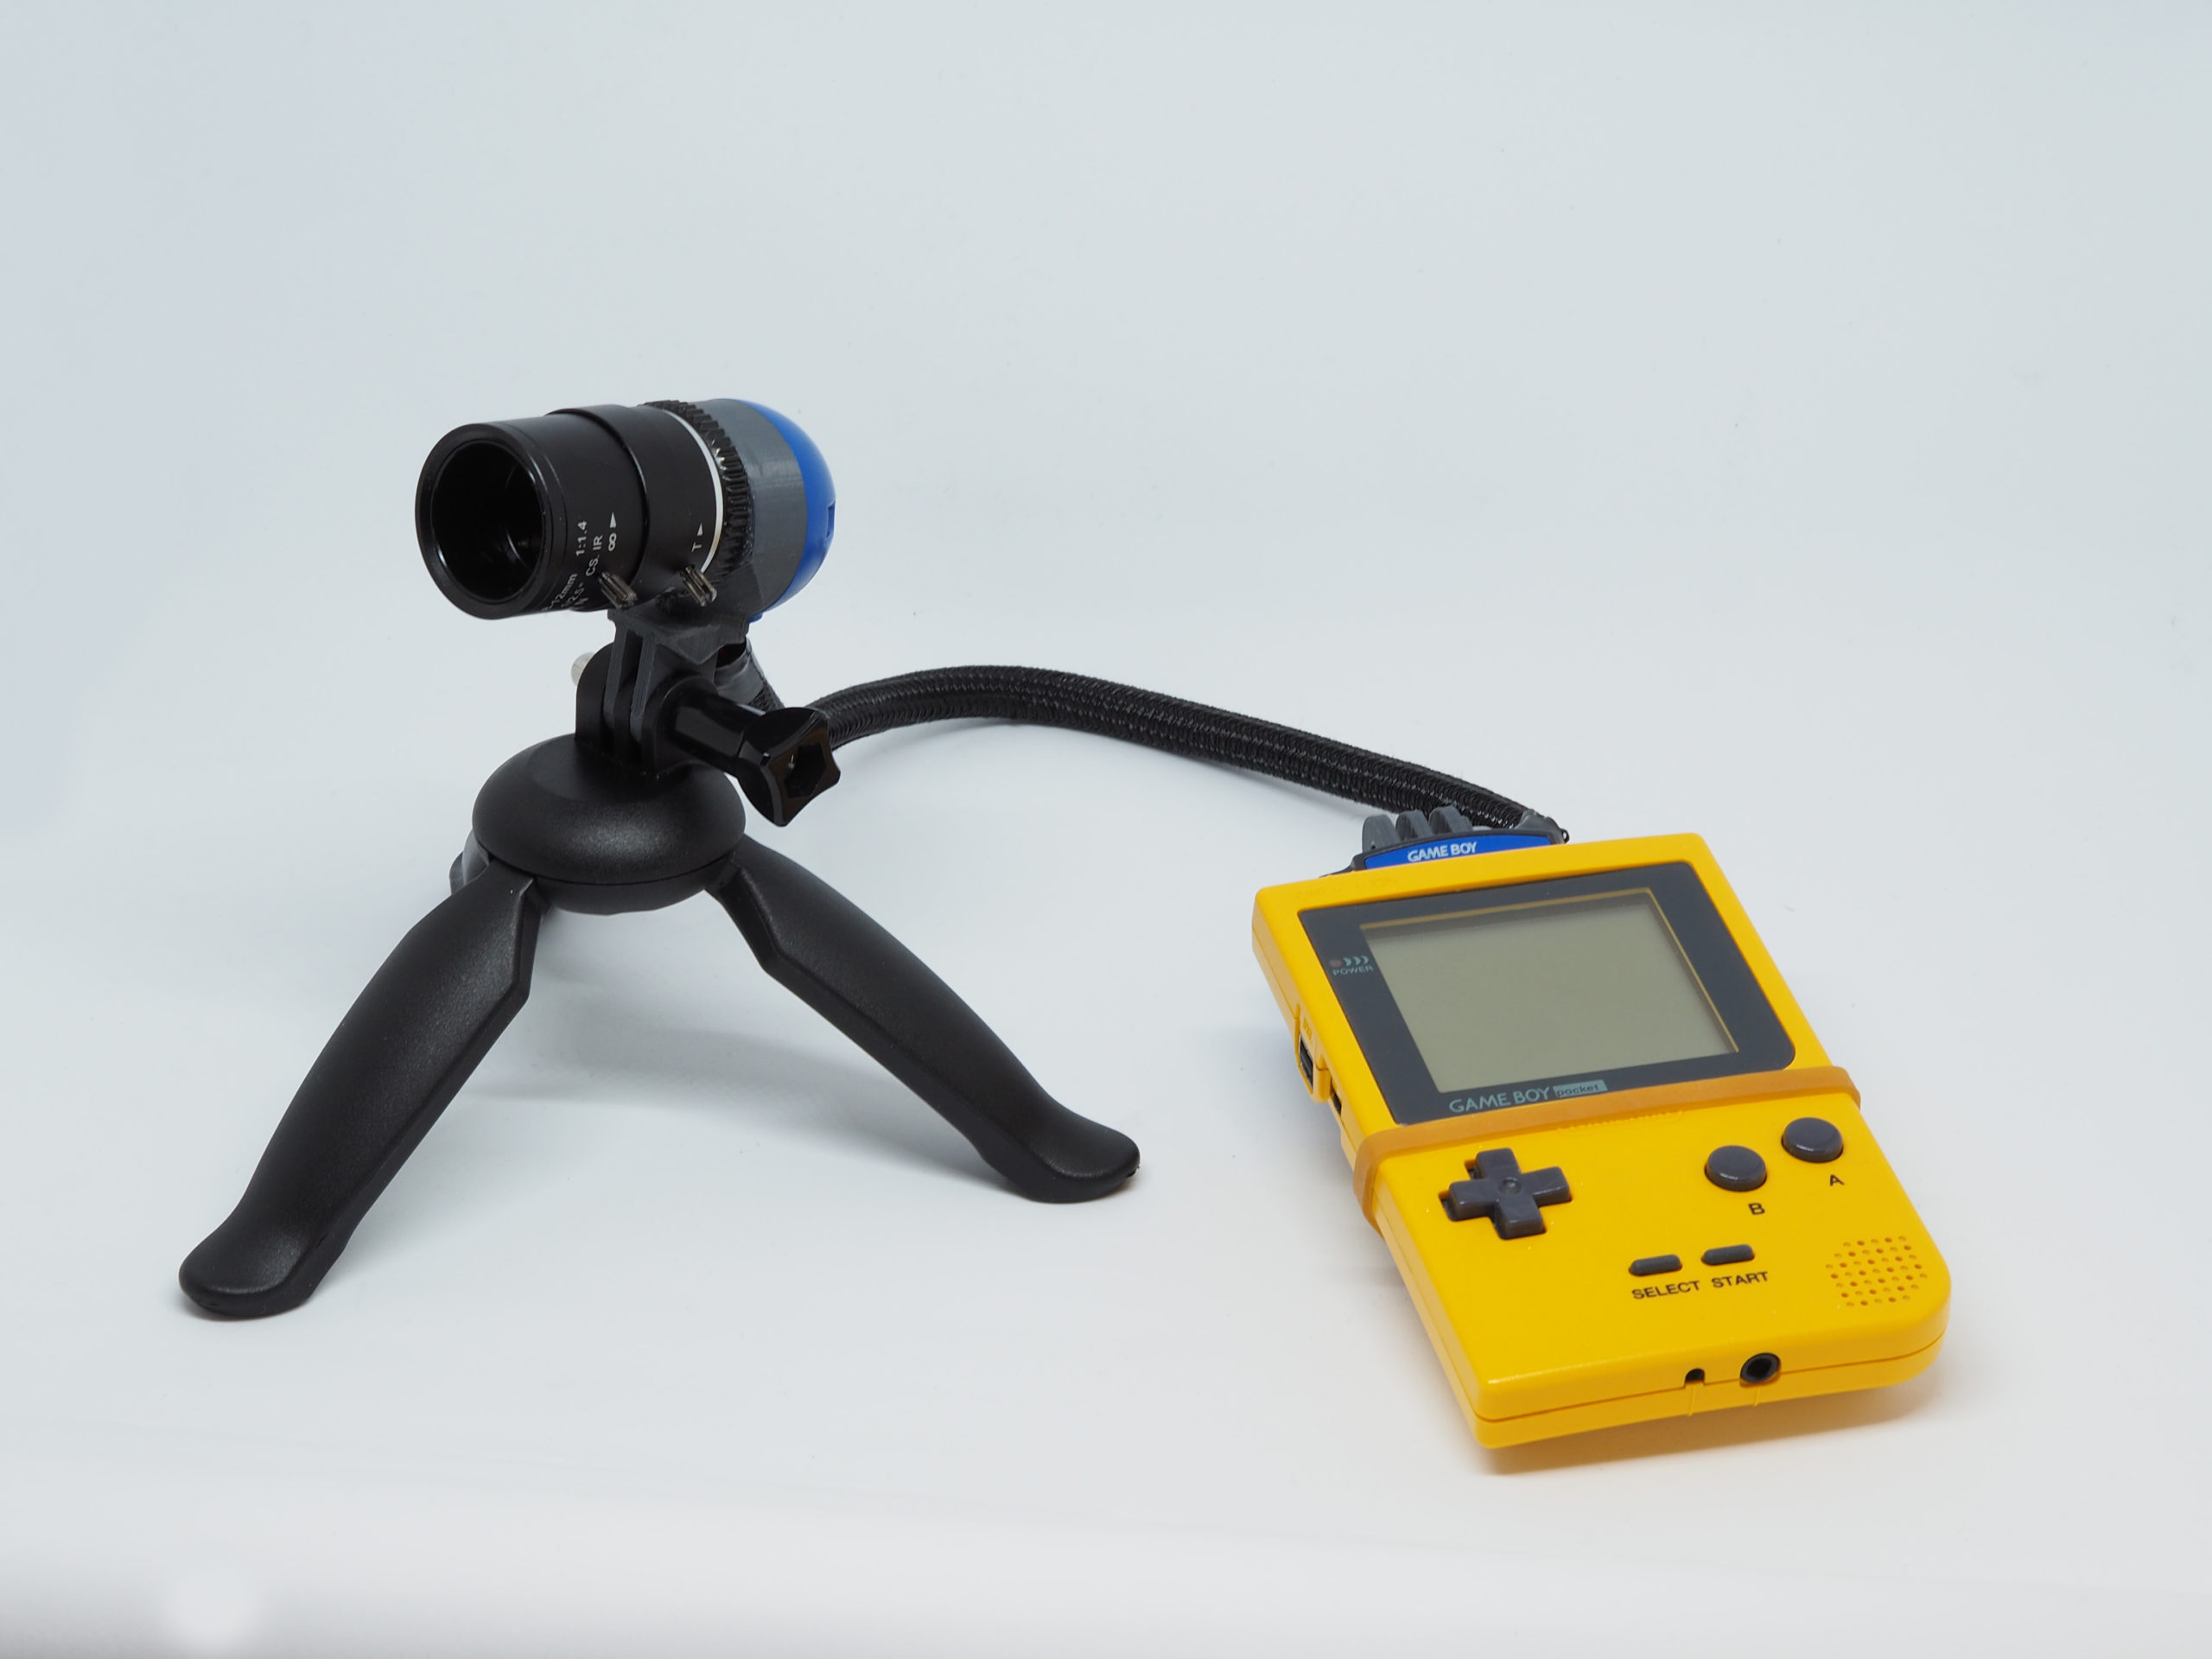
GoPro mount mod
Some shootings situations, such as HDR or trichromy necessitates the use of a tripod. You can mount the whole gameboy and camera with a smartphone clamp, but I found it hard to hold still while shooting. That is why I designed and built a GoPro mount for the Gameboy Camera. Using some extended cable and two custom 3D printed parts, the GoPro mount allows an easy switch between two common shooting situations : the lens mounted on the Gameboy and the lens mounted on a tripod.


See more details about the GoPro mod on this detailed post.
Photography
Taking pictures with the Gameboy Camera is a peculiar experience. For starters, you are pointing a gameboy at your surroundings, and can get weird looks.
The photography itself is a great challenge. Because of the technical limitations of the sensor you have to find some way to get a good subject separation, not to get an unreadable pixel porridge picture. Good contrast and a uniform background are good starters for stock camera. For modded cameras, the manual focus of the lenses and their blurred background helps. Overcoming these technical challenges helps me to grow as a photographer, either with digital or film photography.
I also learned Gameboy Camera specific tricks. As we are dealing with heavy pixel art, we have to compose our image with that in mind. For instance, for architecture photography, it can be good to pay attention to precisely align vertically or horizontally the strong lines of the buildings, so they appear crisper than tilter lines.
The viewer perspective is also very special with such low resolution images. They look alright on small mobile screens, but can be hardly viewable on bigger screens. I tend to add a big border around images, so the viewer never face a full screen of big pixels. It is also good to know that most websites and applications upscale small images, so we have to make sure to upscale ourselves with a proper nearest neighbour interpolation, to keep our pixels from being blurred.
I might want to explore the relation between a small and a big display of Gameboy Camera images. A big display brings a nice abstraction, that can take formal shape when discovering the small image.