Exposure bracketing is a photography technique that consists in taking several pictures at different exposure, to be composited in post, creating an “HDR” (high dynamic range) picture. It allows for greater range of exposure captured. As a single Gameboy Camera picture only allows for 4 values per pixel (white, light gray, dark gray, black), bracketing increases a lot the likeness of the image, at the cost of losing the peculiar pixel-art style of the standard Gameboy Camera pictures.
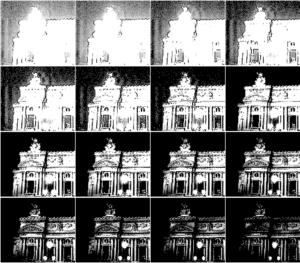
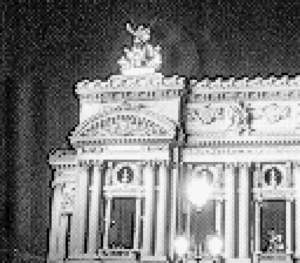
Using a tripod, we can get sharper results :
Panorama
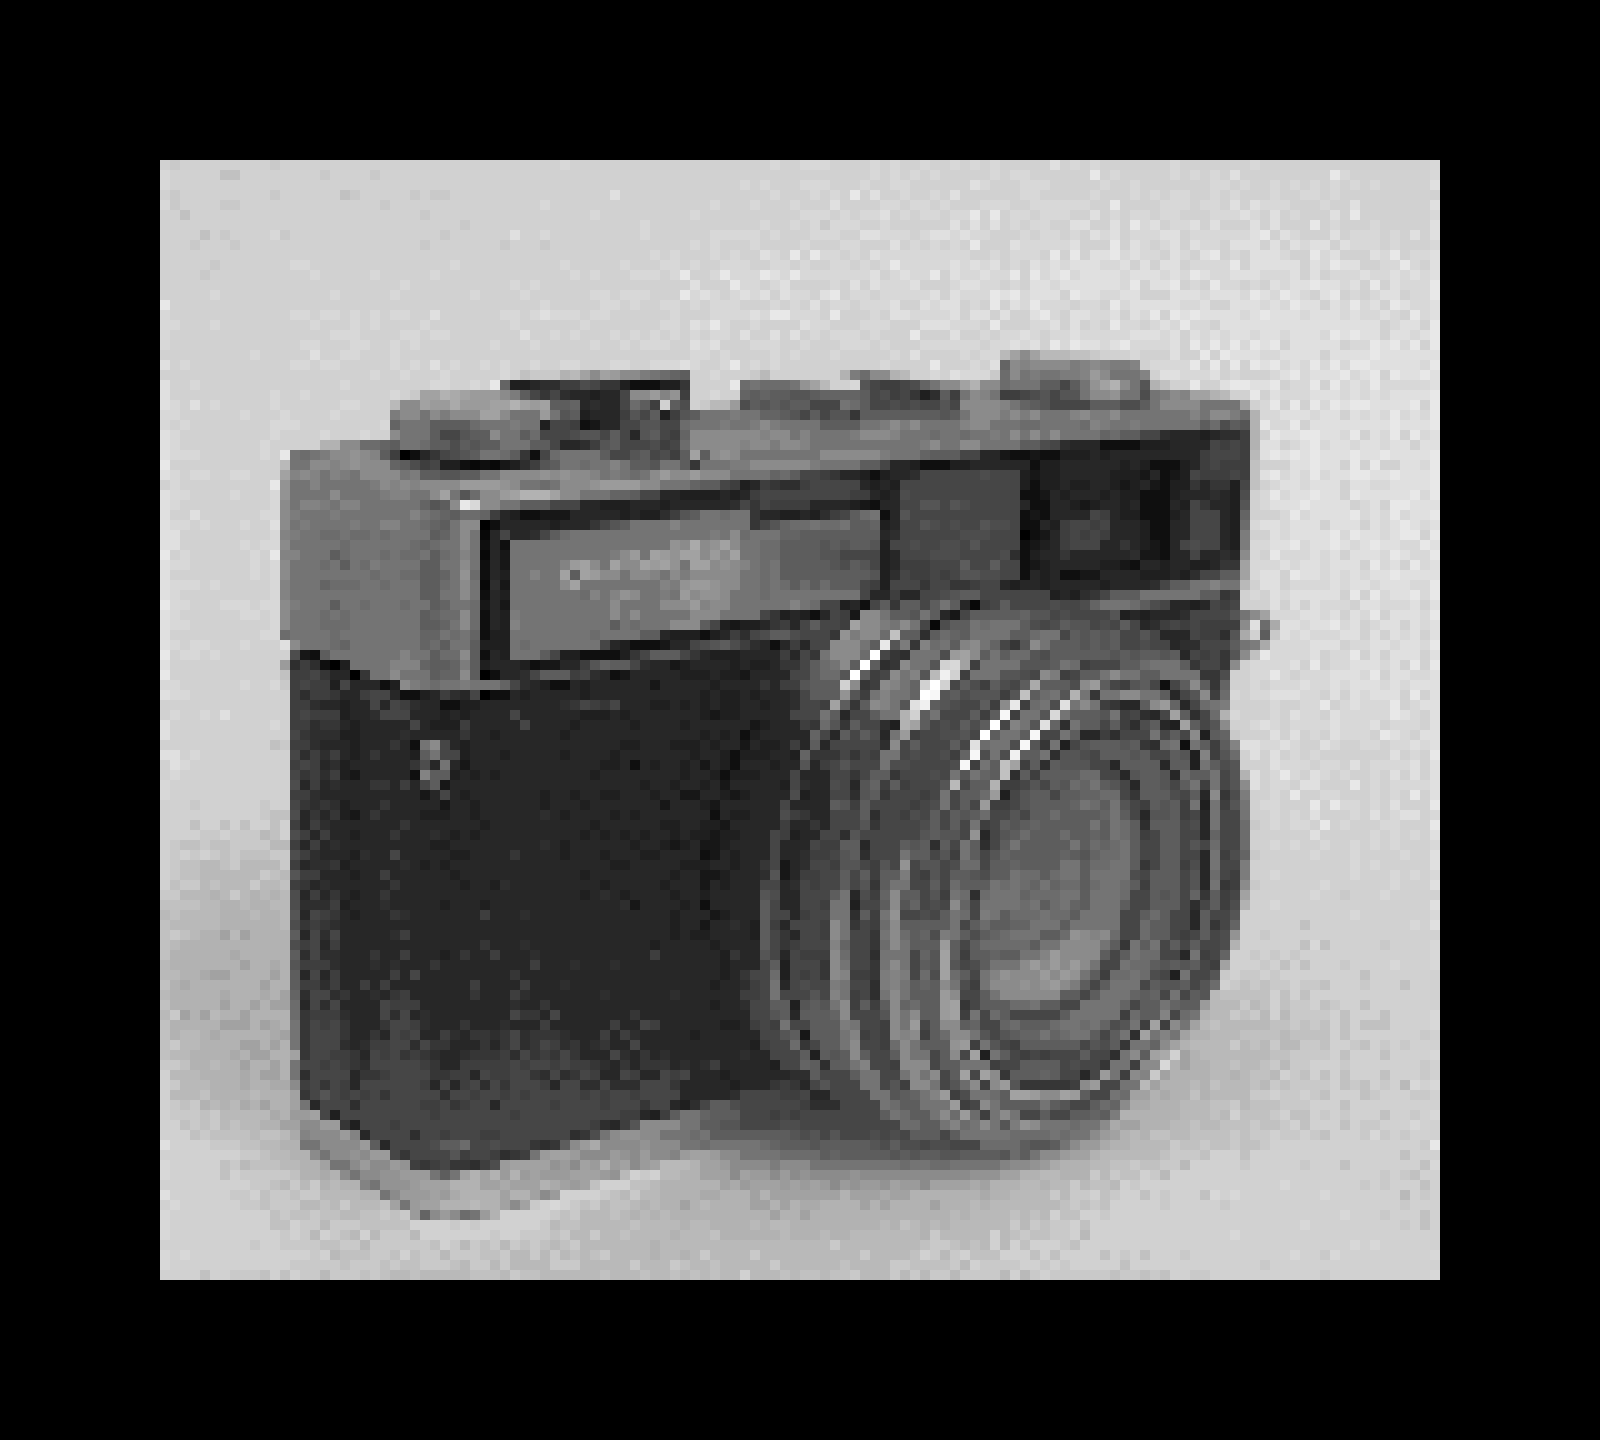
To create an even more realistic image, we can artificially increase the low resolution (128x112px) of the Gameboy Camera by taking several HDR pictures, then stitching them together :


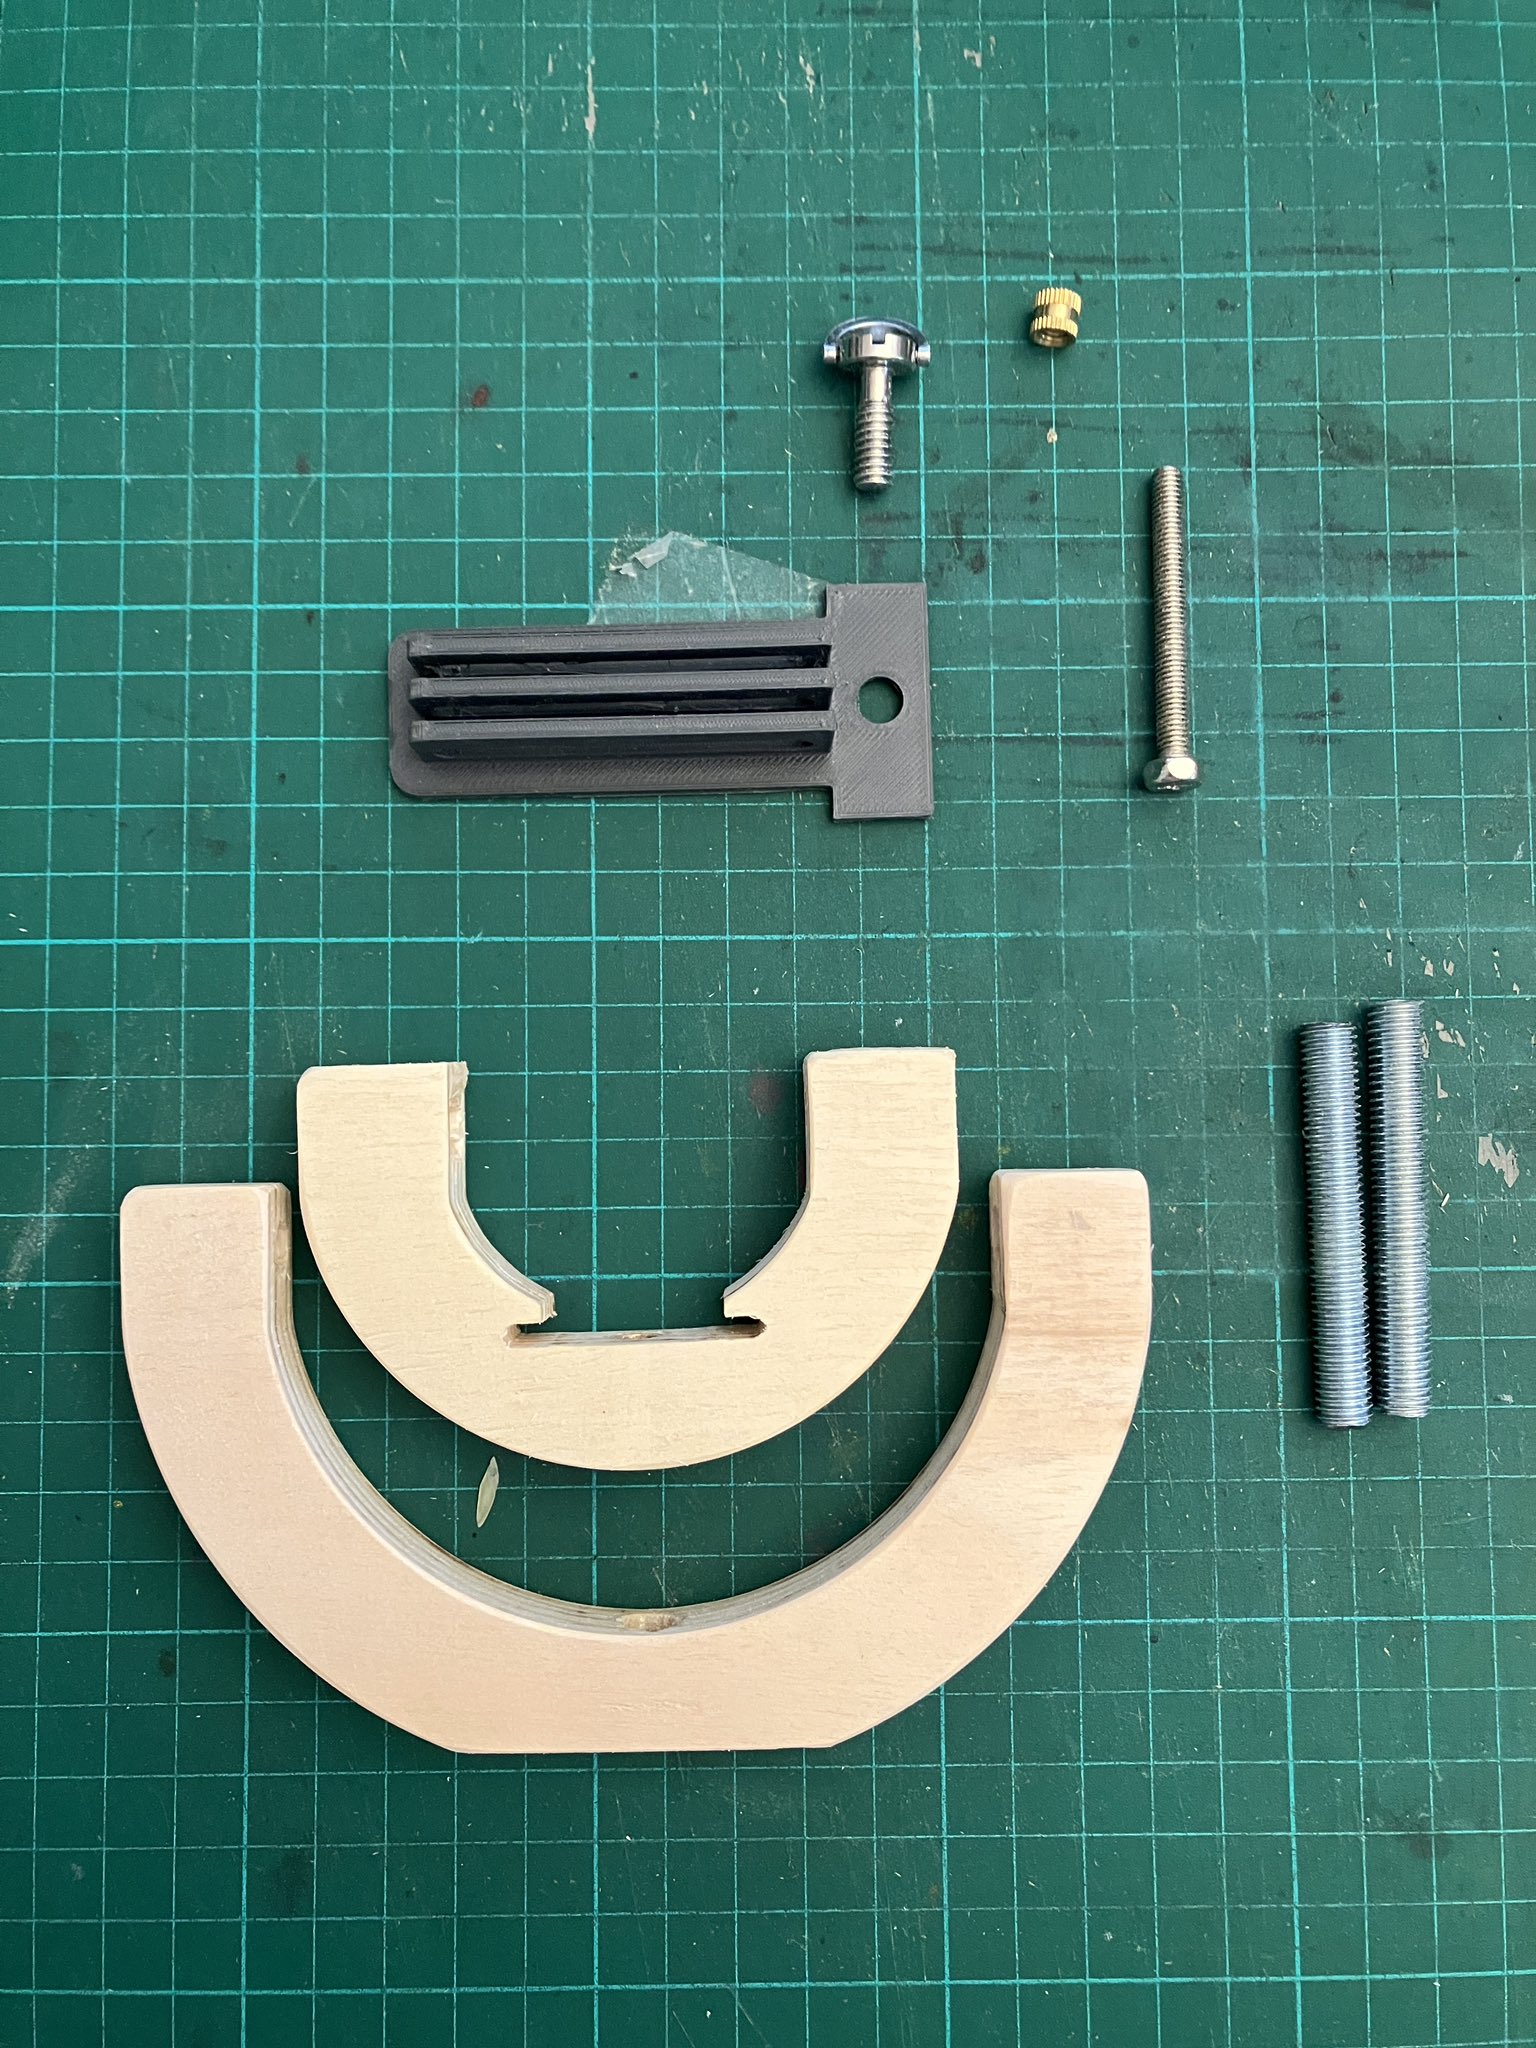
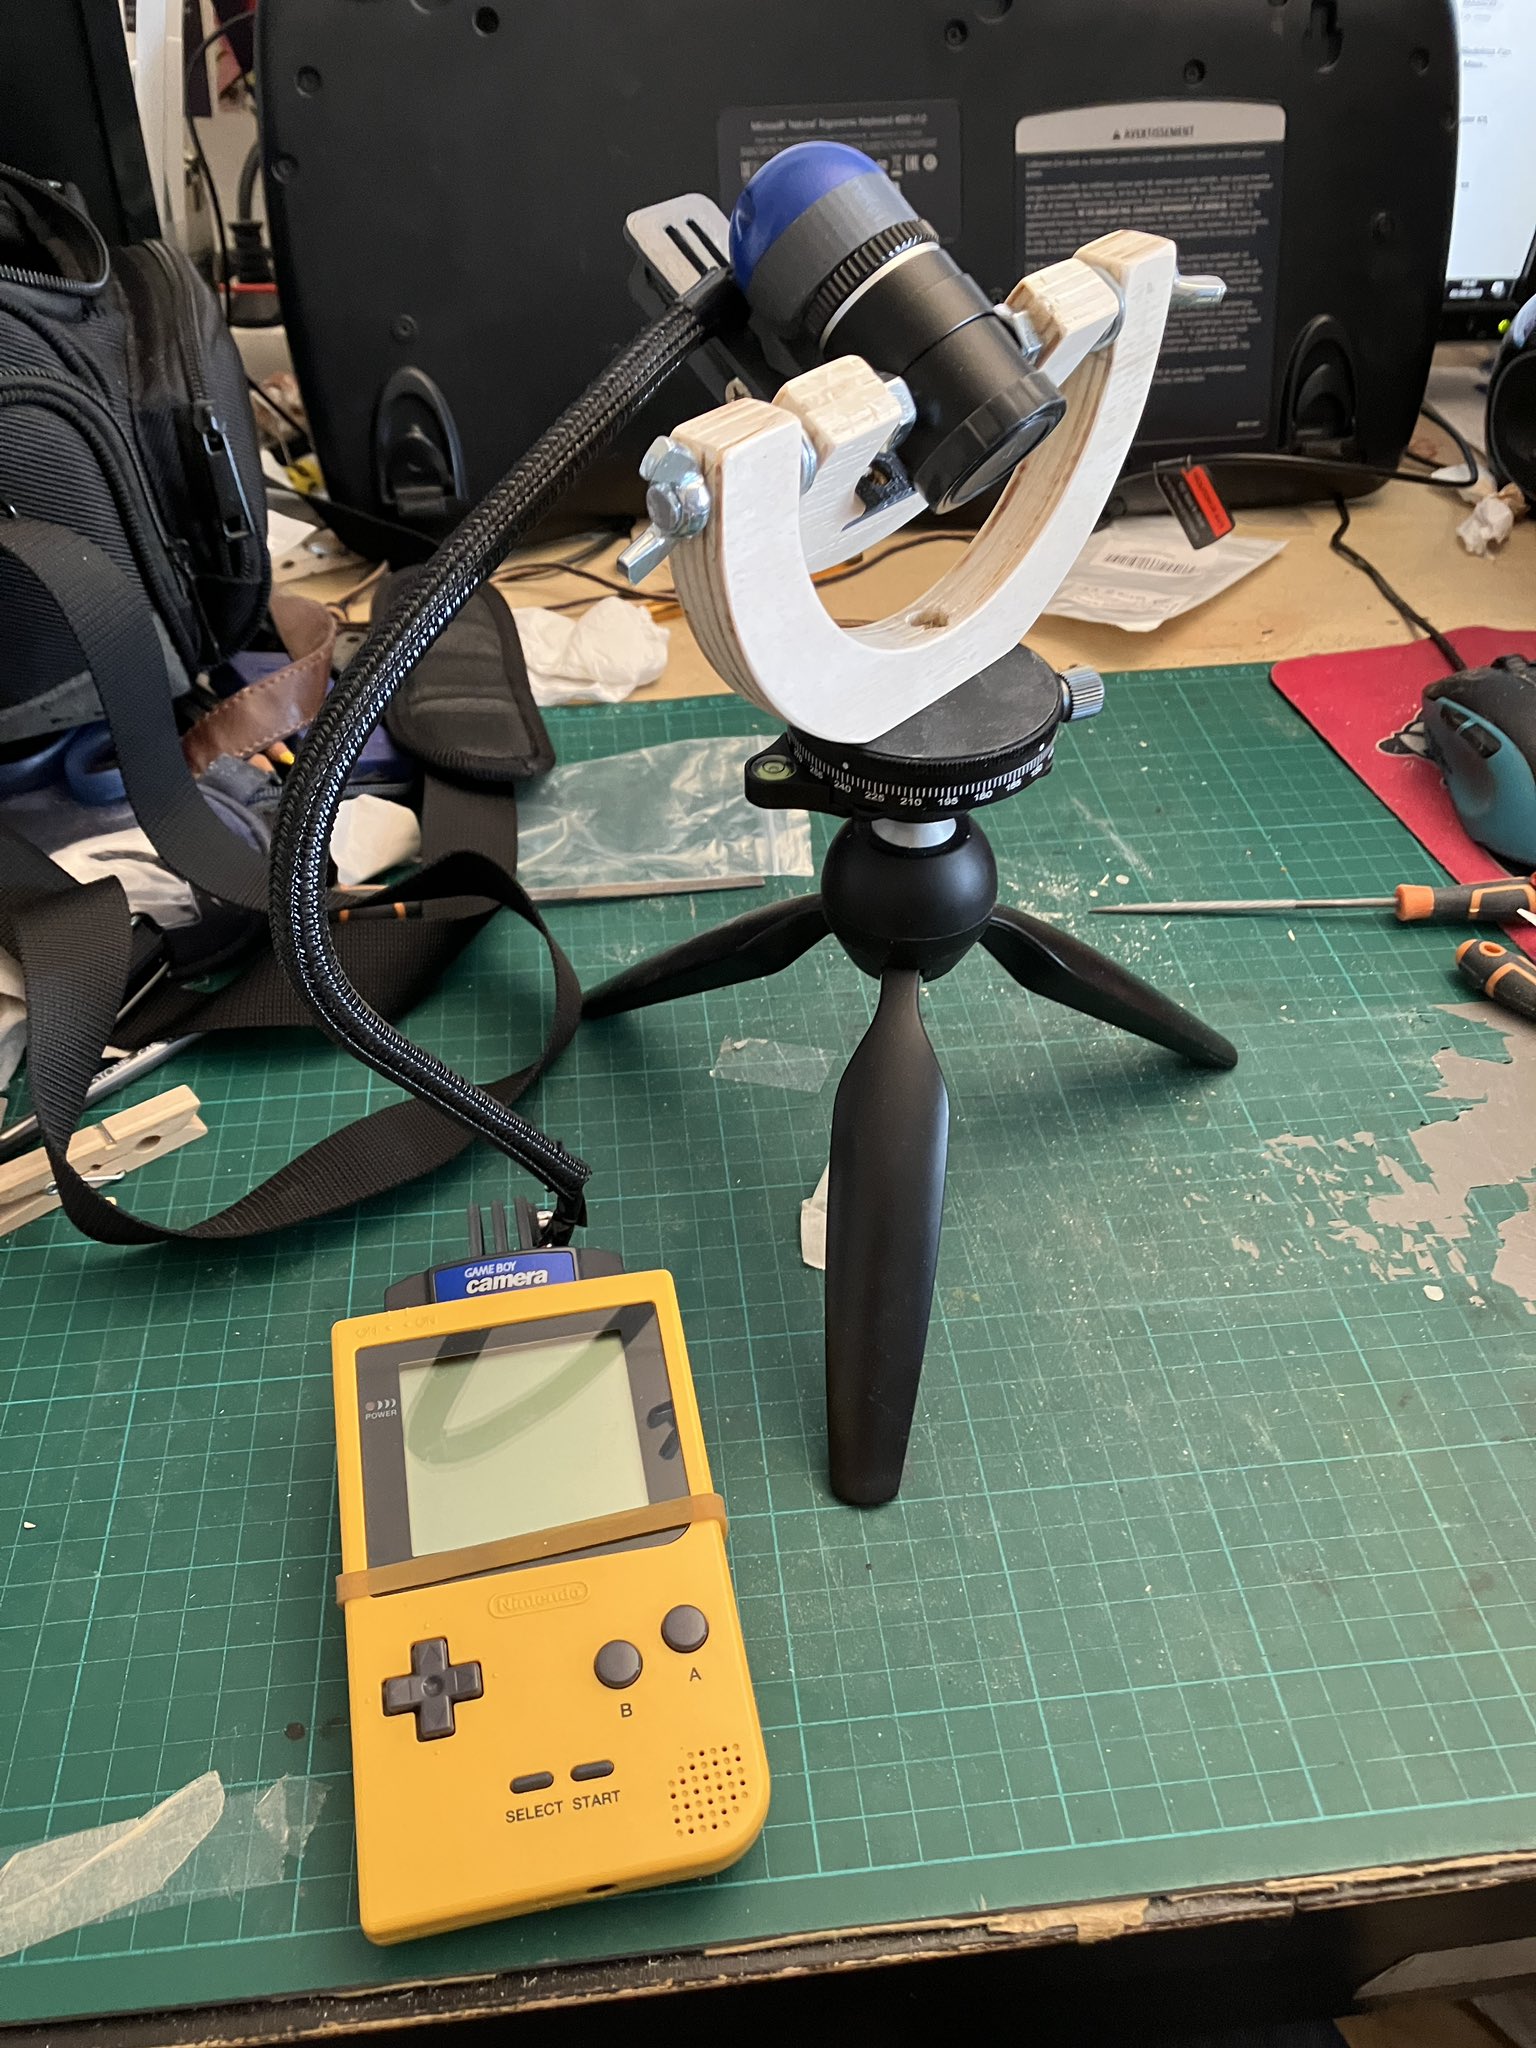
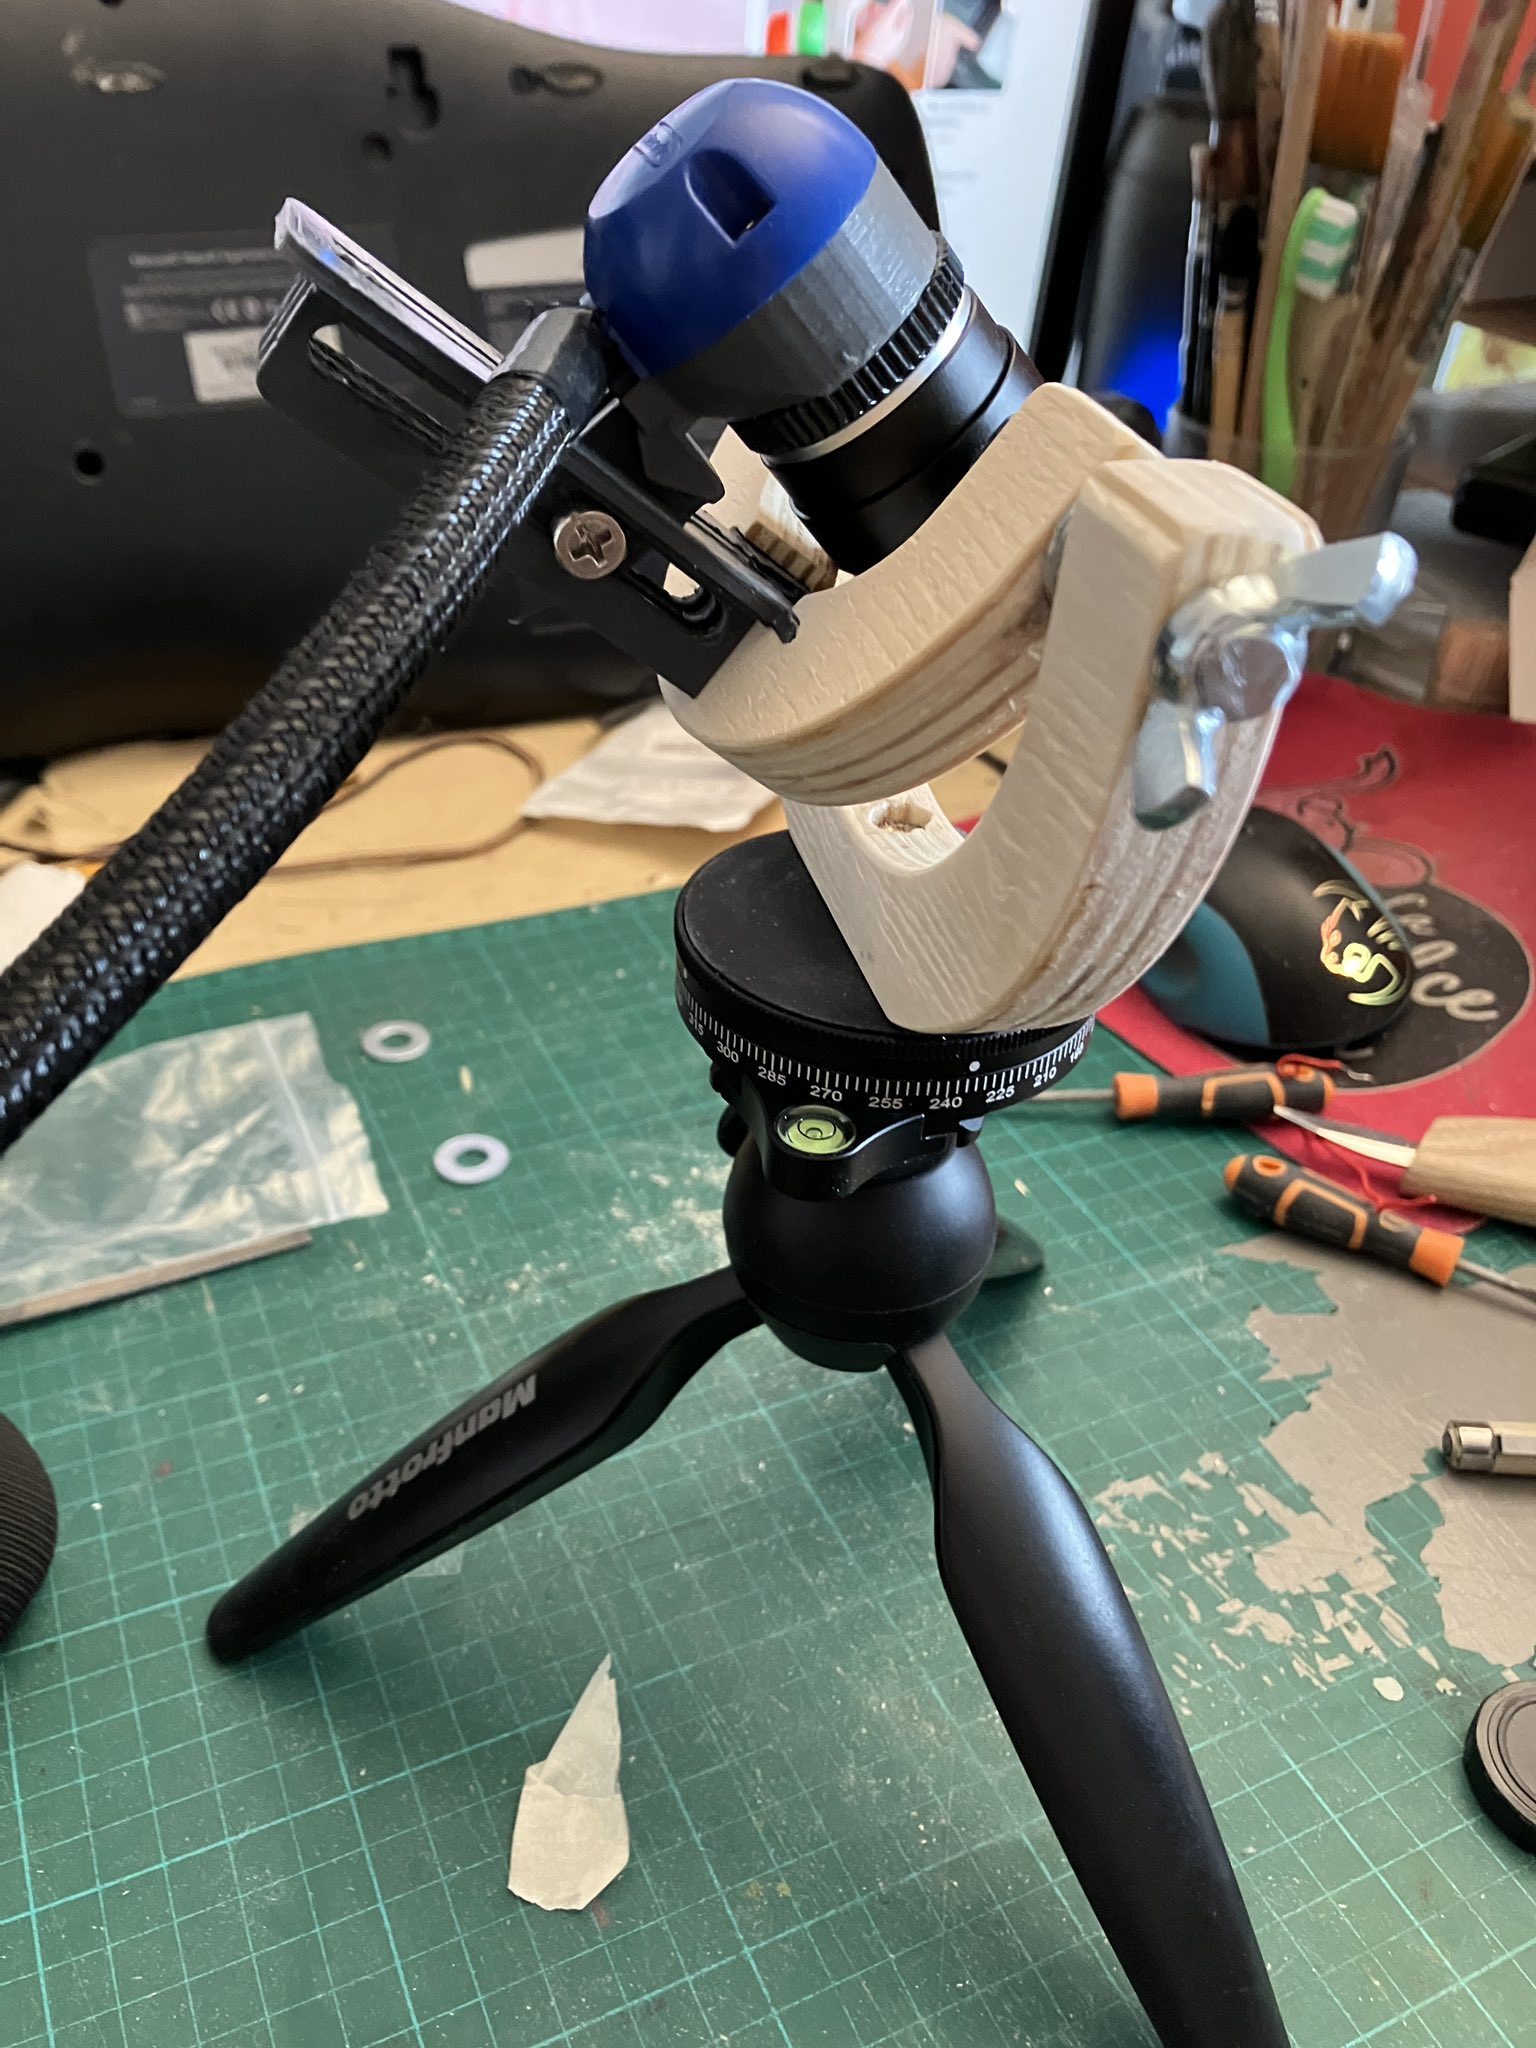
To prevent image distortion in such panoramas you need to move the lens around the nodal point of the camera, which is located somewhere in the lens. It is usually different from standard mounting point which are closer to the sensor, so camera should be attached further back. Based on my GoPro mount, I build a custom tripod mount using 3D printing and using a hand-held CNC router (Shaper Origin) that can be attach to a standard horizontal panorama mount.
The design allows to adjust the position of the mounting point of the lens (represented in green), using a screw on the 3D-printed part (pink). The wooden parts (yellow) allows for the rotation around the horizontal axis, while the off the shelf ring mount allows for rotation around the vertical axis


In practice, the nodal point is really hard to find because of the low resolution, so I mostly eyeball the position of the lens. The mount is however useful to shoot pictures with even angle increments, both vertically and horizontally.
Technical information
On a technical side, the use of the custom ROM Photo! allows for automatic shooting of a sequence of pictures with increasing exposures. Furthermore, I wrote some software utilities that make the processing of such images by organizing, blending and stitching the sequences.
The blending of the different exposures is made using a plain average of the different values of a pixel throughout the exposures. More complex methods are used on standard (ie non Gameboy Camera) pictures. Some methods compute a weight for each pixel, accounting for the amount of information the pixel is likely to give to the final image using metrics such as local contrast and saturation. Some others try to estimate the camera response function, using the exposure times of the picture. In my (quick) testing they did not give better result that a plain average, the Gameboy Camera pictures are so sub-sampled they probably require different heuristics.
For panoramas, Photoshop’s Auto-blend layers with “Seamless tones and colors” option can be used to even out the luminosity differences.
Update: I wrote a Python application to ease the processing of HDR pictures : https://github.com/seb-tourneux/gbcam-hdr-utils. It allows to easily separate and process HDR sets, average the pictures, stitch them, and create animations.